A DIY infrared sauna costs roughly 40 to 60 percent less than a comparable prefab cabin — in my build the bill landed near 1,800 USD against the 4,000-plus the same size sells for assembled. The trade is your weekends and a willingness to wire a dedicated circuit, hang heater panels, and chase your own cold spots. Done right, the result heats faster and meters lower on EMF than half the cabins I have tested off the shelf.
I am Kenny, and the cabin I run is the one I built into a corner of a Swedish basement after years of living with prefab units. This guide is the whole build from the studs out — framing, wood, insulation, panels, wiring, ventilation, benches, and the real cost — written from the owner-installer side, not the marketing side. Every number here is from my own tape measure, my kill-a-watt, and the TriField TF2 I run across the panels. I will tell you what research reports about the heat, but the authority here is the engineering: heaters, EMF, install, and what the electricity bill actually does.
Is Building Your Own Infrared Sauna Worth It?
For most handy owners, yes — a DIY infrared sauna saves 40 to 60 percent over a prefab and gives you control over the two things vendors hide: heater quality and EMF routing. You trade roughly 30 to 50 hours of work and the need to handle electrical safely.
The honest case against it is narrower than people think. If you cannot run a dedicated circuit yourself and have to hire every hour of electrical work, the savings shrink fast. If you want a five-minute unbox-and-plug experience, buy prefab. But if you already own a drill, a level, and a multimeter — and you are the kind of person who would rather understand the box than trust the sticker on it — building beats buying on both cost and quality. My DIY cabin ramps to set temp quicker than the carbon-panel prefab I keep for comparison, because I oversized the panel coverage instead of buying the wattage the spec sheet wanted to sell. For the full money picture, I break the dollars down in the DIY infrared sauna cost breakdown and compare both routes in DIY vs prefab cost.
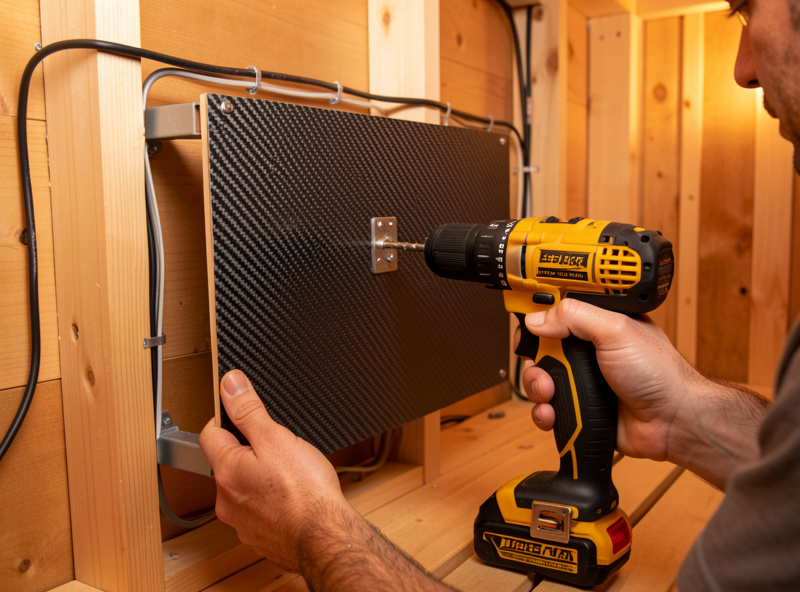
The Six Stages of a DIY Infrared Sauna Build
Every infrared sauna build I have done breaks into the same six stages, in this order: frame the room, insulate and vapor-control it, wire the circuit, line it in wood, mount and wire the panels, then build the benches and ventilation. Skipping the order is where most first builds go wrong.
The sequence matters because each stage hides the last. You cannot route low-EMF heater wiring after the wood is up. You cannot fix a cold corner once the bench covers the lowest panel. I learned to dry-fit the whole panel layout against the studs before a single board went on, marking every cable run and every panel center in pencil on the frame. Below is how I think about each stage; each one has its own deep-dive spoke if you want the full walkthrough.
Stage 1 — Build the shell
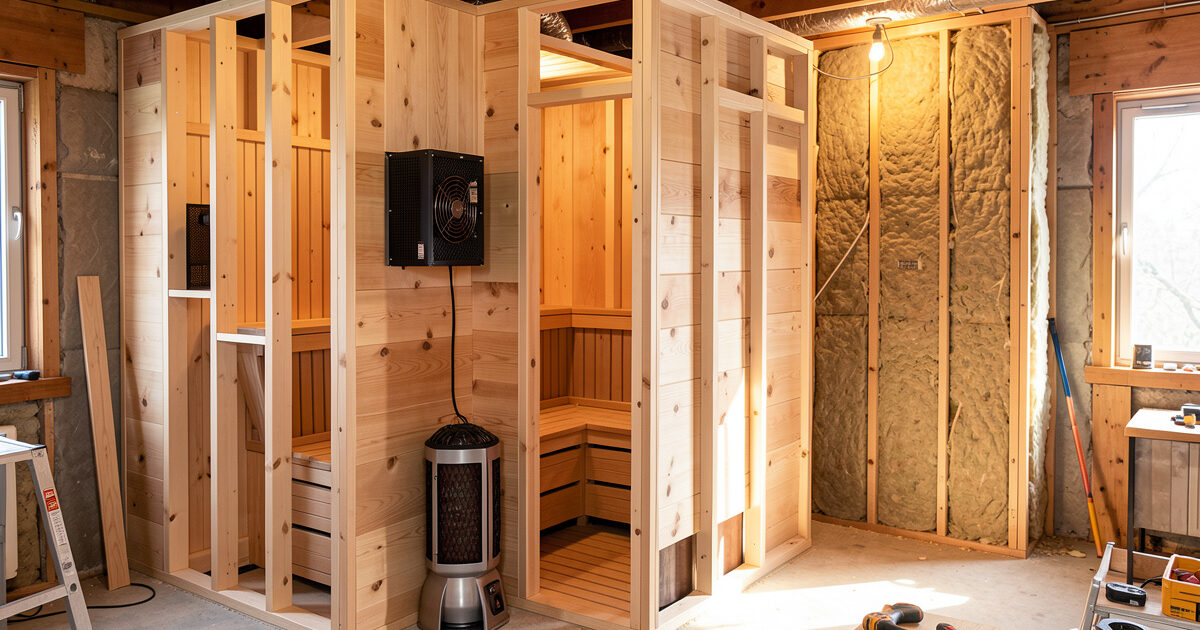
You are building a small, well-sealed timber box. Whether that is a stud-framed room from scratch or a reclaimed closet, the rules are the same: square framing on 16-inch centers, a flat floor that can take a duckboard, and a door that seals. Framing a room gives you full control of dimensions; a closet conversion trades that for speed and saves the cost of one or two walls. Both routes are covered in building a sauna room from scratch and converting a closet to an infrared sauna.
Stage 2 — Insulate and control vapor
An infrared cabin holds far less air heat than a traditional sauna, but it still leaks energy through cold walls, and that leak shows up directly on your kill-a-watt as longer preheats and higher kWh per session. Insulation is the cheapest performance upgrade in the whole build. I detail R-values, foil facing, and why vapor direction matters in insulating a DIY infrared sauna.
Stage 3 — Wire the circuit
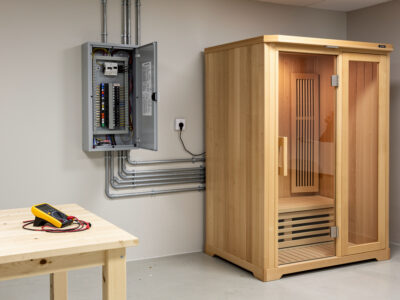
This is the stage to respect. A full-size cabin wants a dedicated circuit, often a 20A 120V run for smaller units and a 240V run on a dedicated breaker for full-spectrum builds. GFCI protection is non-negotiable in a sweaty room. If you are not confident pulling cable to code, this is the hour to hire an electrician — the rest you can own. I cover the load math in 240V and breaker requirements and the outlet detail in wiring an outlet for an infrared sauna.
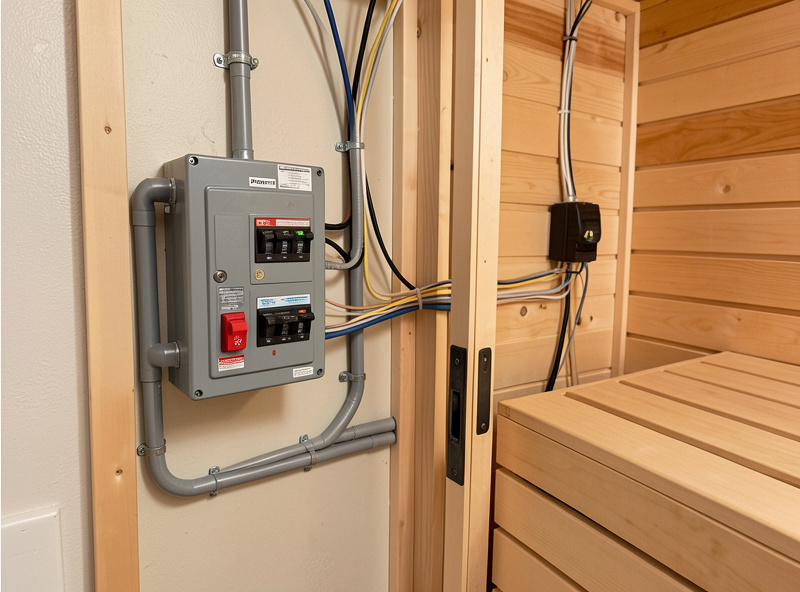
Stage 4 — Line it in wood
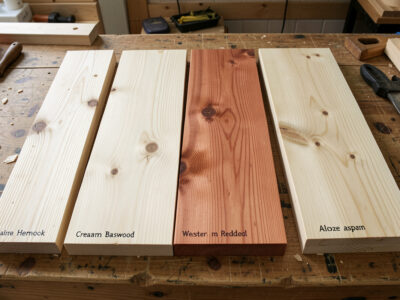
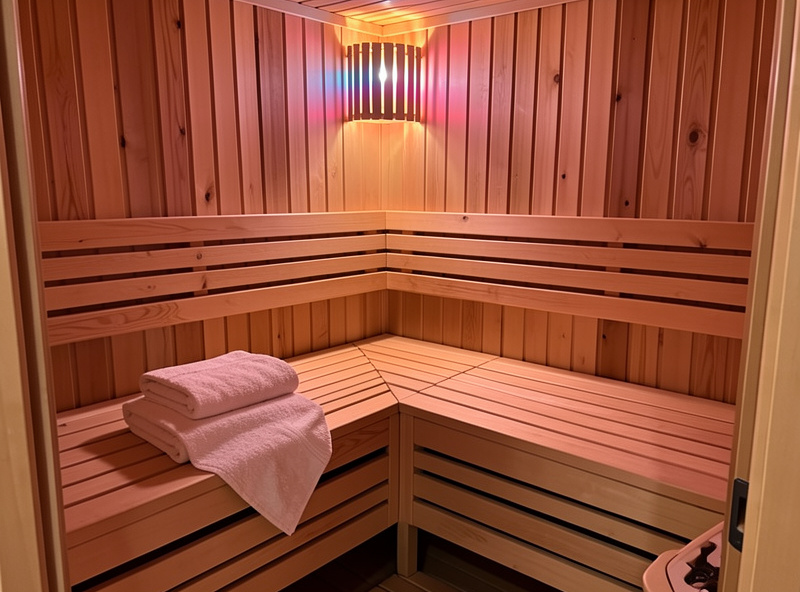
The interior wood is what you touch and smell every session, and the species changes both comfort and cost. Hemlock and basswood stay cool to the touch and resist warping in the heat; cedar smells wonderful but costs more and some people react to the aroma. My cabin is hemlock for exactly this reason. The full species comparison is in best wood types for a DIY sauna.
Stage 5 — Mount and wire the panels
Panel placement decides whether the cabin feels evenly warm or has a hot shin and a cold shoulder. I aim for radiant coverage at the back, sides, under the bench, and near the feet — the floor panel is the one beginners skip and regret. Carbon panels spread a wider, gentler radiant footprint; ceramic runs hotter and more focused. The mounting and wiring walkthrough lives in installing DIY infrared panels, and the heater-type decision in carbon vs ceramic.
Stage 6 — Benches, ventilation, and finish
Last comes the bench you actually sit on, the passive vents that let the cabin dry out between sessions, and the controller. A bench has to clear the lower panels without blocking their radiant line. I walk the bench build in building sauna benches, and airflow in infrared sauna ventilation.
Choosing Your Build Path: Room, Closet, or Kit-Assist
There are three honest ways to DIY an infrared sauna, and the right one depends on your space and how much fabrication you want to do. A framed room gives the best result and the most work; a closet conversion is fastest; a panel-and-controller kit dropped into your own carpentry splits the difference.
I have built across all three over the winters, and none is “best” in the abstract — they answer different questions. The table below is the comparison I wish someone had handed me before my first attempt.
| Factor | Framed Room | Closet Conversion | Kit-Assist Build |
|---|---|---|---|
| Typical cost (2-person) | 1,500–2,200 USD | 900–1,600 USD | 2,000–2,800 USD |
| Build time | 40–50 hrs | 20–30 hrs | 15–25 hrs |
| Skill needed | Framing + electrical | Finish carpentry + electrical | Assembly + electrical |
| Dimension control | Full | Limited to closet | Limited to kit |
| Panel/EMF control | Full (you source panels) | Full | Partial (kit panels) |
| Best for | New dedicated space | Apartments, spare closets | First-time builders |
Whichever path you take, the electrical and panel-wiring stages are identical — that is where the EMF lives, and it is worth doing yourself precisely so you can meter and route it. If you are still deciding whether to build at all, the broader home infrared sauna guide and the best home cabins roundup show what prefab actually buys you.
The EMF Advantage of Building Your Own
The single best reason to build is control over EMF. On my TriField TF2, a self-routed cabin reads lower magnetic field at the bench than several prefab units I have metered, because I separated the heater leads from the controller harness and grounded the frame — choices a factory makes for cost, not for your reading.
EMF in a sauna comes from three places: the heater elements, the wiring runs, and the controller. “Low-EMF” on a sticker usually only addresses the panels, and only at the panel face — not at the bench where you actually sit. When you build, you decide the cable routing, you keep the magnetic-field source away from the seat, and you can hold a meter to the result before you close the wall. I keep a running set of readings in my session log by heater type. If this is new to you, start with how to measure EMF with a TriField meter, then what low-EMF labeling actually means and ELF vs RF. The hardware behind the numbers is in the heater types and EMF guide and near, mid, and far infrared heaters. A quality meter like the TriField TF2 pays for itself the first time it tells you a cable run is too close to the bench.
As an Amazon Associate I earn from qualifying purchases.
Wiring and Power: The Stage to Respect
Infrared panels are resistive loads, so their draw is steady and predictable — a 2-person cabin typically pulls 1,500 to 1,800 watts, and a full-spectrum unit with a NIR emitter can climb past 2,400 watts and into 240V territory. That decides your circuit before anything else.
My daily-driver cabin runs on a dedicated 16A circuit with GFCI, and on the kill-a-watt a 45-minute session including preheat lands around 1.0 to 1.3 kWh. Knowing that number up front is what lets you size the breaker correctly and avoid sharing a circuit that trips when the dryer kicks on. The load math, breaker sizing, and code notes are in 240V and breaker requirements, wiring the outlet, and permits and electrical codes. Commercial and large-cabin electrical code is jurisdiction-specific — confirm anything load-bearing with a local electrician. The running cost itself is broken down in what a session really draws.
Where to Put It: Siting and Ventilation
An indoor DIY sauna needs a flat floor, a nearby dedicated circuit, and passive ventilation so the cabin dries between sessions — without airflow you trap humidity and invite mold in the wood. Plan the location around the circuit, not the other way around.
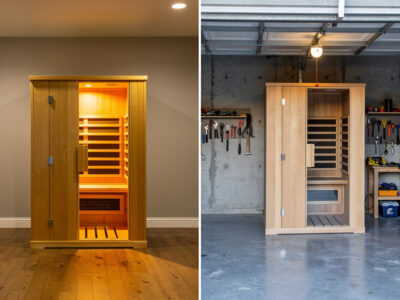
I sited mine against an interior basement wall, away from the exterior cold that would lengthen every preheat, with a low intake gap and a high outlet vent so the box breathes when the door is shut. Garages work but fight you on cold-start energy. The siting trade-offs are in where to install an infrared sauna and indoor vs garage, clearance and floor protection in flooring and clearance, and the airflow detail in ventilation. If you are assembling rather than fabricating, the assembly steps and full installation guide cover the mechanical side.
What a DIY Build Actually Costs
A 2-person DIY infrared sauna runs roughly 1,500 to 2,200 USD in materials: framing and insulation 250–450, interior wood 400–700, heater panels 500–900, controller 80–200, wiring and GFCI 150–300, plus benches, vents, and finish. That is before the value of your own time.
The line most buyers never run is the long-term one: electricity per session, panel lifespan, and the wood maintenance that keeps the cabin lasting. My panels are still within their original output on the meter after years of winters, and the wood gets nothing but a wipe-down — never an oil that would off-gas in the heat. The full cost engineering is in the cost ownership guide and the build-specific DIY cost breakdown.
Tools and Materials You Will Actually Use
A DIY infrared sauna needs no exotic tooling — a drill/driver, a level, a circular or miter saw, a stud finder, a multimeter, and a tape measure cover the carpentry and most of the electrical. The two instruments that separate a good build from a guessed one are an energy meter and an EMF meter.
I keep a plug-in kill-a-watt energy meter on the cabin permanently — it is how I know a session costs what it costs instead of guessing from the wattage label, which is routinely gamed. The TriField goes on the panels during the wiring stage and comes back out whenever I change anything. Beyond those, your material list is framing lumber, foil-faced insulation, your chosen interior wood (tongue-and-groove hemlock in my case), heater panels, a controller, low-EMF cable, a GFCI breaker or outlet, vent grilles, and bench stock. Buy the wood and panels last, after the frame is up and squared, so you can measure the real openings rather than the drawing. Nothing here is specialist — the skill is in the sequence and the metering, not the gear.
The DIY Build Mistakes I See Most
The four mistakes that wreck first builds are all preventable: undersizing the circuit, skipping the floor panel, sealing the box with no ventilation path, and oiling the interior wood. Each one is cheap to avoid up front and expensive to fix after the wall is closed.
Undersizing the circuit means nuisance trips and a cabin you cannot run with the dryer on — size the breaker to the panel load before you frame, per the breaker requirements. Skipping the under-bench and foot panels leaves a cold lower body no matter how high you set the controller, because radiant heat does not fill a room the way air heat does. Sealing the cabin without a low intake and high outlet traps humidity in the wood and is the single biggest cause of the mold I help owners chase later. And oiling or varnishing the interior is a genuine error in this niche — coatings off-gas under repeated heat; sauna wood is left bare and simply wiped down. I made the ventilation mistake on my first build and paid for it with a musty corner I had to re-cut. Get these four right and the rest of the build forgives a lot.
What the Heat Does — and What It Does Not
I will stay in my lane here. Research on infrared and traditional sauna heat reports associations with relaxation and cardiovascular markers, and users widely report feeling recovered after sessions — but those are studied and reported effects, not promises I will make about what your cabin will do for your health. Build for comfort and consistency, treat the wellness claims as the research community frames them, and talk to a clinician about your own situation. The engineering is where I can give you certainty; the medicine is not mine to sell.
Frequently Asked Questions
Is it cheaper to build your own infrared sauna?
Yes. A DIY 2-person infrared sauna runs about 1,500 to 2,200 USD in materials versus 4,000-plus for a comparable prefab cabin, a saving of roughly 40 to 60 percent. The trade is 30 to 50 hours of work and handling the electrical safely.
What electrical circuit does a DIY infrared sauna need?
A 2-person cabin pulling 1,500 to 1,800 watts usually wants a dedicated 20A 120V circuit with GFCI. Full-spectrum units with a NIR emitter can exceed 2,400 watts and need a 240V dedicated breaker. Confirm load-bearing code with a local electrician.
What wood should I use to build an infrared sauna?
Hemlock and basswood are the practical choices: both stay cool to the touch, resist warping in heat, and cost less than cedar. Cedar smells excellent but is pricier and the aroma bothers some users. My own cabin is Canadian hemlock.
Can I convert a closet into an infrared sauna?
Yes, and it is the fastest DIY route. A closet conversion runs 900 to 1,600 USD and 20 to 30 hours because you reuse existing walls. You still need to insulate, line it in sauna wood, add a dedicated GFCI circuit, and provide passive ventilation.
How do I keep EMF low when building my own sauna?
Separate the heater leads from the controller harness, route cable away from the bench, ground the cabin frame, and meter the result with a TriField-style meter before closing the wall. Building yourself is the only way to control routing the bench reading depends on.
How long does it take to build an infrared sauna?
A framed room takes 40 to 50 hours, a closet conversion 20 to 30, and a kit-assist build 15 to 25. Spread across weekends, most first-time builders finish in two to four weeks including drying time for any sealant.