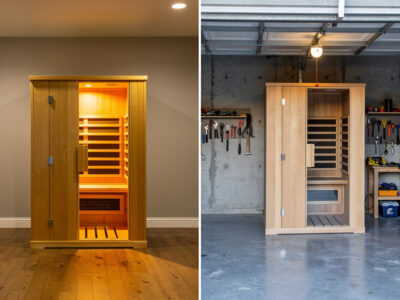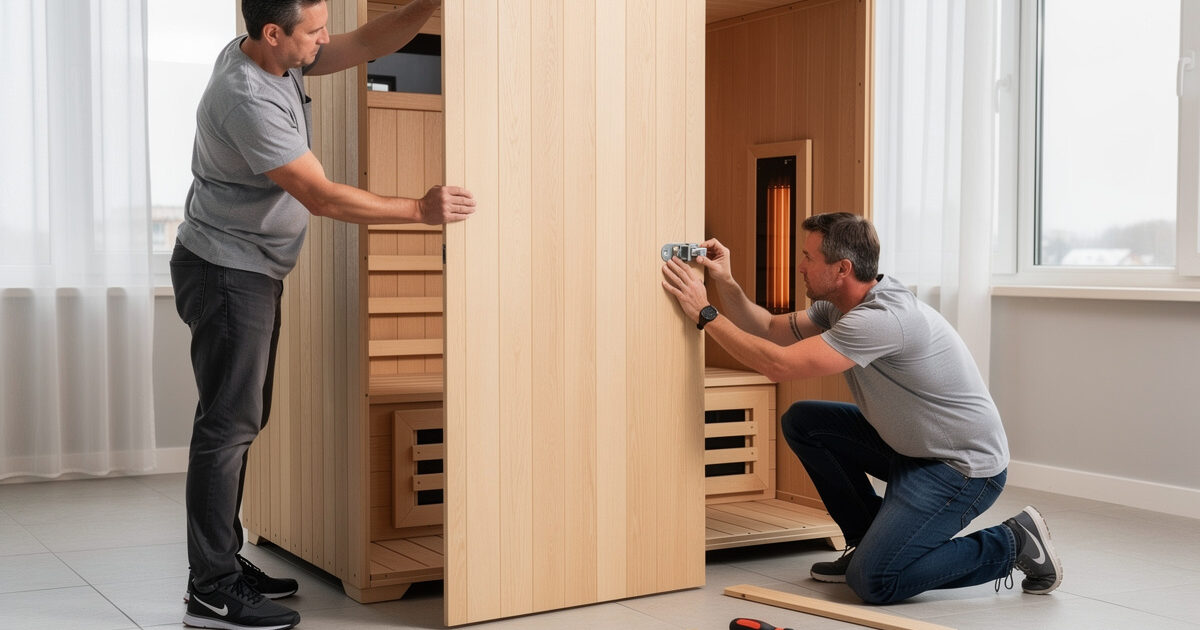
Most prefab infrared saunas assemble in 60 to 120 minutes with two people and a single screwdriver, because the walls are pre-wired panels that buckle or clip together rather than parts you build from scratch. You are joining walls, dropping in the roof, connecting labeled heater and control harnesses, and seating the glass door. The work is genuinely straightforward, but the order matters and the connectors are unforgiving if forced.
I have assembled several cabins and helped friends with theirs, and every smooth build followed the same sequence while every frustrating one skipped a step or rushed the wiring. Below is the order of operations that works, with the specific places people get stuck and how to avoid them. Have a second person on hand for the wall-raising and roof steps; one person can technically do it, but panels are awkward and a helper turns an hour of wrestling into 60 calm minutes.
As an Amazon Associate I earn from qualifying purchases. Some links below are affiliate links, at no extra cost to you.
Before You Start: Inventory and Space
Lay every panel and bag of hardware out and check it against the parts list before you join anything, because discovering a missing buckle mid-build leaves a half-open cabin sitting in your room. I count the connectors, identify each wall panel, and locate the wiring harnesses first. Clear a space larger than the cabin’s footprint so you have room to maneuver panels, and confirm the floor is level, which the flooring and clearance guide covers in detail.
This inventory step feels like a delay when you are eager to build, but it is the single best predictor of a smooth assembly. A cabin is delivered in heavy flat boxes, and the parts can shift in transit, so confirming everything is present and undamaged up front means you are not stopping to contact the manufacturer halfway through. A basic screwdriver set is usually the only tool you need, and a pair of work gloves saves your hands on the panel edges.
One more thing worth doing before you start: read the manufacturer’s instruction sheet all the way through once, even if you have built a cabin before. Brands differ in small ways, where the control panel mounts, whether the roof connects before or after the door, which corner the harness runs to, and a two-minute read prevents the moment where you realize a step had to happen earlier. Keep the sheet open beside you, and keep the hardware sorted into small containers by type so you are not hunting for the right buckle while holding a panel upright with your other hand.
Step 1: Set the Floor Panel and First Walls
Start by positioning the floor panel or base in its final location, since you will not be able to slide the assembled cabin far afterward. Stand the back wall first, then bring up an adjacent side wall and join them at the corner with the buckle or clip connectors, snugging them evenly so the corner stays square. A second person holding the panels upright here is worth their weight.
The reason you place the base first is simple: the finished cabin is heavy and not meant to be dragged across a floor, which can scratch the surface and stress the joints. Get it in the right spot, with its clearance already marked out, before the walls go up. Keep the buckles finger-snug at this stage rather than fully torqued, because you want a little play to align the remaining walls.
Step 2: Join the Remaining Walls and Square the Frame
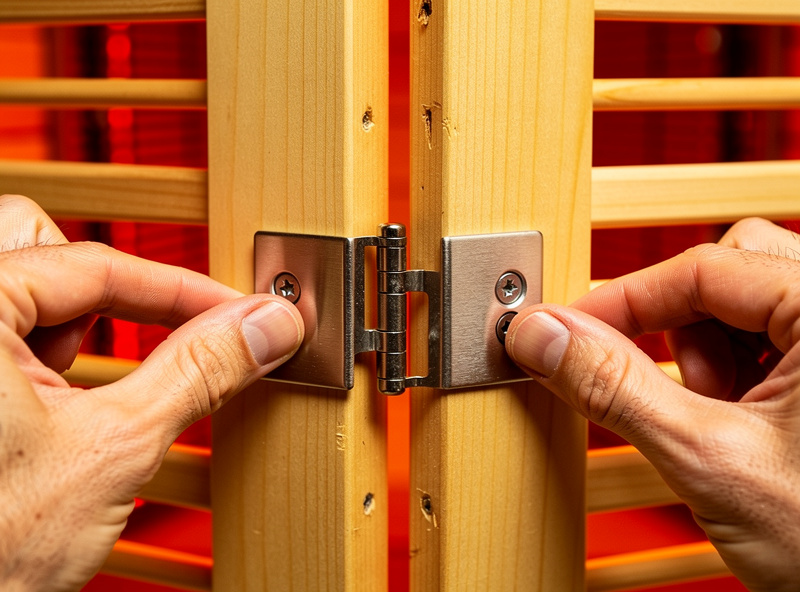
Add the front wall and the second side wall, connecting each corner as you go, then go around and even out every buckle so the frame is square and the panel tops align. A frame that is racked even slightly is the most common cause of a door that will not seal, so take a moment here to check that the walls meet cleanly at the top edges. If a corner gap appears, loosen the adjacent buckles, realign, and re-snug.
This is the step that rewards patience. Once all four walls are connected and squared, the structure becomes rigid and the rest of the build is quick. I run my hand along each top edge to confirm the panels are flush; if they are, the roof will drop in cleanly and the door will seal. Rushing this is how people end up with the door-seal complaint that no amount of later adjustment fully fixes.
Step 3: Connect the Wiring Harnesses
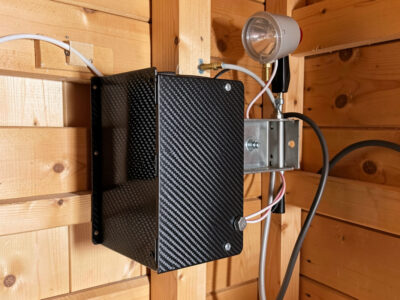
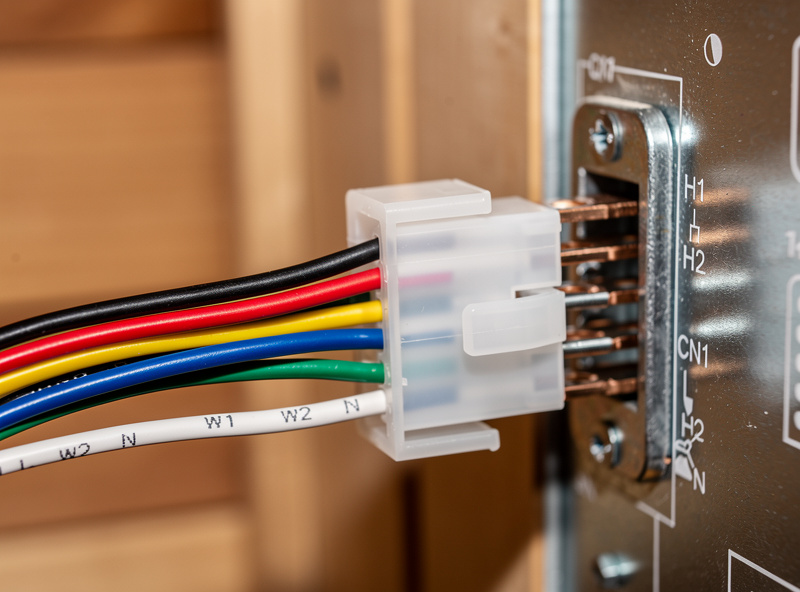
With the walls up, connect the heater and control harnesses, which are keyed and labeled so each plug only fits its matching socket. Never force a connector; if it does not seat easily, you have the wrong pair, and forcing it can damage the pins. Route the cables tidily rather than letting them coil behind where you will sit, which also keeps the EMF picture clean as the main install guide notes.
The harnesses are the part people are most nervous about, but the manufacturers design them to be foolproof precisely because the cabin is a consumer product. Follow the labels, match each plug to its socket, and seat them with a gentle, firm push until they click. If your cabin has a separate control panel, mount and connect it now per the instructions. Once every harness is connected, the electrical side of the build is done; the dedicated circuit it plugs into is covered in the breaker requirements guide.
Step 4: Drop In the Roof and Seat the Door
Lower the roof panel onto the squared frame and secure it with its connectors, then hang and align the glass door last. Seat the door carefully onto its hinges and check that it closes with an even gap all the way around; a clean, uniform seal is the proof your frame is square. If the door binds or shows an uneven gap, the frame needs a small adjustment before you finish.
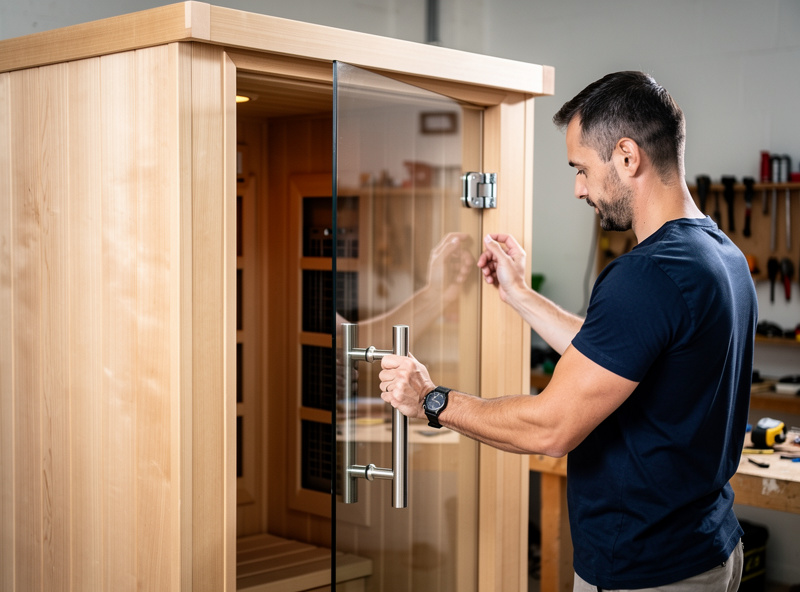
The glass door is heavy and the last fragile step, so this is where the second person matters most. Once it is hung and sealing evenly, go back around and fully snug every buckle and connector, since you held them at finger-tight to allow alignment. The door is intentionally the final step because it depends on everything underneath it being square, which is why the whole sequence builds toward it.
The Mistakes That Slow People Down
Across the builds I have done, the same handful of errors account for almost every stalled assembly, and all of them are avoidable. Skipping the parts inventory is the biggest: a missing connector found mid-build means stopping to contact the manufacturer with the cabin half-open. Over-tightening the buckles before the frame is squared is second, because it removes the play you need to align the last walls and forces you to back everything off.
The third is forcing a wiring harness into the wrong socket, which can bend pins and turn a five-minute step into a warranty call. The fourth is hanging the door before the frame is squared, guaranteeing an uneven seal. And the fifth is building the cabin in the wrong spot and then trying to drag the finished, heavy unit into place, scratching the floor and stressing the joints. Every one of these is solved by following the sequence above in order and resisting the urge to rush the squaring and wiring steps.
If You Ever Need to Take It Apart
Because the panels buckle together rather than glue or permanently fasten, a prefab infrared sauna can be disassembled and moved, which is genuinely useful if you relocate. Reverse the sequence: disconnect the harnesses, remove the door, lift off the roof, and unbuckle the walls. Label the harnesses as you disconnect them so reassembly in the new room is just as quick as the first build.
The one thing that does not move with you is the dedicated circuit, so a relocation means budgeting for an electrician at the new location. I have moved a cabin once and the panels came apart cleanly in under an hour, but the wiring at the wall had to be redone. Knowing the cabin is modular is reassuring, but plan the permanent spot up front, as the room siting guide recommends, so you only wire the circuit once.
Step 5: First Power-On and Test
Before the first session, plug the cabin into its dedicated circuit and run a short test to confirm every heater panel warms and the controls respond. Watch for any panel that stays cold, which usually means a harness that did not fully seat, and re-check that connector. A successful test power-on is the green light that the wiring was done right.
I also run the first heat-up with the door cracked and the room ventilated, simply to let any manufacturing residue off-gas from new wood and components, which is normal and brief. After that initial burn-in the cabin is ready for real use. From here, dialing in the experience is covered by the temperature guide and the session length guide, and the full pre-delivery checklist lives in the hub’s installation requirements guide.