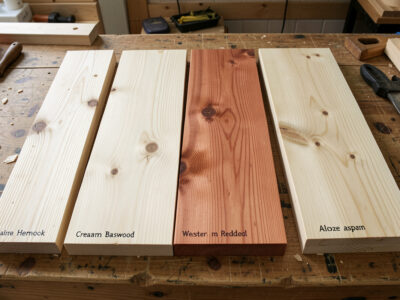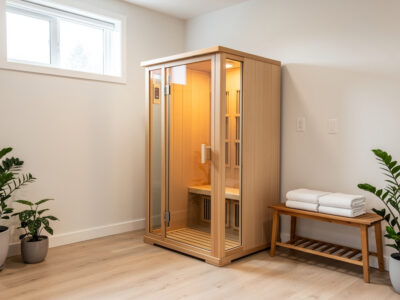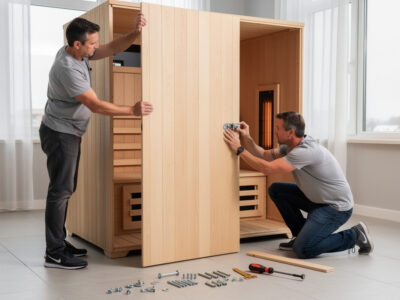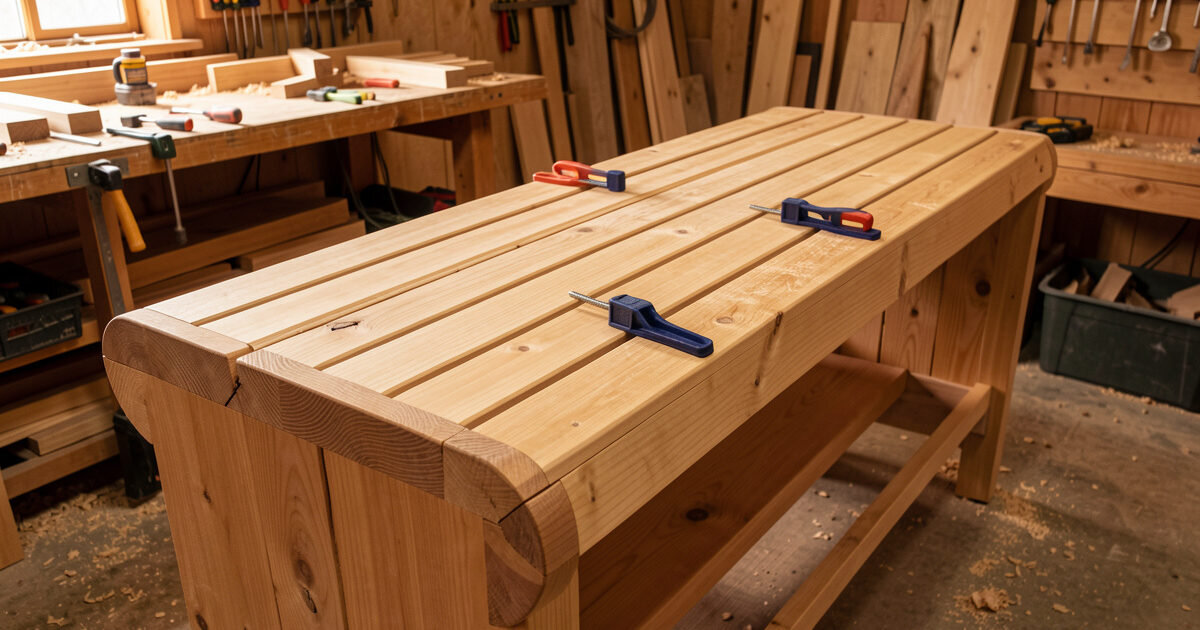
A DIY sauna bench should be built from bare, cool-touch wood (hemlock, basswood, or aspen), sized about 18 to 19 inches deep and 18 inches off the floor, with the front edge cleared of the under-bench panel’s radiant line. Slatted tops with a small gap let air move and the wood dry. No glue or fastener should sit where skin touches the surface.
The bench is the last carpentry stage and the one you feel every session, so it is worth doing properly. I have rebuilt mine twice — once because I blocked the under-bench panel, once because I used a wood that ran hot under my thighs. This is how I build a sauna bench now, the dimensions I use, and the clearances that keep it comfortable. It is the finishing stage of the DIY infrared sauna guide, after the panels are mounted.
Bench Dimensions That Actually Sit Right
A comfortable single-tier sauna bench is 18 to 19 inches deep, 18 inches high, and as wide as the wall allows. Those numbers let an adult sit with feet flat and thighs supported. Go too shallow and you perch; too high and your feet dangle off the warm floor panel.
In my 48-inch cabin the bench spans the back wall at 18 inches deep, which leaves knee room to the opposite panel. If you have the height for a two-tier layout, set the upper bench around 36 inches with a footrest at 18 — the upper tier sits in warmer air. The clearance interplay with panels and floor is covered in flooring and clearance.
| Element | Recommended dimension | Why |
|---|---|---|
| Seat depth | 18–19 in | Thigh support without perching |
| Seat height (lower) | 18 in | Feet flat on warm floor |
| Upper tier height | 36 in | Sits in warmer air |
| Slat gap | ~0.4 in (10 mm) | Airflow and drying |
| Under-bench gap | Clear of panel line | Lets foot/under-bench panel radiate |
Choose the Right Bench Wood
Use the same cool-touch, low-resin woods you line the cabin in: hemlock, basswood, or aspen. These stay comfortable against bare skin in the heat and do not weep sap the way pine and cedar can. The bench is where wood choice matters most because it is the surface you sit on directly.
My benches are hemlock to match the cabin. Avoid any wood with knots or high resin at the seating surface — a resin pocket over a hot panel turns sticky and uncomfortable. And like every interior surface, the bench stays bare: no oil, no varnish, nothing that off-gasses under repeated heat. The full species comparison is in best wood types for a DIY sauna.
Build a Slatted, Air-Gapped Top
Build the seating surface from slats spaced about a centimeter apart rather than a solid panel. The gaps let air circulate, let the wood dry between sessions, and keep the surface from holding a single hot patch over a panel. Round every edge you will touch.
I run the slats front-to-back on a hidden frame, fastening from underneath so no screw head ever meets skin — stainless screws below, nothing above. A rounded front edge is the detail that separates a comfortable bench from one that digs into your thighs. Sand to a fine grit; a splinter in a sauna is a miserable surprise. The slat gap also matters for the same drying logic that drives cabin ventilation.
Clear the Under-Bench Panel
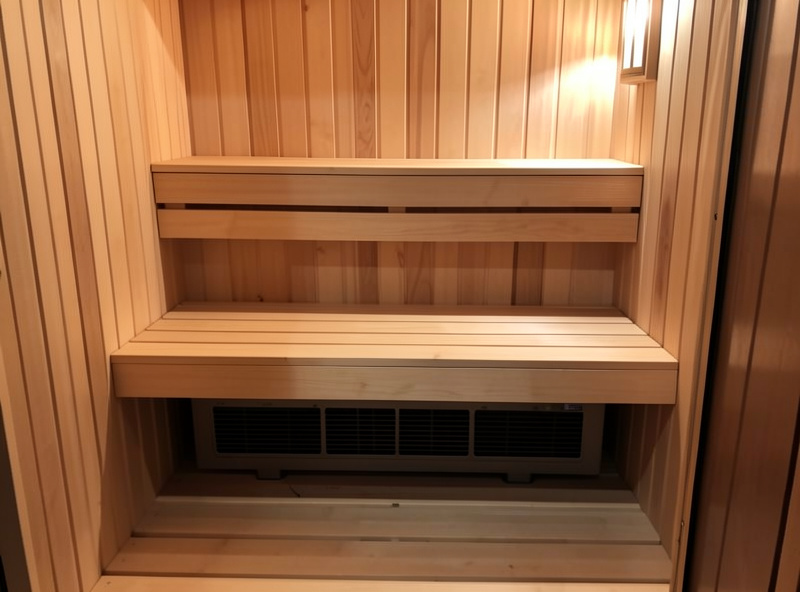
Mount the bench so it does not block the under-bench or foot panel’s radiant line — leave the front and underside open so the panel can warm your thighs and calves. A bench built as a solid enclosed box over a panel kills the lower-body heat that panel exists to deliver.
This is the mistake I made on my first build: a boxed-in bench front that turned my carefully placed under-bench panel into an expensive night light. Now I leave the bench front open or slatted, with clear space for the panel to project. If you are still mounting panels, the placement logic is in installing DIY panels and heater placement. Protect the bench top with a towel or bench cover so sweat never soaks into the bare wood.
One more clearance to respect: leave a finger-width gap between the back of the bench and the wall panels rather than pushing it tight. That gap lets the back-wall panel radiate down behind you and gives air a path to move, instead of trapping a damp, dead pocket where the bench meets the wall. It is a small detail, but on my thermal camera it is the difference between an evenly warm seat and a cool stripe right where your lower back rests against the bench.
Tools, Joinery, and a Removable Top
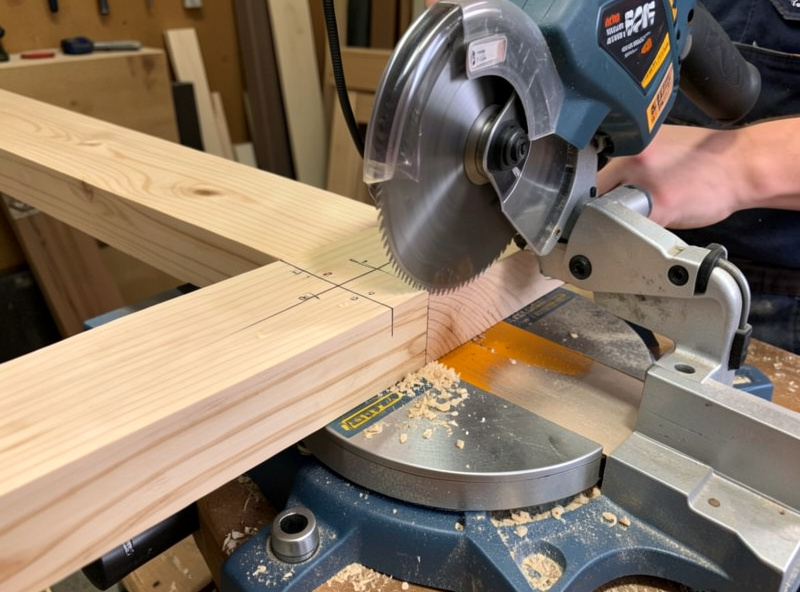
You need very little to build a sauna bench: a saw to cut slats and frame stock, a drill/driver, a sander, clamps, a square, and stainless fasteners. The skill is in the joinery, not the kit — a sturdy frame and a top that lifts out for cleaning beats anything fancier.
I build the support frame from the same hemlock, joined with stainless screws and glued only at joints that never touch skin, then lay the slatted top onto it. Making the top removable is the upgrade I now build into every bench: lift it off and the underside, the frame, and the floor panel all dry properly and get a wipe-down without contorting inside the cabin. Pre-drill near board ends so the wood does not split, and counter-bore every fastener below the surface. A bench that comes apart in thirty seconds is one you will actually keep clean across years of winter use, which is half the battle against the humidity that ages a cabin.
Frequently Asked Questions
What are the right dimensions for a sauna bench?
A single-tier bench is about 18 to 19 inches deep and 18 inches high, as wide as the wall allows. That lets an adult sit with feet flat and thighs supported. For a two-tier layout, set the upper bench near 36 inches with an 18-inch footrest below.
What wood should I use for a sauna bench?
Cool-touch, low-resin woods — hemlock, basswood, or aspen. They stay comfortable against bare skin in the heat and do not weep sap like pine or cedar. Keep the bench bare; never oil or varnish it, because coatings off-gas under repeated heating.
Should a sauna bench be slatted or solid?
Slatted, with about a centimeter gap between boards. The gaps let air circulate and the wood dry between sessions, and they stop the surface from holding a single hot patch over a heater panel. Round and sand every edge you will touch.
How do I fasten a sauna bench without burning myself?
Fasten from underneath with stainless screws into a hidden frame so no screw head ever contacts skin — hot metal against bare skin is a real burn risk. Keep all fasteners and any glue joints below the seating surface, never on top.
Why shouldn’t I box in the front of the bench?
A solid, enclosed bench front blocks the under-bench and foot panels’ radiant line, killing the lower-body warmth those panels exist to deliver. Leave the bench front open or slatted so the panel can project onto your thighs and calves.