Installing DIY infrared sauna panels comes down to three things: cover the body evenly (back, sides, under-bench, and feet), mount panels flush to the studs so the wood sits flat over them, and wire them on a dedicated GFCI circuit with the heater leads routed away from the bench. Get the coverage right and a 1,500-watt cabin feels warmer than a poorly placed 2,000-watt one.
Panel placement is the stage where I see the most DIY cabins go wrong — a hot shin and a cold shoulder, every time, because someone bought wattage instead of coverage. This is how I lay out and wire panels in the cabin I run, including the floor and foot panels beginners skip. It is a core stage of the DIY infrared sauna guide, and it follows the framing and insulation stages.
Pick Your Panel Type First
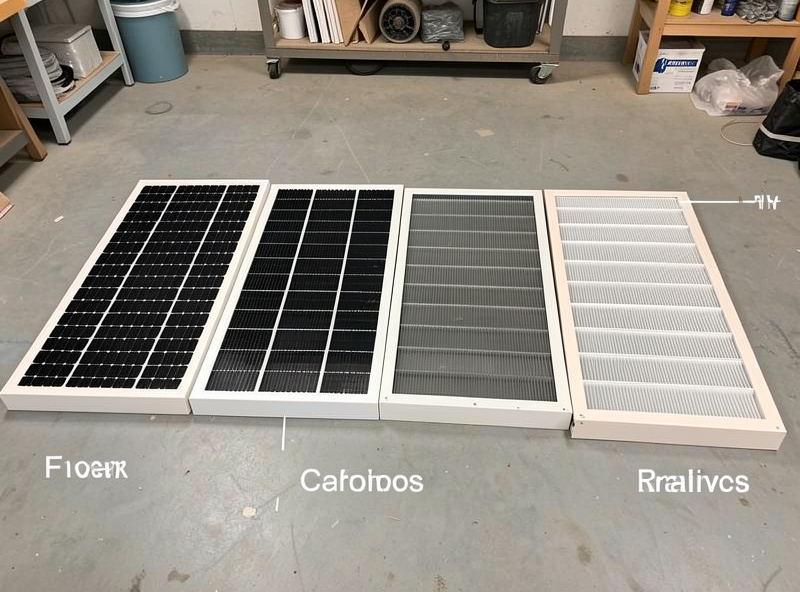
Carbon-fiber panels spread a wide, gentle radiant footprint at a lower surface temperature; ceramic panels run hotter and more focused; carbon/ceramic hybrids split the difference. Your choice changes how many panels you need and where they go — carbon’s broad footprint covers more wall per panel.
My daily-driver cabin runs a carbon/ceramic hybrid for exactly that balance: the carbon spreads warmth across the back while the ceramic gives a sharper radiant punch where I want it. Whatever you choose, buy panels rated for sauna use with their wattage and dimensions published, and treat “full-spectrum” stickers skeptically — often that is one weak NIR bulb bolted to a far-infrared panel. The full heater-type breakdown is in carbon vs ceramic and near, mid, and far infrared heaters.
Lay Out Coverage Before You Mount Anything
Aim for radiant coverage on the back wall, both side walls, under the bench, and near the feet. The two panels beginners skip — under-bench and foot-level — are exactly the ones that keep the lower body warm, because radiant heat does not fill a room the way air heat does.
I dry-fit every panel against the studs and mark its center in pencil before a single screw goes in. The back panels sit behind where your spine lands on the bench; side panels flank the torso; the foot panel faces the shins. Spacing matters: panels too far apart leave cold vertical stripes you will feel. The placement logic and cold-spot mapping is in heater placement and cold spots — I use a small thermal camera to confirm there are no gaps after the first burn-in.
| Location | Purpose | Common mistake |
|---|---|---|
| Back wall | Warms spine and core | Mounted too high above bench |
| Side walls | Wraps the torso | Spaced too far apart |
| Under-bench | Warms thighs and calves | Omitted entirely |
| Foot/floor | Warms feet and shins | Skipped, leaving cold feet |
Mount Panels Flush to the Frame
Mount each panel to the studs with its supplied brackets so the panel face finishes flush with — or just proud of — the surrounding wood lining, never recessed behind it where the wood would block the radiant output. Pre-drill into studs, not just the wood, so the weight is carried by the frame.
I install panels after the wiring is roughed-in but I leave the final wood courses around each panel until the connections are made and tested. Check each panel sits dead flat against the studs; a panel that bows will develop a hot spot on the high point. Leave the small manufacturer clearance around the panel edges for heat expansion — cramming wood tight against a hot panel is how trim scorches.
Wire on a Dedicated Circuit — and Route for Low EMF
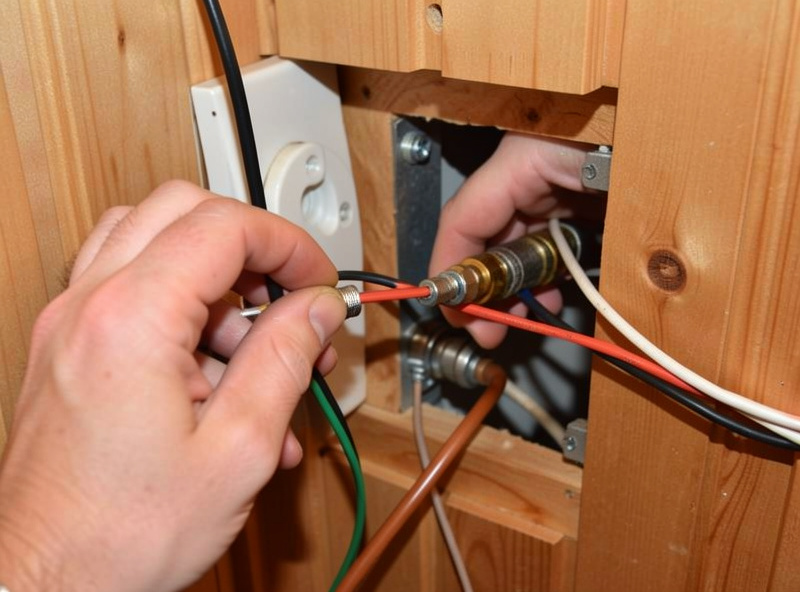
Wire the panels on a dedicated GFCI circuit sized to their total load, keeping the heater leads bundled separately from the controller harness and away from the bench. That separation is the single biggest lever on the EMF reading you will get at the seat.
This is the stage that justifies building yourself: a factory routes cable for assembly speed, but you can route it for the bench reading. I keep heater runs along the far side of the studs from where I sit, ground the metal frame, and make every connection in an accessible junction — never buried where I cannot reach it. If the load or the run is beyond your comfort, hire the electrical hour; the layout you can still own. The wiring detail is in wiring an outlet and the load math in breaker requirements.
Meter Before You Close the Wall
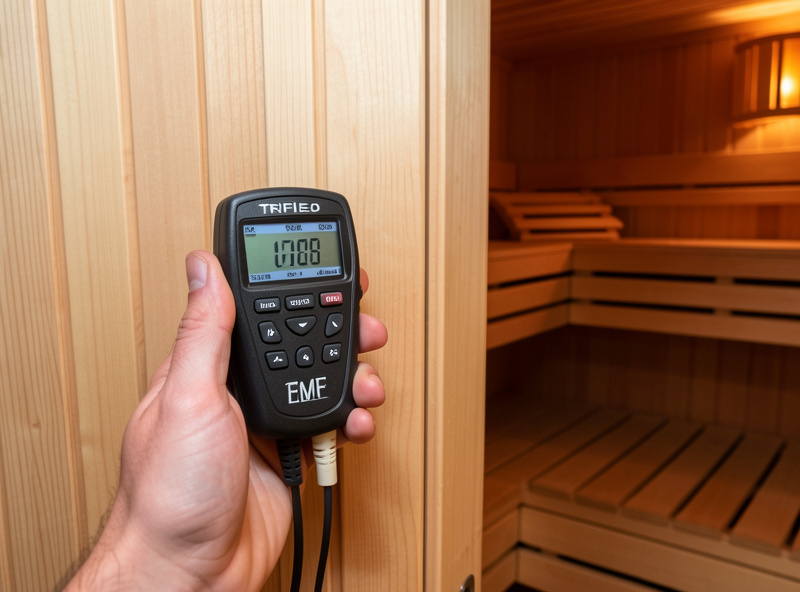
Power up and meter every panel with an EMF meter before the wood hides the wiring. On my TriField TF2 I check magnetic field at the panel face and, more importantly, at the bench position — the bench number is the one that matters, and it should read low with proper routing.
Metering at this stage is the only chance to fix a cable run that is too close to the seat without tearing the wall back open. I log the readings by panel and by bench position so I can compare against the next build. The method is in measuring EMF with a TriField, what the readings mean in low-EMF labeling, and the two field types in ELF vs RF. A capable meter such as the TriField TF2 is the one tool that turns “low-EMF” from a sticker into a number you verified yourself.
As an Amazon Associate I earn from qualifying purchases.
Frequently Asked Questions
How many infrared panels does a DIY sauna need?
A 2-person cabin typically uses six to eight panels: two on the back wall, one or two per side, one under the bench, and one at foot level. Coverage matters more than total wattage — even body coverage makes a 1,500-watt cabin feel warmer than a poorly placed 2,000-watt one.
Where should infrared sauna panels be placed?
Cover the back wall behind the spine, both side walls flanking the torso, under the bench for the thighs, and at foot level for the shins. The under-bench and foot panels are the ones beginners skip, and skipping them leaves a cold lower body no matter the set temperature.
Should sauna panels be flush with the wood or recessed?
Flush with the wood lining, or just slightly proud — never recessed behind it. Wood in front of a panel blocks the radiant output. Leave the small manufacturer clearance around each panel edge for heat expansion so the surrounding trim does not scorch.
How do I wire infrared sauna panels for low EMF?
Put them on a dedicated GFCI circuit sized to their load, bundle the heater leads separately from the controller harness, route cable along the studs away from the bench, and ground the metal frame. Then meter the bench position before closing the wall.
Can I install a full-spectrum NIR emitter myself?
Yes, but check the wiring carefully — NIR halogen emitters draw more current and run hotter than far-infrared panels, often pushing a build into 240V territory. Treat any cheap full-spectrum sticker skeptically; it is frequently one weak NIR bulb on an otherwise far-infrared panel.