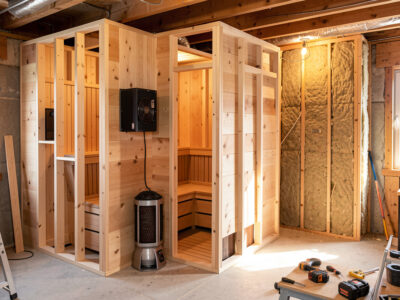
Converting a closet into an infrared sauna is the fastest DIY route because the structure already exists — you reuse three walls and a ceiling, so the job is insulate, line in wood, wire a dedicated GFCI circuit, mount panels, and add ventilation. A typical closet conversion runs 900 to 1,600 USD and 20 to 30 hours, roughly half the cost and time of framing a room from scratch.
I have built into both a framed corner and a borrowed closet, and for apartments or a spare reach-in the closet wins on speed every time. The catch is you inherit the closet’s dimensions and you must not skip the two things a closet was never designed for: a sealed vapor layer and real airflow. This is the conversion as I do it — part of the wider DIY infrared sauna guide, and the quicker sibling to building a room from scratch.
Is Your Closet Big Enough?
A closet needs roughly 36 by 36 inches of floor for one person and about 48 by 48 inches for two, with at least 72 inches of height to sit upright with panels on the walls. A standard reach-in closet (around 24 inches deep) is usually too shallow; a walk-in or a converted pantry is the sweet spot.
Measure the interior after you account for the wood lining and panels, which steal an inch or two off each wall. My rule is that if a person can sit on the planned bench with knees clear of the opposite panel, it works. Depth is the constraint that kills most reach-in closets — you cannot sit comfortably 20 inches from a hot panel. Check clearance against the flooring and clearance requirements before you commit.
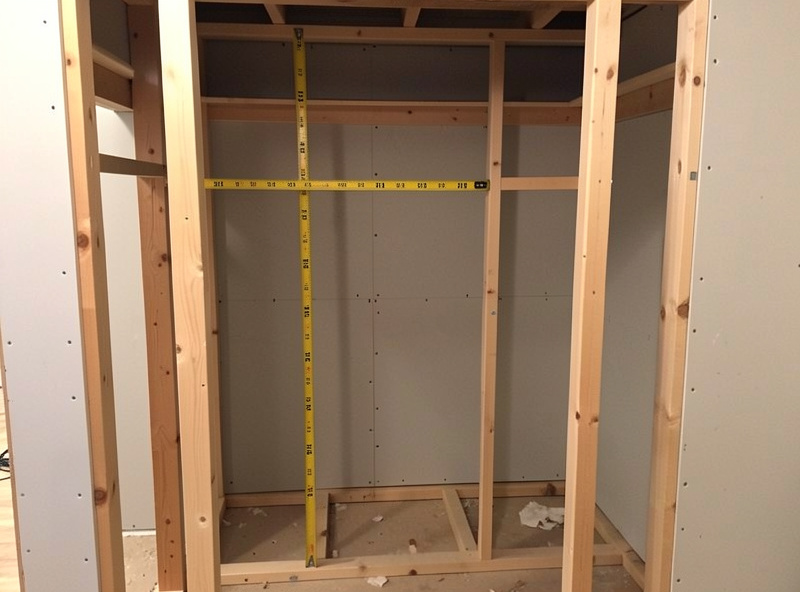
Strip, Inspect, and Plan the Circuit
Strip the closet back to the studs so you can insulate and route wiring properly — a sauna lined over existing painted drywall traps moisture and off-gasses paint under heat. With the bays open, plan where the dedicated circuit enters. A 1-person cabin pulls around 1,200 to 1,500 watts; a 2-person around 1,800.
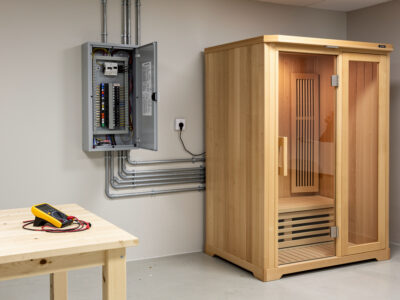
This is the moment to confirm you can get a dedicated GFCI circuit to the closet, because sharing a bedroom circuit will trip and is unsafe in a sweaty room. If the run is long or the panel is full, this is the hour to bring in an electrician — the carpentry you can own. The load and outlet detail is in wiring an outlet and breaker requirements.
| Step | What it covers | Skip it and you get… |
|---|---|---|
| Strip to studs | Remove drywall/paint | Paint off-gassing, trapped moisture |
| Insulate + foil | Foil-faced bays, taped seams | Long preheats, high kWh |
| Dedicated GFCI circuit | Own breaker, low-EMF routing | Tripped breakers, high bench EMF |
| Wood lining | Bare hemlock/basswood | Warping, hot-touch surfaces |
| Intake + outlet vents | Cross-flow drying | Mold in the wood within a season |
Insulate, Foil, and Wire
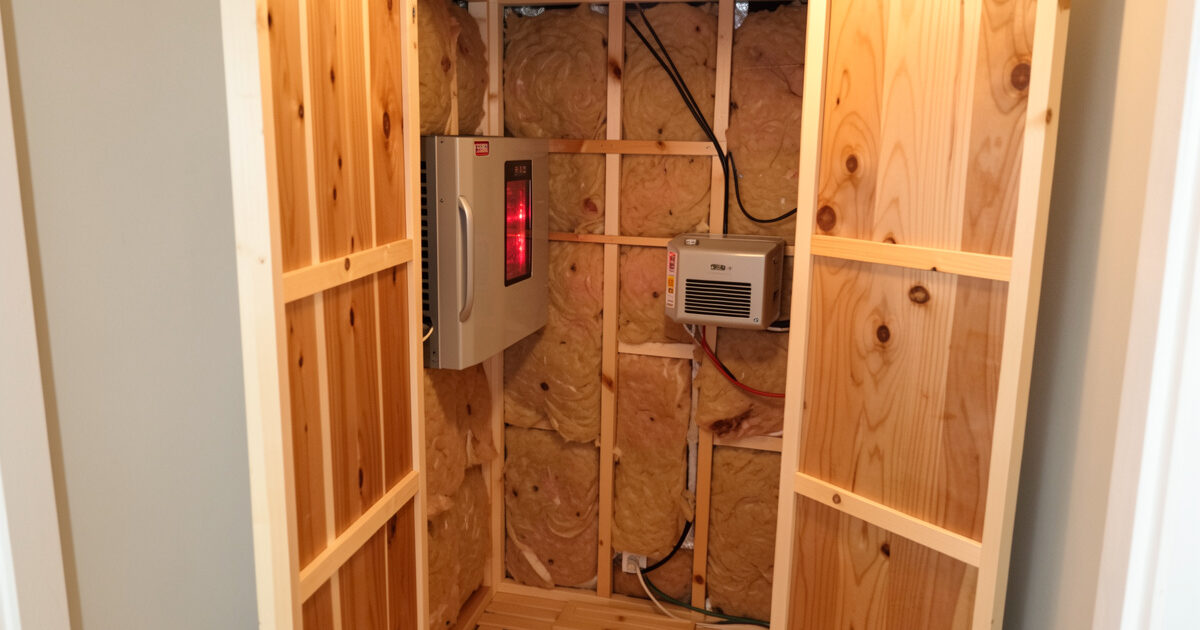
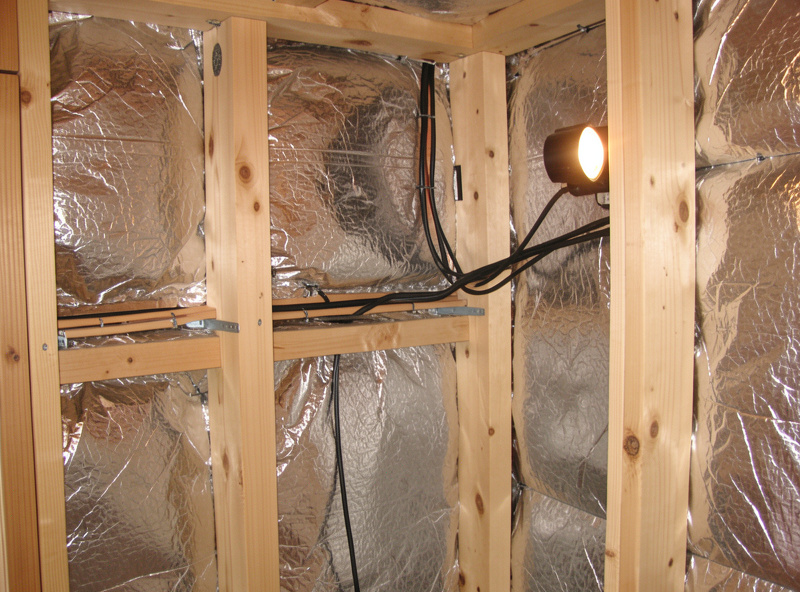
Fill the stud bays with insulation, face them with a foil vapor barrier on the interior side, and tape the seams — in an infrared cabin the foil reflects radiant heat back inward and shortens preheat. Then rough-in the low-EMF cable while the bays are still open.
Because a closet shares walls with living space, the vapor barrier matters even more here: you do not want session humidity driving into a bedroom wall. I separate the heater leads from the controller harness and keep cable away from the planned bench, then meter the run with my TriField before closing up. The insulation specifics are in insulating a DIY infrared sauna, and the EMF method in measuring EMF with a TriField.
Line It, Mount Panels, and Vent
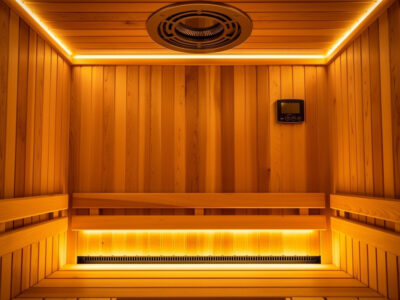
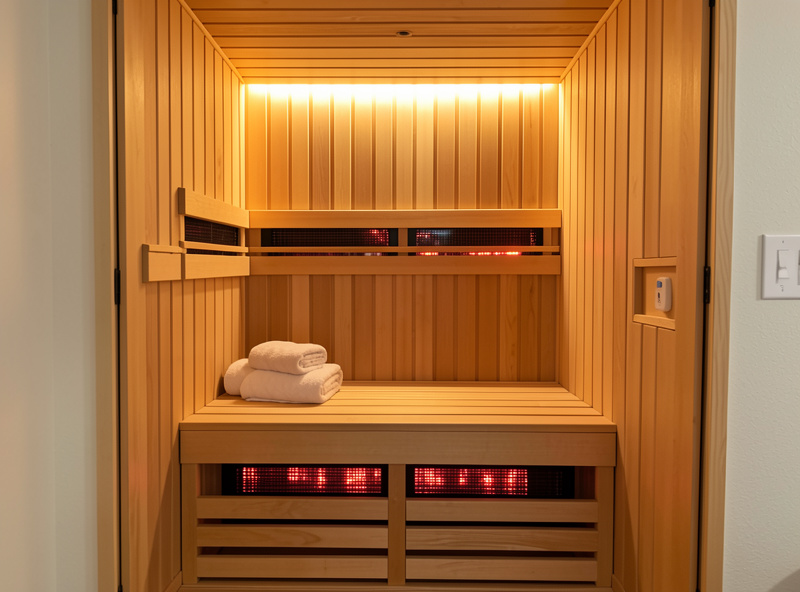
Line the closet in tongue-and-groove hemlock or basswood, leave the wood bare, then mount the panels at back, sides, under the bench, and near the feet. Finish with a low intake vent and a high outlet so the closet — which has no natural airflow — can dry between sessions.
Ventilation is the conversion’s signature risk: a closet is a sealed box by design, and without a cross-path you will find mold in the wood within a season. I cut an adjustable intake low on the door and an outlet high on the back wall, often venting into the room rather than outdoors for a simple indoor install. The wood choice is in best wood types, panel mounting in installing DIY panels, the bench in building sauna benches, and airflow in ventilation.
What a Closet Conversion Costs
A 1-person closet conversion typically lands at 900 to 1,400 USD and a 2-person at 1,200 to 1,600 USD, because you save the framing and one or two walls. Panels remain the biggest line at 400 to 800 USD, followed by interior wood at 300 to 500.
You still run a kill-a-watt on the result: my closet-scale builds draw around 0.8 to 1.1 kWh for a 40-minute session including preheat, slightly less than a larger framed room thanks to the smaller volume. The full money picture is in the DIY cost breakdown and the running numbers in electricity cost.
Add a Smart Plug Before You Close It Up
While the controller wiring is exposed, decide whether you want scheduled preheat. A closet sauna sits idle most of the day, and a smart plug on the controller lets you start the warm-up from your phone so the cabin is at felt heat when you walk over — the same rule engine I use to pre-heat the larger cabin.
I wire mine through a heavy-duty smart plug rated above the panel load, never a cheap lamp module, because these are resistive heaters drawing real current. Keep that plug and its wiring out of the bench EMF zone like any other run. It is a five-minute addition during the build and a genuine quality-of-life gain once the closet is in daily winter use.
Frequently Asked Questions
How big does a closet need to be for an infrared sauna?
About 36 by 36 inches of floor for one person and 48 by 48 inches for two, with at least 72 inches of height. A standard 24-inch-deep reach-in is usually too shallow to sit comfortably; a walk-in closet or converted pantry works much better.
Do I have to remove the drywall in the closet?
Yes, strip it back to the studs. Lining a sauna over painted drywall traps moisture in the wall and off-gasses paint under repeated heat. Stripping to studs also lets you insulate the bays and route low-EMF wiring properly before lining in wood.
How much does it cost to convert a closet to an infrared sauna?
Roughly 900 to 1,600 USD because you reuse existing walls and ceiling. Heater panels are the biggest line at 400 to 800 USD, then interior wood at 300 to 500. That is about half the cost of framing a comparable room from scratch.
Does a closet sauna need ventilation?
Absolutely. A closet is a sealed box by design, so you must add a low intake vent and a high outlet to create a drying cross-path. Without airflow, session humidity stays trapped in the wood and mold appears within a season.
Can I vent a closet sauna into the room instead of outside?
For an indoor install, venting the outlet into the surrounding room is common and acceptable — the goal is a cross-flow that lets the cabin dry between sessions. Just keep an intake low and the outlet high so air actually moves through the box.