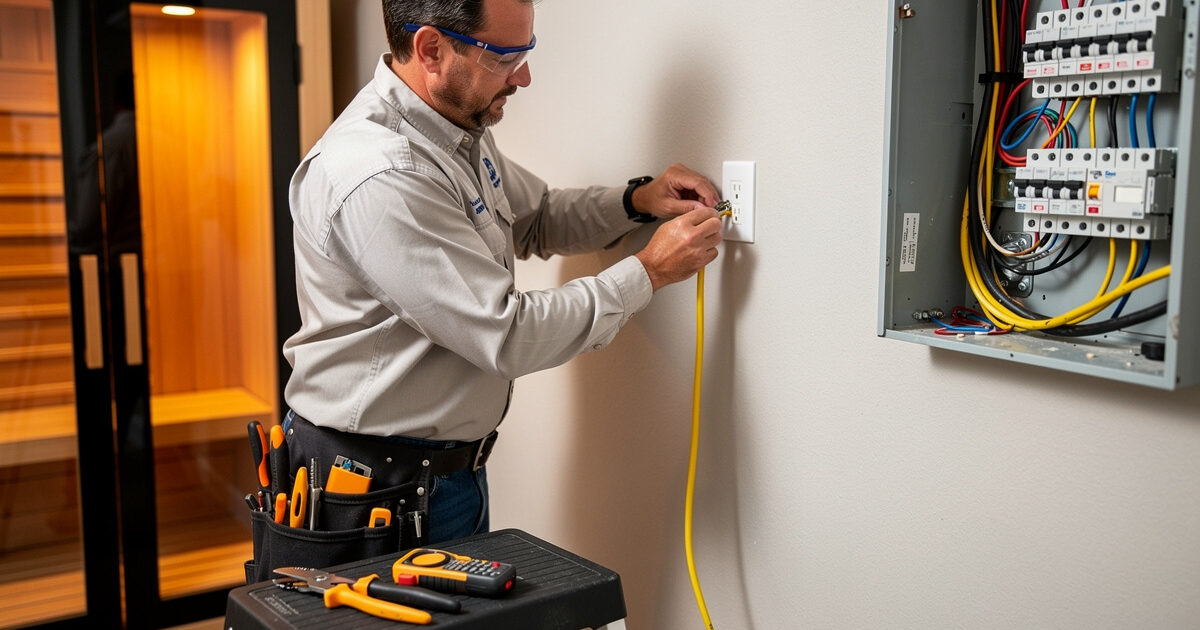
Wiring an outlet for an infrared sauna means running a dedicated, correctly sized circuit from your panel to a GFCI-protected receptacle or hardwired connection that matches the cabin’s amperage. For a typical 120V cabin that is a dedicated 20A circuit on 12-gauge copper with a GFCI device; larger 240V units need a two-pole circuit and often a hardwired feed. This is real electrical work, and once new wire is involved it belongs to a licensed electrician.
I will be direct about that boundary throughout this guide, because a sauna circuit is a continuous load in a damp environment, which is exactly the combination where a wiring shortcut becomes a fire or shock risk. What I can do is explain what the job involves so you understand what you are paying for, can confirm the right setup, and can do the planning that makes the electrician’s visit short. I wired the dedicated circuit that feeds the cabin I run, and the planning below is what made that a clean job rather than a guess. Carbon-panel and ceramic-rod cabins draw differently at steady state, so it is worth confirming which heater type you have before sizing the circuit — the carbon vs ceramic infrared sauna guide covers draw patterns and which heater type tends to run more constant current.
As an Amazon Associate I earn from qualifying purchases. Some links below are affiliate links, at no extra cost to you.
Why It Has to Be a Dedicated Circuit
An infrared sauna draws near its rated current continuously for the whole session, so it needs its own dedicated circuit rather than sharing a line with outlets, lights, or appliances. A shared circuit trips under the combined load and, worse, runs the wiring warm for long stretches, which is exactly the condition standard practice avoids by sizing continuous loads to 80 percent of the breaker rating. A dedicated line is not optional here; it is the whole point.
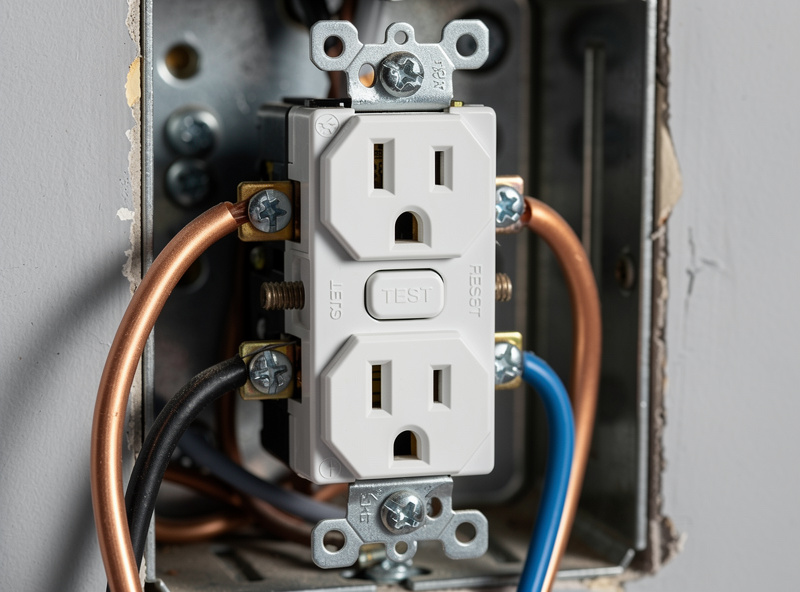
This is the same conclusion the hub’s installation requirements guide reaches and the breaker requirements guide sizes in detail: read the nameplate amperage, give the cabin its own circuit one size up, and never share it. Everything about wiring the outlet flows from that single requirement, because the dedicated circuit is what the receptacle terminates.
GFCI Protection Is Required
Because a sauna mixes sweat, bare feet, and electricity in a small space, the circuit must be GFCI-protected, either with a GFCI receptacle at the outlet or a GFCI breaker at the panel. A GFCI device detects a tiny imbalance between the hot and neutral conductors, the signature of current leaking through a person or to ground, and cuts power in milliseconds. In a damp environment this is the protection that turns a potentially fatal fault into a tripped device.
On a 120V cabin a standard GFCI receptacle handles it; on a 240V circuit your electrician uses a two-pole GFCI breaker because there is no neutral in a typical 240V sauna feed. Either way, the GFCI is non-negotiable and is one of the reasons this is electrician work, since the device has to be wired and tested correctly to actually protect you. A 20A GFCI receptacle is the part a 120V install uses, though I would have a professional install it.
Outlet and Connection Types Compared
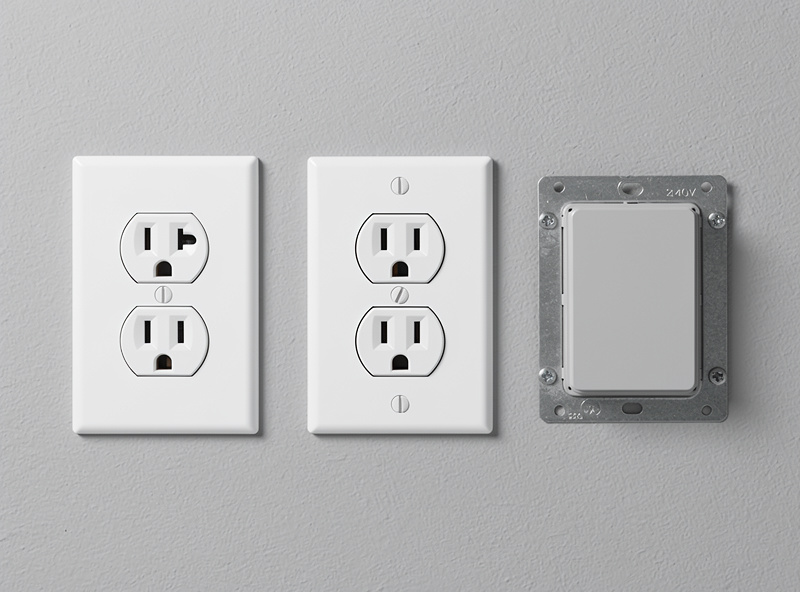
The connection your cabin needs depends on its voltage and whether the manufacturer designed it for cord-and-plug or hardwiring. Here is how the common options line up so you know what to expect at the wall before any work begins.
| Cabin | Circuit | Connection | Wire | GFCI device |
|---|---|---|---|---|
| 1-person 120V | 15–20A | 5-15 / 5-20 receptacle | 14–12 AWG | GFCI receptacle |
| 2-person 120V | 20A | 5-20 receptacle | 12 AWG | GFCI receptacle |
| 2-person 240V | 20A | 6-20 receptacle | 12 AWG | 2-pole GFCI breaker |
| 3–4-person 240V | 30A | Hardwired / 6-30 | 10 AWG | 2-pole GFCI breaker |
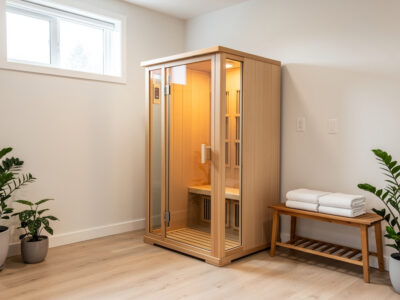
Match the receptacle to the cabin’s plug, never the other way around, and confirm whether your unit is cord-and-plug or hardwired before any wiring is run. Ordering a hardwired cabin and expecting to plug it in is a classic mismatch that the breaker guide warns against. A simple non-contact voltage tester lets you confirm what an existing outlet carries before you assume it will work.
What You Can Plan Before the Electrician Arrives
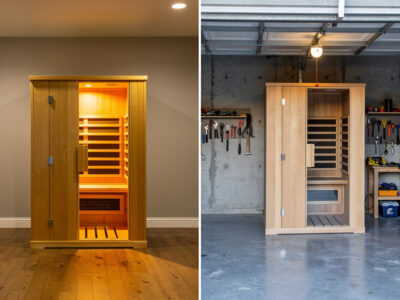
The owner’s job is the planning that makes the wiring quick: locate the panel, confirm it has free breaker slots and spare capacity, and map the shortest sensible route from the panel to where the outlet needs to be. The closer the cabin sits to the panel, the shorter the cable run and the lower the labor cost, which is part of why basements and garages, often near the panel, are easy install rooms.
I sketch the panel-to-outlet route, note whether it runs through finished walls or exposed basement framing, and confirm the cabin’s exact amperage and connection type from its spec plate. Handing all of that to the electrician on arrival turns a discovery visit into a quick, quoted job. Where the cabin goes is a related decision, covered in the room siting guide, since the room and the wiring route are linked.
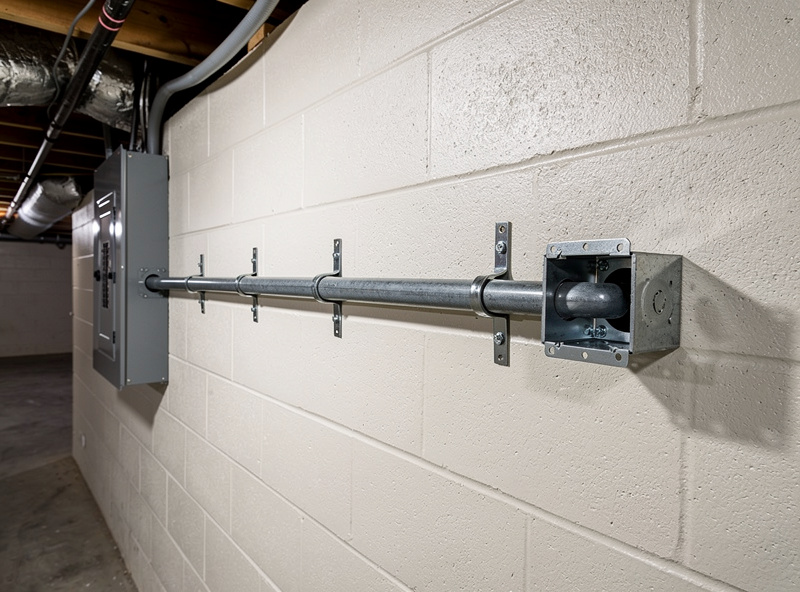
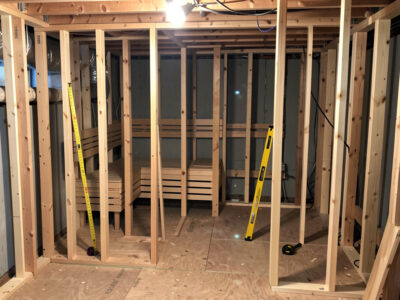
The route also tells you how visible the wiring will be. In an unfinished basement or garage, the cable can run in surface conduit clipped neatly along the framing, which is fast and inexpensive. In a finished room the electrician has to fish the cable inside the walls, which is more labor and may mean a little patching afterward. Knowing which situation you are in helps you anticipate the cost and decide whether a slightly closer outlet location would make the whole job simpler.
Check the Panel Before You Buy
The most expensive surprise in a sauna wiring job is discovering the panel is full or near its capacity limit, because then a simple circuit becomes a subpanel or service upgrade. Before you commit to a cabin, open the panel cover and look for free breaker slots, two adjacent ones if the unit is 240V, and consider whether the panel’s overall rating has room for the added continuous load. A 120V cabin usually just needs one free slot, which most panels can spare.
If the panel is full, an electrician can sometimes use a tandem breaker or add a subpanel, but both add cost and bring the wiring firmly into professional territory. This is the same check the breaker guide stresses, and doing it before you order means you either choose a cabin your panel can feed or budget the electrical work up front rather than being blindsided on delivery day.
Why This Is Not a DIY Step for Most People
Running a new circuit involves working in your panel, sizing conductors to the breaker, installing GFCI protection, and meeting local electrical code, and getting any of those wrong creates a fire or shock hazard in a damp room. Many jurisdictions also require an electrical permit and inspection for new circuits, which the permits and power guide touches on for outdoor installs. Unless you are genuinely qualified and permitted, this is the step to hand off.
I say this as someone who did wire my own circuit: I was comfortable in the panel, sized the conductors correctly, and pulled a permit. If any part of that sentence does not describe you, the cost of an electrician is trivial next to the cost of a continuous, damp-environment circuit done wrong. There is no shame in owning the planning and the cabin assembly, which the assembly guide covers, while letting a professional handle the wire.
One last practical note: when you do book the electrician, mention the word continuous and the GFCI requirement explicitly, because a sauna is an unusual load and you want the circuit sized for sustained draw rather than treated like a casual outlet. A good electrician will already know this, but stating the cabin’s nameplate amperage, its connection type, and that it is a continuous, damp-environment load up front gets you a circuit that is comfortable for the life of the sauna rather than one that only just passes on paper.
Frequently Asked Questions
What kind of outlet does an infrared sauna need?
A dedicated, GFCI-protected outlet sized to the cabin’s amperage. A typical 120V cabin uses a dedicated 20A circuit with a GFCI receptacle on 12-gauge wire, while larger 240V units need a two-pole circuit and often a hardwired connection.
Can I wire a sauna outlet myself?
Only if you are genuinely qualified and permitted. Running a new circuit involves panel work, conductor sizing, GFCI protection, and code compliance in a damp environment. For most people this is licensed-electrician work, and many areas require a permit and inspection.
Does a sauna outlet need GFCI?
Yes. A sauna mixes sweat, bare feet, and electricity, so the circuit must be GFCI-protected with either a GFCI receptacle or a GFCI breaker. The device cuts power in milliseconds if current leaks through a person or to ground.
What wire size does an infrared sauna outlet use?
The wire follows the breaker. A 20A circuit typically uses 12-gauge copper and a 30A circuit uses 10-gauge. Undersizing the conductor for the breaker is a fire risk, which is why new wiring should be sized and run by a qualified electrician.
Should an infrared sauna be hardwired or plugged in?
It depends on the cabin. Smaller 120V units are usually cord-and-plug and just need a matching dedicated outlet, while larger 240V cabins are often hardwired to the circuit. Check the spec sheet’s connection type before any wiring is run.