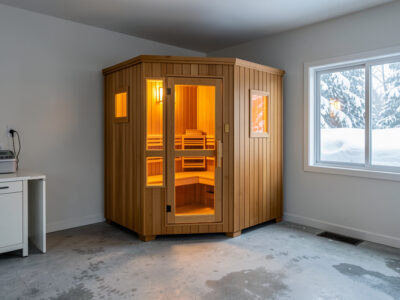
Building an infrared sauna room from scratch means framing a small, sealed timber box on 16-inch centers, insulating and vapor-controlling it, running a dedicated GFCI circuit, then lining it in sauna wood and mounting panels. A 2-person framed room runs about 1,500 to 2,200 USD in materials and 40 to 50 hours — the most work of any DIY route, and the most control over the result.
I framed the cabin I run into a basement corner after years of living with prefab units, and the freedom to set my own dimensions and route my own wiring is exactly why I would never go back. This is the frame-to-finish walkthrough — the order I build in, where the cold spots hide, and the two stages where a mistake costs you a whole wall. It is one path in the broader DIY infrared sauna guide; if you have an existing closet, the closet conversion is faster.
Plan the Box Around the Circuit
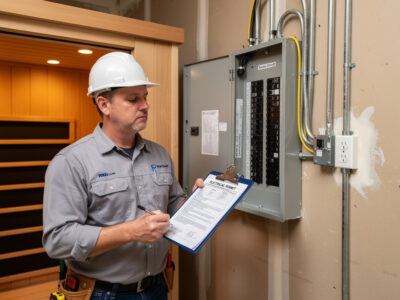
Before any lumber, decide where the dedicated circuit lands and size the room to it. A 2-person infrared cabin pulls 1,500 to 1,800 watts and wants a dedicated 20A 120V circuit with GFCI; siting the room near the panel saves cable and headaches. Plan location first, dimensions second.
I keep interior dimensions tight on purpose — roughly 48 by 48 inches for two people — because a smaller volume reaches felt heat faster and meters lower kWh on my kill-a-watt. Leave clearance for the door swing and for the passive vents you will cut later. The siting trade-offs are in where to install an infrared sauna, and the load math in 240V and breaker requirements.
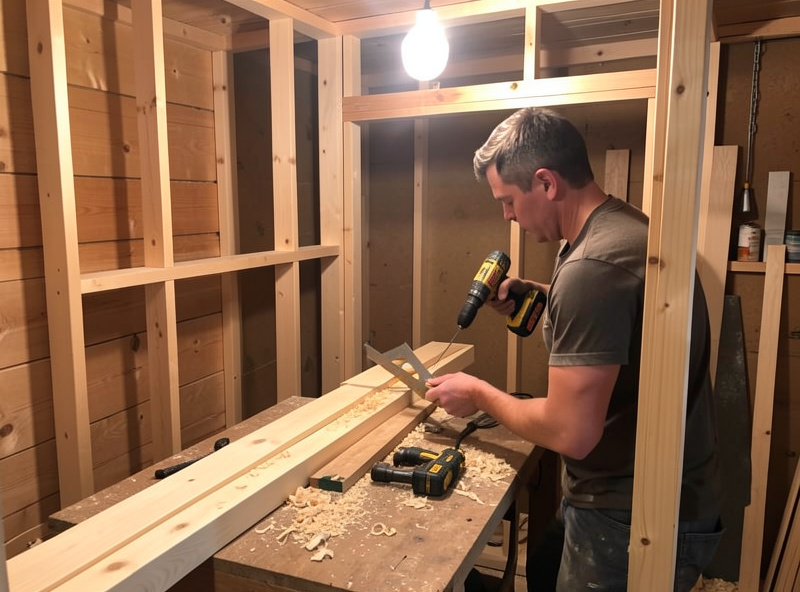
Frame the Walls and Floor
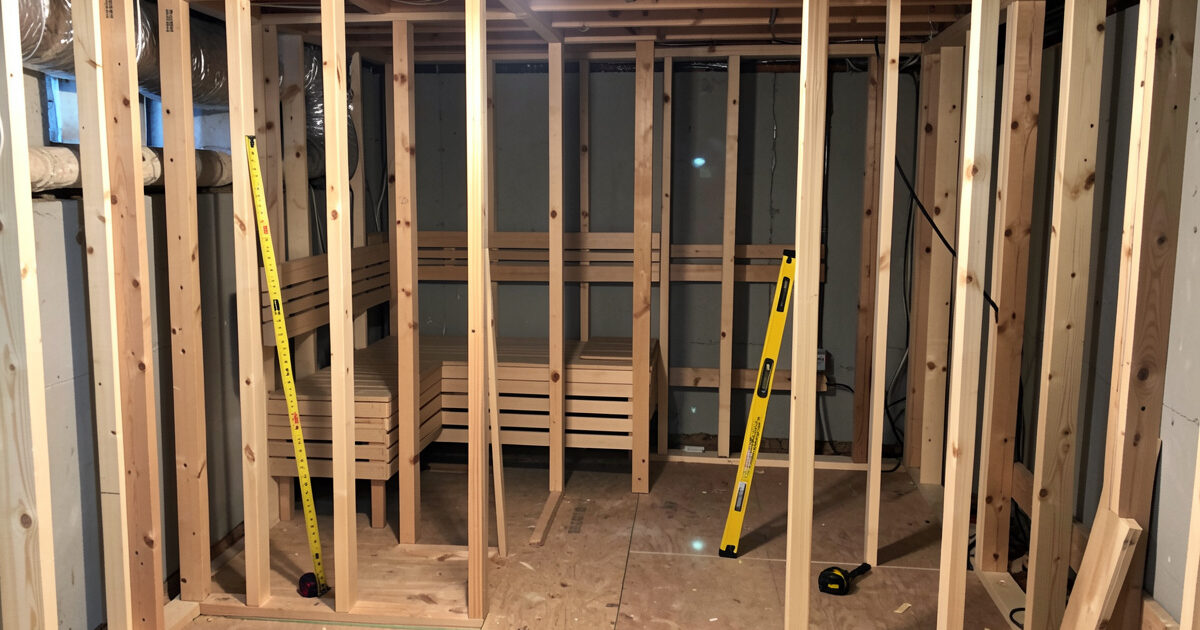
Frame the walls with standard 2×4 studs on 16-inch centers, keeping everything square and plumb — a racked frame telegraphs into gaps in the wood lining later. Build the walls flat on the floor, stand them, then tie them at the top plate. A flat, level subfloor is what lets the duckboard and benches sit true.
I sheath only the outside of the frame, leaving the stud bays open from the inside for insulation and wiring. The door is the part people underestimate: it has to seal to hold heat, so I hang it on a squared, shimmed jamb and add a simple compression seal. Cut your rough opening for a slight reveal so the door does not bind once the wood lining adds thickness. Keep one stud bay clear where the controller and cable will land.
Insulate, Then Control Vapor
Fill the stud bays with insulation and face the warm side with a foil vapor barrier — in an infrared cabin the foil also reflects radiant heat back inward, shortening preheat. Skipping insulation is the most common reason a DIY room reads high kWh and never quite feels warm.
I run foil-faced rigid or batt insulation in the bays, then tape the seams so the box is genuinely sealed before the wood goes up. The vapor barrier faces the interior, the warm-in-winter side, so moisture cannot drive into the cold framing. The full R-value and foil discussion is in insulating a DIY infrared sauna — this is the cheapest performance you will buy in the whole build.
Rough-In the Wiring and Panels
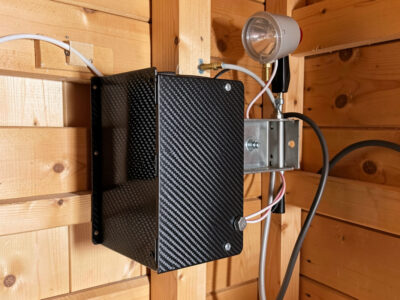
With the bays open, this is the only moment to route low-EMF wiring and mark panel positions. Pull the dedicated circuit, separate the heater leads from the controller harness, and keep cable runs away from where the bench will sit — that routing is what your bench EMF reading depends on.
I dry-fit every panel against the studs and mark its center in pencil before closing anything, including the floor and under-bench panels beginners forget. Then I meter the planned runs with the TriField before the wood hides them. The wiring detail is in wiring an outlet, the panel walkthrough in installing DIY infrared panels, and the metering method in measuring EMF with a TriField. Building yourself is the whole reason you can control the EMF the way the low-EMF guide describes.
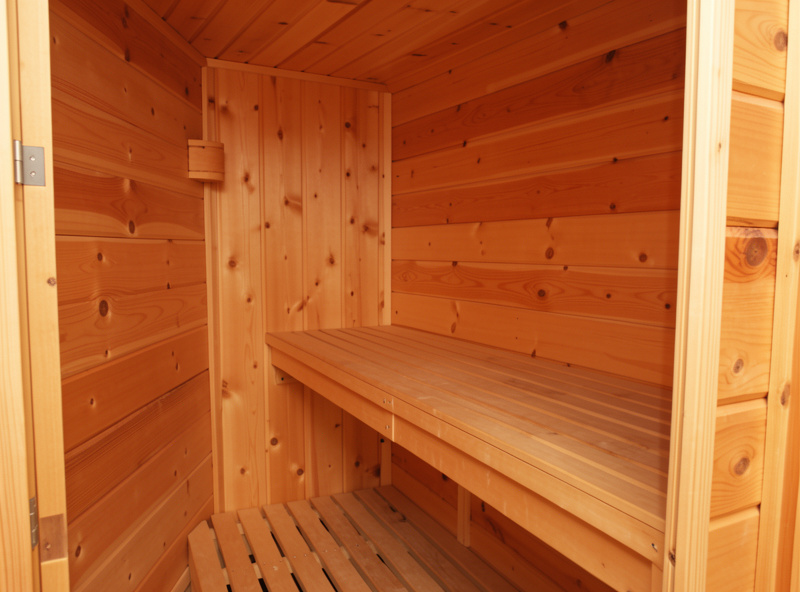
Line It in Wood and Mount the Panels
Line the interior in tongue-and-groove sauna wood — hemlock or basswood stay cool to the touch and resist warping in heat. Run the boards over the foil, leaving the marked panel openings clear, then mount the panels and make the final connections.
My cabin is Canadian hemlock for the cool-touch reason; I leave it bare, because oiling or varnishing interior sauna wood off-gasses under repeated heat. The species comparison is in best wood types for a DIY sauna, and the heater-type decision behind your panels in carbon vs ceramic. Carbon panels give a wider, gentler radiant footprint; ceramic runs hotter and more focused.
Ventilation, Bench, and First Burn-In
Finish with a low intake vent and a high outlet vent so the sealed box can dry between sessions — no airflow means humidity trapped in the wood and mold within a season. Then build the bench clear of the lower panels and run a first burn-in.
I cut a small adjustable intake near the floor and an outlet high on the opposite wall; that cross-path is what keeps my cabin dry with the door shut. The bench has to clear the under-bench panel’s radiant line — details in building sauna benches and airflow in ventilation. Run the empty cabin warm for an hour or two first to drive off any manufacturing residue from the panels before your first real session. For the running numbers, see the DIY cost breakdown.
Frequently Asked Questions
What size should I frame an infrared sauna room?
For two people, roughly 48 by 48 inches of interior space is comfortable and efficient. A tighter volume reaches felt heat faster and meters lower kWh per session. Leave extra room only for the door swing and the passive vents, not for empty air you have to heat.
What wood do I use to line a DIY sauna room?
Tongue-and-groove hemlock or basswood are the practical choices because both stay cool to the touch and resist warping in heat. Leave the interior wood bare — never oil or varnish it, because coatings off-gas under repeated heating.
Do I need a vapor barrier in an infrared sauna?
Yes. Face the insulation with a foil vapor barrier on the interior warm side. In an infrared cabin the foil also reflects radiant heat inward, shortening preheat, while keeping moisture out of the cold framing. Tape the seams so the box is genuinely sealed.
When do I run the electrical during the build?
Rough-in the wiring while the stud bays are still open, before any insulation or wood goes up. That is the only moment to route low-EMF cable away from the bench, mark panel positions, and meter the planned runs. Closing the wall first means tearing it back open.
How long does it take to build a sauna room from scratch?
A framed 2-person room takes about 40 to 50 hours of work and runs 1,500 to 2,200 USD in materials. Spread over weekends, most builders finish in two to four weeks, including time to seal joints and burn-in the panels before first use.