An infrared sauna needs passive ventilation, typically a floor-level intake and an adjustable ceiling or upper-wall vent, to move fresh air through during a session and to manage the small amount of humidity sweat produces. Infrared cabins run cooler and drier than traditional steam rooms, so they do not need aggressive exhaust, but they are not zero-humidity either, and a sealed box traps moisture in the wood over time. The vents plus a post-session dry-out are what keep the cabin fresh.
Ventilation is the install detail almost nobody asks about until the cabin starts to smell musty after its first winter, and by then the wood has already taken on moisture it should have shed. I run my own cabin with the ceiling vent cracked during sessions and fully open afterward, and that simple habit is the difference between hemlock that stays flat and tight and hemlock that cups at the panel seams. Here is how the airflow actually works, what the vents do, and the drying routine that prevents mold.
As an Amazon Associate I earn from qualifying purchases. Some links below are affiliate links, at no extra cost to you.
Why an Infrared Sauna Needs Ventilation
Ventilation does two jobs: it keeps fresh, breathable air moving past you during a session, and it gives the moisture from sweat a path out so it does not soak into the wood. Even though an infrared cabin stays far drier than a steam room, a 30-to-45-minute session in a sealed box still raises the interior humidity, and wood that never dries between uses eventually warps, smells, and can grow mold at the seams.
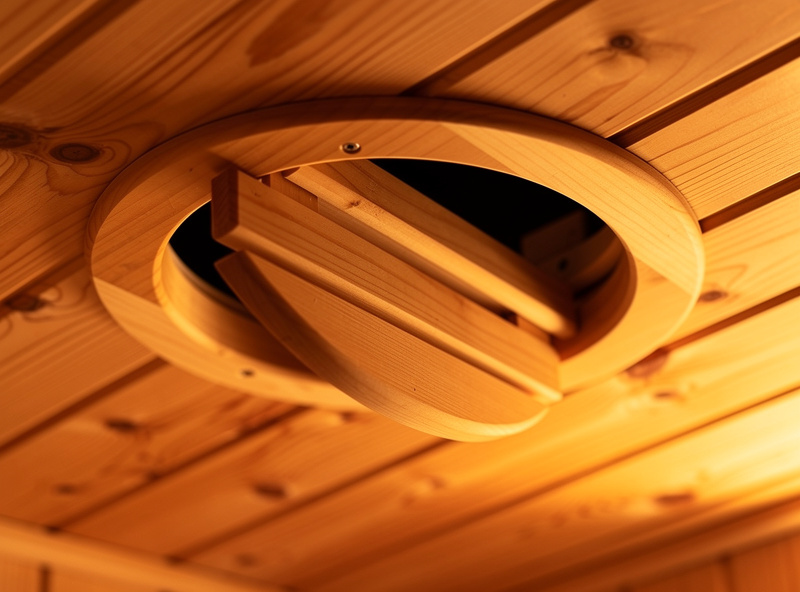
Comfort is the other half. A small amount of fresh air exchange keeps the cabin from feeling stuffy, which matters because the goal is a relaxed session, not a struggle for air. The vents are sized to let that happen passively, without a powered fan, by using the natural rise of warm air. This is part of the same set of install fundamentals, alongside the floor and the dedicated circuit, that the hub’s installation requirements guide treats as non-negotiable.
How the Airflow Path Works
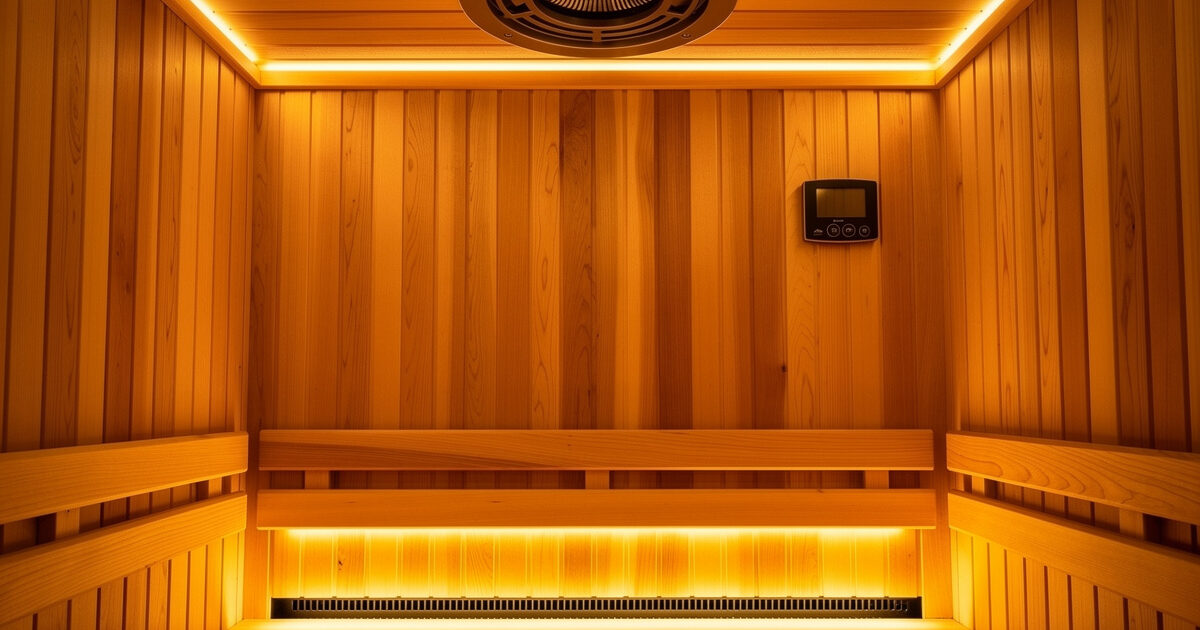
The standard design uses a low intake near the floor and a high outlet near the ceiling, so cooler fresh air enters at the bottom, warms, rises, and exits at the top, creating a gentle continuous exchange. This is passive convection, the same principle that makes a chimney draw, and it needs no fan because the temperature difference does the work. The ceiling vent is usually adjustable so you can tune how much exchange you want.
The practical takeaway is that both openings need to stay clear. If you block the floor intake by jamming the cabin tight to a wall or sitting a bag against it, the convection stalls and the air goes stale. Leaving the manufacturer’s clearance, which the flooring and clearance guide covers, is what keeps that low intake fed with fresh air. During a session I keep the ceiling vent partly open; for a hotter, more enclosed feel some people close it more, but never fully sealed.
Ventilating the Room Around the Cabin
The cabin’s own vents handle the interior, but the room it sits in also needs to be able to shed the heat and moisture the cabin gives off, especially in a small or closed space. In a tight, unventilated room I crack a window or the room door during and after a session so the warm, slightly humid air the cabin releases has somewhere to go rather than sitting against the walls.
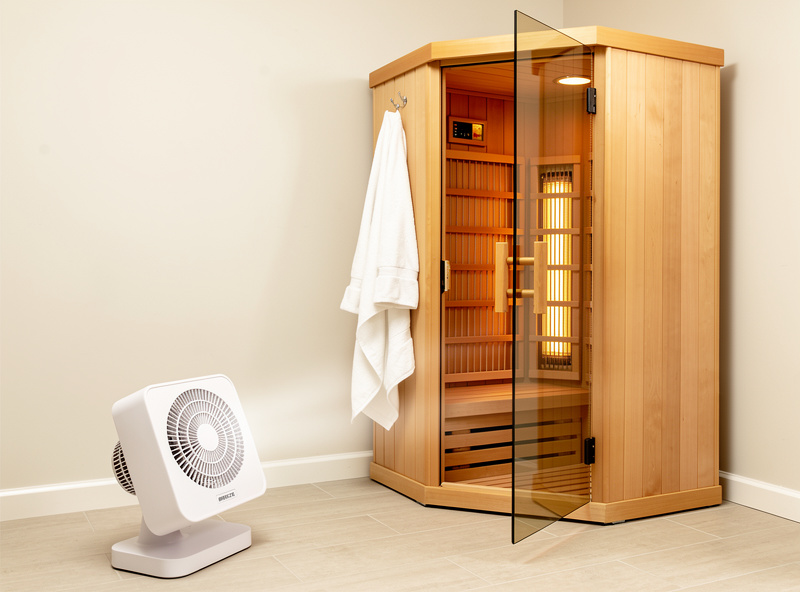
This is why a large bathroom with an exhaust fan, or a basement with a dehumidifier, makes such a good home for a sauna, the room handles what the cabin sheds. In a sealed spare room with no airflow, the moisture has nowhere to go and the room itself can feel damp over time. A small quiet fan aimed at the open cabin after a session moves that air along and speeds the dry-out considerably.
Adding Ventilation to a Converted Room or DIY Build
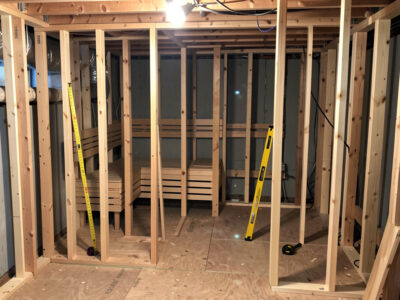
If you are building a sauna into a closet or converting a small room rather than using a prefab cabin with factory vents, you have to create the intake-and-outlet path yourself, low intake on one side and a high outlet on the opposite side. The same passive convection rule applies: get fresh air in low and let warm, moist air out high, ideally on opposite walls so the air sweeps across the space rather than short-circuiting.
The common mistake in a DIY build is sealing the room too well in pursuit of heat retention and then having nowhere for moisture to go. You want the space reasonably tight for efficient heating but with a deliberate, adjustable vent path. An adjustable wall vent at floor level and another near the ceiling, sized to the room, replicate what a prefab cabin provides. This is one place where it genuinely pays to follow the heat-retention-versus-airflow balance rather than maximizing one at the expense of the other.
Seasonal Differences in Ventilation
How aggressively you ventilate shifts a little with the season, because the air you are exchanging with changes. In a dry winter, like the long Swedish ones I run my cabin through, the surrounding air is parched and the cabin dries out fast once opened, so the post-session airing is quick and effective. In a humid summer the exchange air carries more moisture, so the dry-out takes longer and a fan or dehumidifier in the room earns its keep.
None of this changes the basic routine, it just changes how long the cabin takes to dry back down. The hygrometer makes this visible: in winter the interior humidity falls quickly after you open up, while in a muggy summer it lingers and tells you to leave the cabin open longer or move some air with a fan. Reading the room and the season rather than running the same rigid timer is what an experienced owner does, the same way I adjust the set temperature for the season, and it keeps the wood happy year-round.
The Post-Session Dry-Out Routine
After every session I open the ceiling vent fully and prop the glass door, leaving the cabin to air out for an hour or so, which is the single most important thing you can do to prevent mold and keep the wood flat. The interior is warm and slightly humid right after use, and the warmth actually helps it dry quickly if you give the moisture a path out. Wipe down any visible sweat on the benches and floor while you are at it.
This routine takes 30 seconds of effort and an hour of unattended drying, and skipping it is the root cause of nearly every musty-cabin complaint I hear. A cabin that airs out after each use stays fresh for years; one that gets sealed shut wet develops a smell and, eventually, mold at the seams. Tracking the interior humidity with a small digital hygrometer tells you when the cabin has actually dried back down, and it is reassuring to watch the number drop after you open it up.
Preventing Mold and Odor
Mold in an infrared sauna comes almost entirely from trapped moisture, so the prevention is simply consistent ventilation and drying rather than any special treatment. Keep the vents clear and open, run the post-session dry-out every time, and do not store wet towels inside the closed cabin between uses. Wood that dries fully between sessions has no standing moisture for mold to use.
If you do notice the start of an odor, it usually means the cabin has not been drying out properly, and the fix is to leave it open and ventilated for a full day to reset, then keep up the routine. Avoid harsh chemical cleaners on the wood; a wipe-down with a mild, sauna-safe cleaner and thorough drying is all the interior needs. Good ventilation is preventive maintenance, and it is far easier than dealing with a problem after it starts.
Frequently Asked Questions
Does an infrared sauna need ventilation?
Yes. An infrared cabin needs passive ventilation, usually a floor-level intake and an adjustable ceiling vent, to keep fresh air moving during a session and to let the moisture from sweat escape. Without it, trapped humidity warps the wood and can cause mold.
How does infrared sauna ventilation work?
It uses passive convection. Cool fresh air enters a low floor intake, warms and rises, and exits an upper ceiling vent, creating a gentle continuous exchange with no fan needed. The temperature difference drives the airflow on its own.
Should I leave the sauna vent open during a session?
Keep the ceiling vent at least partly open during a session for fresh air exchange. Some people close it more for a hotter, more enclosed feel, but never seal it fully, since the cabin still needs some airflow while in use.
How do I dry out my infrared sauna after use?
Open the ceiling vent fully, prop the glass door, and let the cabin air out for about an hour after each session. Wipe down any sweat on the benches and floor. This post-session dry-out is the main thing that prevents mold and odor.
Why does my infrared sauna smell musty?
A musty smell almost always means trapped moisture from not drying out the cabin between sessions. Leave it open and ventilated for a full day to reset, then keep up a consistent post-session dry-out routine to keep it fresh.