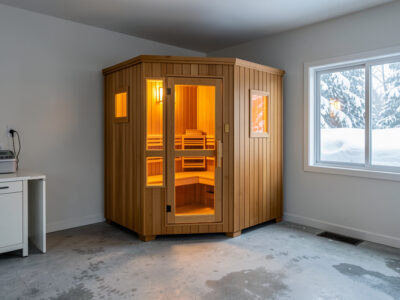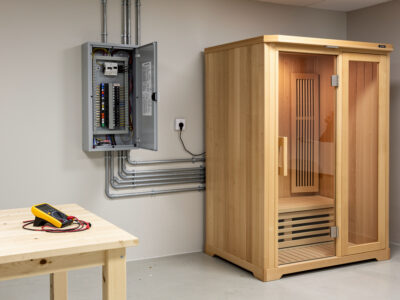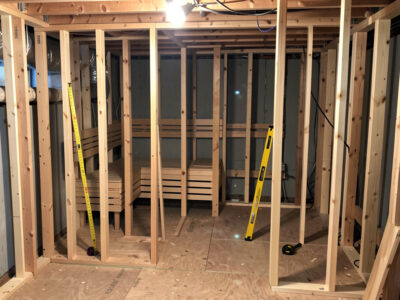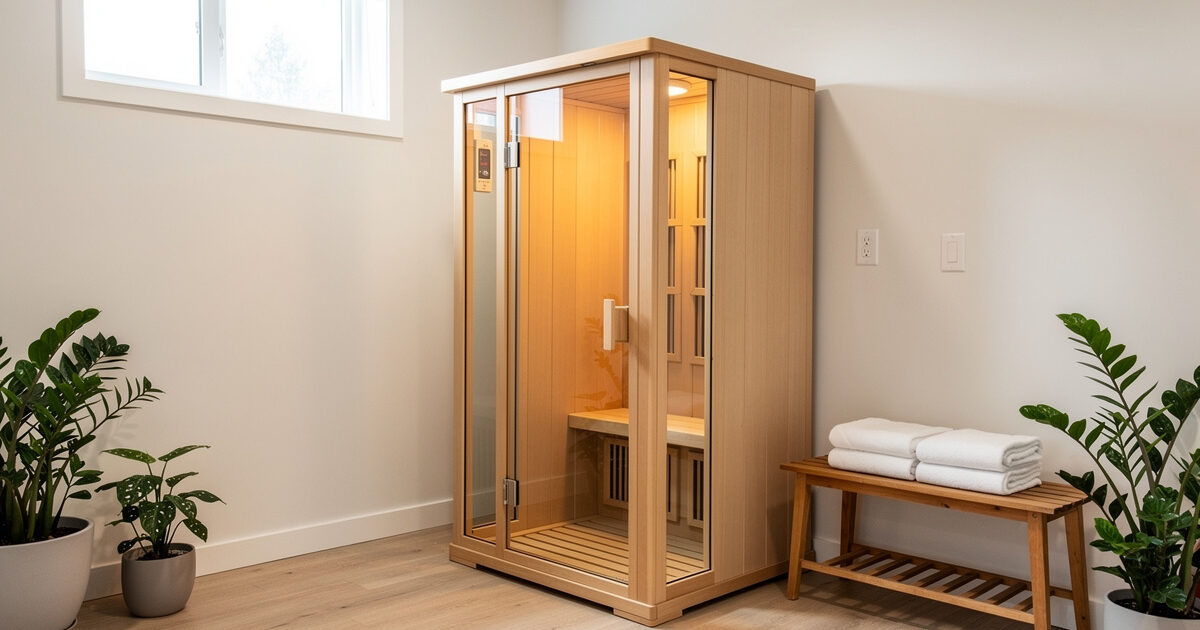
The best place to install an infrared sauna is an interior room with a level, moisture-tolerant floor, a dedicated electrical circuit within reach, and a few inches of clearance on every side. In practice that points to a basement, a spare bedroom, a large bathroom, or a finished garage. The wrong spot is anywhere carpeted, cramped against the wall, or fed by a shared circuit you will trip on the first cold-start.
I have moved my own cabin more than once before settling it where it lives now, and the lesson every time was the same: the room decides how easy the install is and how cheap the cabin is to run. A warm, well-ventilated, conditioned room with the outlet already nearby turns assembly into a 90-minute job; a cold garage corner with an extension cord turns it into an ongoing headache. Let me walk the candidate rooms the way I would walk yours, with a tape measure and a circuit tester in hand. Once you have confirmed the location, heater type drives whether you prioritize near-wall clearance or even wraparound heat — the near, mid, and far infrared heaters guide explains which band each panel type produces and what that means for placement.
As an Amazon Associate I earn from qualifying purchases. Some links below are affiliate links, at no extra cost to you.
The Four Things Every Spot Must Have
Before naming rooms, every viable location needs four things: a level floor that sheds moisture, a dedicated circuit sized to the cabin, clearance on all sides for airflow, and a way for the cabin to dry out between sessions. Miss any one and you are buying a future problem. The floor and the circuit are the hard requirements; clearance and ventilation are the ones people skip and regret.
These four are non-negotiable because they are physics, not preference. The continuous current draw demands a dedicated line, covered fully in the breaker requirements guide. The radiant heat needs clearance to dissipate. The sweat needs a floor that will not trap it and ventilation to carry it off. Hold all four and almost any room works; drop one and even a beautiful room becomes the wrong choice. The hub’s installation requirements guide ties all four together into a single pre-delivery checklist.
Basements: Usually the Best Choice
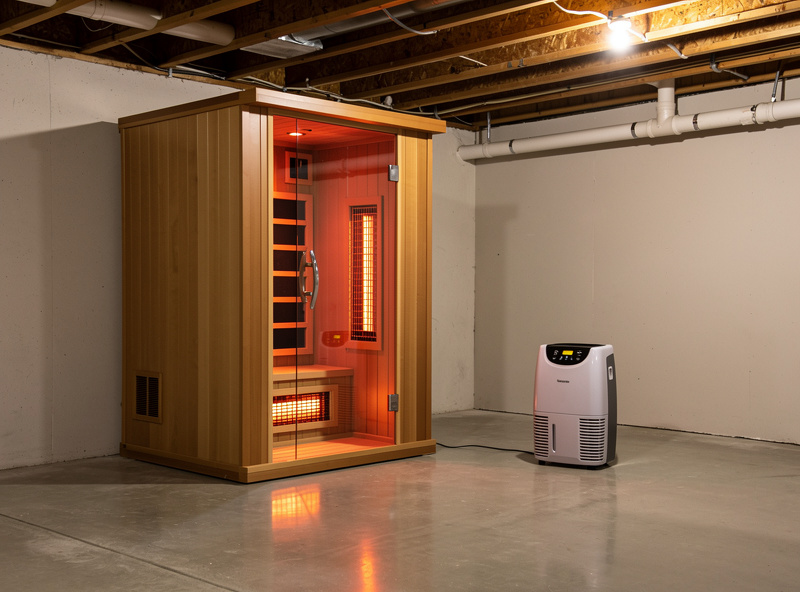
A finished basement is the spot I recommend most, because it typically has a sealed concrete or tile floor, space for clearance, and a panel nearby for an easy dedicated circuit. Concrete is level, moisture-tolerant, and unbothered by the slight humidity a session produces. The main thing to check is dampness: a basement that already feels humid needs a dehumidifier running so the cabin can dry between uses.
The one basement caveat is temperature. An unheated basement runs cold, and a cold room means a longer, more expensive preheat every session. If your basement holds a reasonable temperature it is close to ideal; if it is frigid in winter, factor the preheat penalty in. A plug-in dehumidifier solves the damp problem cheaply and protects the cabin’s wood over the long run.
Spare Bedrooms and Wellness Rooms
A spare bedroom is the most comfortable place to install a sauna because it is already conditioned, which makes preheat fast and cheap, and it usually has hardwood or vinyl flooring that handles the cabin well. The thing to confirm is the circuit: bedroom outlets are almost always shared with lights and other receptacles, so you will likely need an electrician to add a dedicated line even though the room itself is perfect.
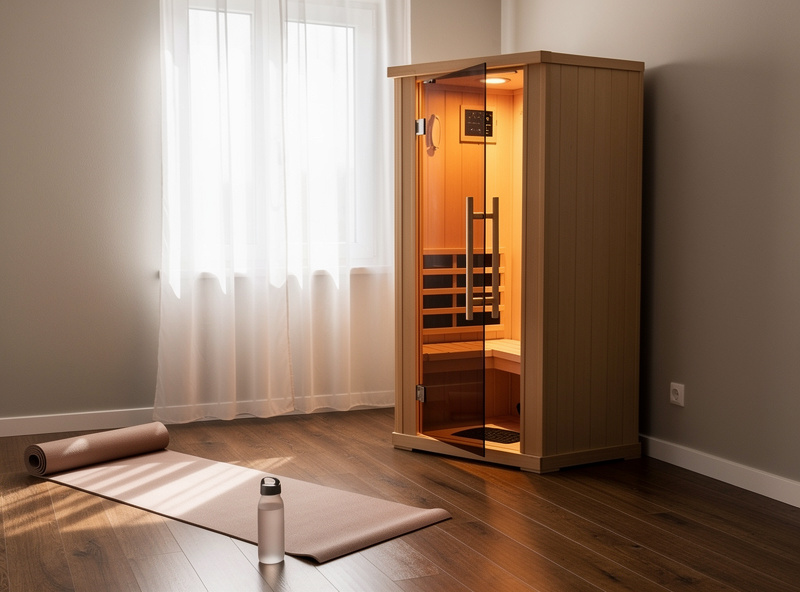
If the floor is carpeted, that is the one real obstacle. Carpet traps moisture and blocks the airflow the cabin base needs, so I would lay down a hard, moisture-tolerant pad under the unit or choose a different room. Otherwise a conditioned spare room is the easiest cabin to live with day to day, which is why so many people end up converting one into a dedicated wellness corner.
Bathrooms: Good If They Are Big Enough
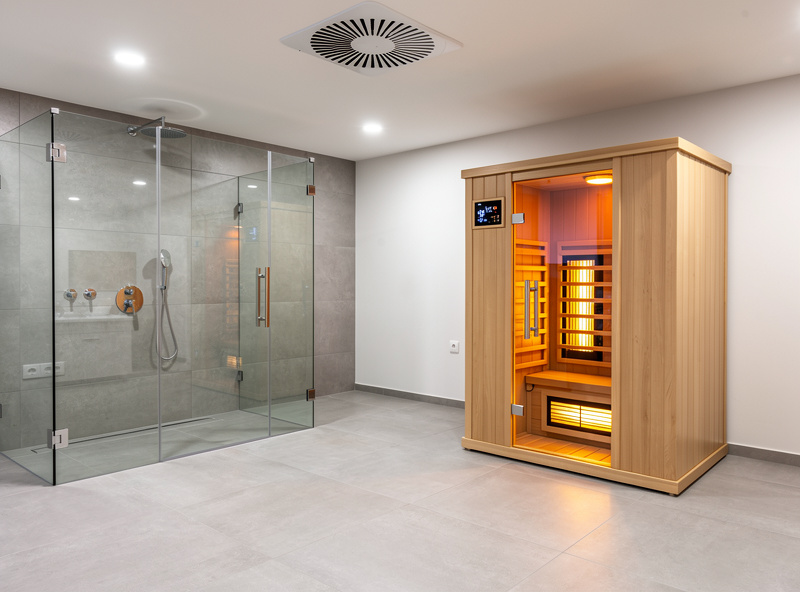
A large bathroom can be an excellent spot because it already has a tile floor built for moisture and usually has an exhaust fan for ventilation. The limiting factor is space: a sauna needs clearance on every side, and most bathrooms simply do not have the footprint once the fixtures are accounted for. Measure honestly before you commit.
If the room is big enough, the tile-and-fan combination is genuinely well-suited to a sauna, and the existing GFCI-protected circuits common in bathrooms are a head start on the electrical side, though the cabin still wants its own dedicated line rather than sharing the bathroom’s. Where a full bathroom is too tight, the apartment and small-space setup guide covers the compact-footprint options that fit where a full cabin will not.
Garages: Workable With Caveats
A finished, insulated garage can host a sauna, but an unconditioned one adds a real cold-start penalty and often needs a moisture barrier on a bare concrete slab. The garage is frequently the only room with panel access and floor space to spare, which is why people choose it, but the cold is the cost. In a Swedish winter an uninsulated garage will make every preheat long and expensive.
If you go the garage route, prioritize insulation and a sealed or barrier-covered floor, and accept that the cabin will cost more to bring up to temperature than the same unit indoors. For most people a conditioned indoor room beats the garage, but the garage wins when it is the only place the cabin physically fits and the panel reaches. An outdoor or detached install raises the bar further, with foundation and weatherproofing to plan, as the outdoor foundation and power guide lays out.
Plan for the Outlet, Not Just the Floor
The single factor that quietly decides install cost is how far the chosen spot sits from your electrical panel, because every foot of new dedicated circuit an electrician runs adds labor and material. A room that is otherwise perfect but on the opposite side of the house from the panel can cost more to wire than the cabin saved you by being free space. I always sketch the panel-to-room route before falling in love with a location.
This is also why basements and garages keep winning on the practical scorecard: the panel is usually right there, so the dedicated line is a short run. A spare bedroom upstairs may be the nicest room to use, but it is often the most expensive to feed. Weigh the comfort of the room against the length of the wire, and confirm there is a free breaker slot in the panel before you decide, because a full panel turns any room into a bigger electrical job.
Think About Where It Stays
An infrared cabin is heavy and, once assembled and wired, not something you move on a whim, so choose the room you will keep it in rather than a temporary corner. I have disassembled and relocated a cabin, and while the panels come apart, the dedicated circuit does not follow you, which means a move can mean paying an electrician twice. Picking the permanent home up front saves that.
The flip side is resale and flexibility: a cabin in a dedicated, conditioned room is an asset that reads well to a future buyer, whereas one jammed into an awkward garage corner reads as a compromise. If you have the option, give the sauna a proper home in a room that makes sense long-term, with the floor, circuit, clearance, and ventilation all sorted, and it will reward you every winter you own it.
Room Comparison at a Glance
Here is how the common rooms stack up on the factors that actually decide the install. Use it to shortlist before you walk each space with a tape measure.
| Room | Floor | Preheat cost | Circuit access | Main caveat |
|---|---|---|---|---|
| Finished basement | Concrete/tile, ideal | Low–medium | Usually near panel | Can be damp or cold |
| Spare bedroom | Wood/vinyl, good | Low | Needs dedicated line | Carpet must go |
| Large bathroom | Tile, ideal | Low | GFCI circuits present | Space is tight |
| Finished garage | Concrete, needs barrier | High if unheated | Often near panel | Cold-start penalty |
Whichever room you choose, the deciding test is the same four-point check from the top: level moisture-tolerant floor, dedicated circuit, clearance, and a dry-out path. A small digital hygrometer in the room tells you whether humidity is a concern before and after you install.
Frequently Asked Questions
Where is the best place to put an infrared sauna?
An interior room with a level, moisture-tolerant floor, a dedicated circuit nearby, and clearance on all sides. Finished basements, spare bedrooms, and large bathrooms are the strongest options because they meet those four requirements with the least extra work.
Can I put an infrared sauna in a carpeted room?
Not directly. Carpet traps the moisture from sweat and blocks the airflow the cabin base needs. Lay a hard, moisture-tolerant pad under the unit or choose a room with tile, sealed concrete, or vinyl flooring instead.
Can an infrared sauna go in a bathroom?
Yes, if the bathroom is large enough to leave clearance on every side. Tile floors and exhaust fans suit a sauna well, but most bathrooms are too tight once fixtures are accounted for. Measure the footprint before committing.
Is a basement a good place for an infrared sauna?
Usually the best, since basements often have sealed concrete or tile floors, space for clearance, and panel access for an easy dedicated circuit. Check for dampness and run a dehumidifier if needed, and account for a cold basement’s longer preheat.
How much clearance does a sauna need around it?
Leave the manufacturer’s stated clearance, typically a few inches on every side, so heat can dissipate and air can move around the cabin. Wedging the unit tight against a wall traps heat and ages the cabinet unevenly.