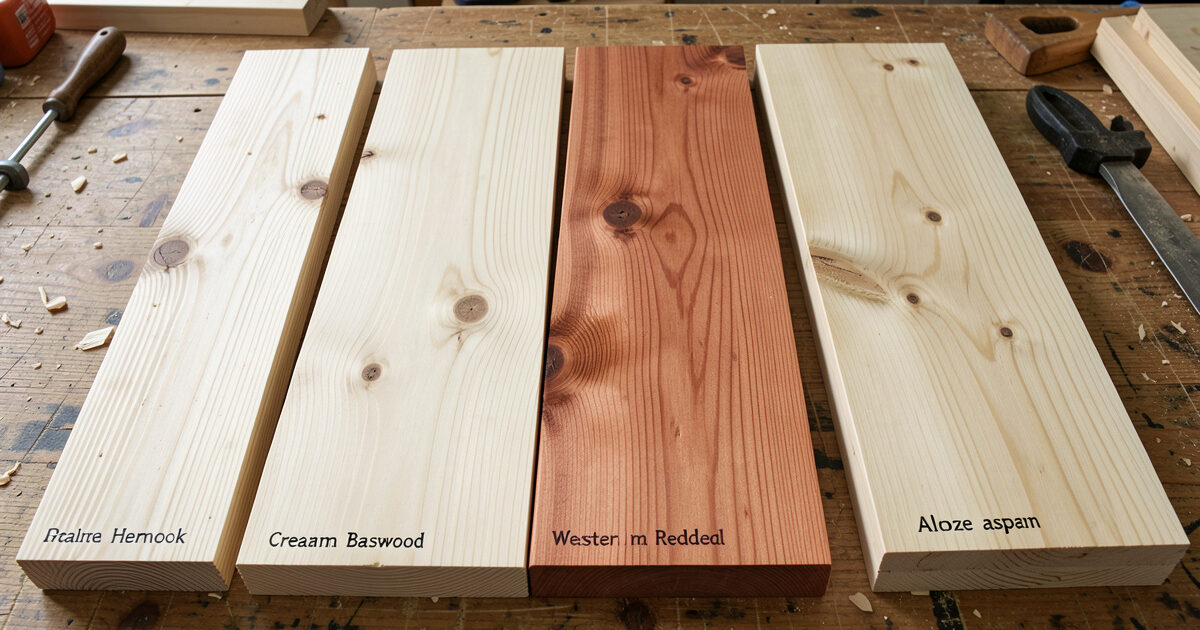
The best wood for a DIY infrared sauna is Canadian hemlock or basswood: both stay cool to the touch, resist warping in repeated heat, run low on resin, and cost noticeably less than cedar. Aspen is the top hypoallergenic choice. Western red cedar is the aromatic premium option but costs more and its scent bothers some users. Whatever you pick, it goes in bare — never sealed.
I lined the cabin I run in Canadian hemlock, and after years of Swedish winters it has not cupped, weeped, or gone hot under my hands. Wood is one of the larger line items in a build and the one surface you touch every session, so it is worth getting right the first time. This is how I rank the practical sauna woods, where each earns its price, and the one finishing rule that applies to all of them. It is part of the DIY infrared sauna guide.
What Makes a Wood Right for an Infrared Sauna
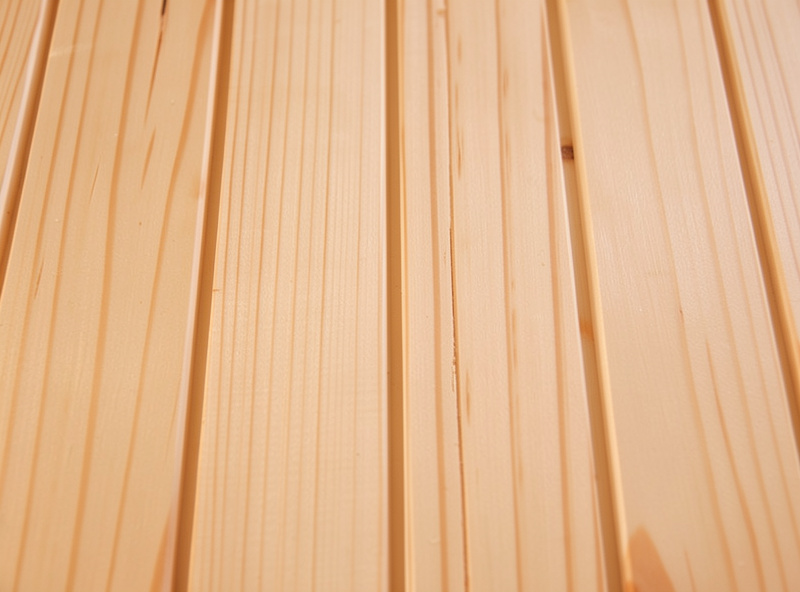
Four properties decide it: low thermal conductivity so the surface stays cool to bare skin, dimensional stability so it does not warp or cup in the heat cycle, low resin so it does not weep sap, and a grain that finishes splinter-free. Hardness and aroma are secondary preferences, not requirements.
Infrared cabins run cooler than traditional saunas — I dial mine around 130°F felt heat — but the wood still cycles hot and cool every session, and that cycling is what punishes the wrong species. Softwoods with high resin content like standard pine will bead sap over a hot panel; dense exotic hardwoods can run uncomfortably hot to the touch. The sweet spot is a stable, low-density, low-resin wood, which is why the same few species show up in nearly every quality cabin, including the prefab units in the best home saunas roundup.
The Sauna Wood Comparison
Here is how the practical options stack up for a DIY build. Cost is relative per board foot, where hemlock sits as the baseline most builders price against.
| Wood | Touch temp | Resin | Aroma | Relative cost | Best for |
|---|---|---|---|---|---|
| Canadian hemlock | Cool | Very low | Neutral | Baseline | All-round best value |
| Basswood | Cool | Very low | Nearly none | Similar to hemlock | Low-odor, sensitive users |
| Aspen | Cool | Very low | None | Slightly above hemlock | Hypoallergenic builds |
| Western red cedar | Cool | Low–moderate | Strong, pleasant | High | Aroma, premium look |
| Nordic spruce | Cool–warm | Moderate | Mild | Low | Budget, traditional look |
| Standard pine | Warm | High | Strong | Lowest | Avoid — sap weeping |
Hemlock and Basswood: The Value Picks
Hemlock is my default recommendation and what I built with — a pale, fine, knot-free grain that stays cool, holds its shape, and costs a fraction of cedar. Basswood is its near-twin with even less odor, which makes it the choice for anyone sensitive to scent in a closed cabin.
Both take a clean tongue-and-groove profile, sand smooth, and finish splinter-free with light attention to edges. For most DIY builders these two are where the decision should land: the performance is identical to far pricier wood, and the savings free up budget for better heater panels, which is where the money actually changes your experience. Pair either with the panel layout in installing DIY panels.
How Much Wood a DIY Cabin Takes
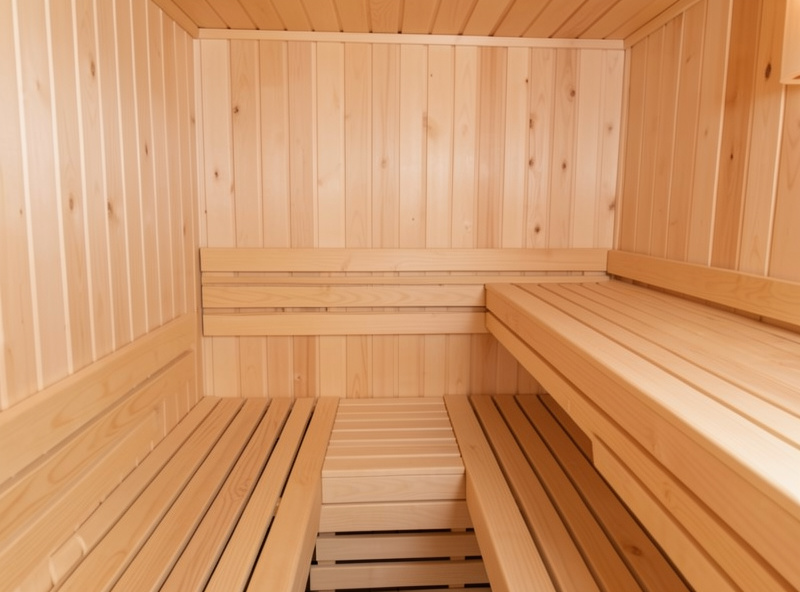
A 2-person infrared cabin of roughly 48 by 48 inches needs about 120 to 160 square feet of tongue-and-groove to line four walls and a ceiling, before bench stock. At hemlock pricing that is one of the larger material lines in the build, second only to the heater panels.
I always order ten to fifteen percent over the bare square footage to cover cuts, the odd warped board, and the trim around panel openings. Buy tongue-and-groove in a consistent thickness — usually around 11 to 15 mm for wall lining — so the profile mates cleanly without sanding every joint. Order it after the frame is up and squared, never from the drawing, because the real openings always differ from the plan by an inch or two. If you under-order and have to buy a second batch later, color and grain can vary between lots, which shows on a wall you sit and stare at. The full cost context, including where wood sits against panels and electrical, is in the DIY cost breakdown.
Knots, Grain, and Grade: What to Actually Buy
Buy clear or near-clear, kiln-dried, vertical-grain stock and reject boards with loose knots or resin pockets at the seating and back-rest zones. A knot over a hot panel can weep or pop, and a loose one leaves a hole exactly where a shoulder blade lands.
Grade matters more than species for comfort: a clear hemlock board outperforms a knotty cedar one in a sauna every time. Kiln-dried is non-negotiable — green or air-dried wood will shrink and gap once the cabin starts heat-cycling, opening seams you carefully closed. I sort every bundle when it arrives, setting the cleanest faces for the back wall and bench surround where I will see and lean on them, and using boards with minor cosmetic marks up high or behind panels. Run a hand over each board before it goes up; a rough patch now is a splinter later, and sanding a wall that is already nailed is miserable work.
Cedar and Aspen: Premium and Hypoallergenic
Western red cedar is the aromatic, rot-resistant premium choice — beautiful and naturally stable, but it costs well above hemlock and its strong scent is polarizing in a small sealed cabin. Aspen is the opposite end: completely odorless and the go-to for hypoallergenic builds.
I keep cedar to accent pieces rather than the whole interior, partly for cost and partly because the aroma is intense when concentrated in a 48-inch box. If you love the smell and have the budget, cedar is a genuinely lovely cabin. If anyone using the sauna reacts to scent, go aspen or basswood and remove the variable entirely. Cedar’s natural oils also mean it is the one species where you truly never add any finish.
Budget and Mixed-Wood Builds
If cost is tight, Nordic spruce is the honest budget choice — it lines a cabin for less than hemlock and gives the traditional Scandinavian look, at the price of slightly more resin and a little less stability over years of cycling. Standard construction pine is the one wood I steer people away from entirely.
Pine’s high resin content means it weeps sap over hot panels and around the warmest zones, leaving sticky beads that are unpleasant against skin and impossible to fully clean off bare wood. The few dollars saved per board are not worth the result. A smarter way to stretch a budget is a mixed-wood build: line the bulk of the walls in affordable hemlock or spruce, then spend the cedar money only on the bench surround or a single accent wall where you will actually feel and smell it. I did this in my own cabin — hemlock everywhere, a narrow cedar reveal at eye level — and it gives most of the cedar experience at a fraction of the full-cedar cost. Just keep species consistent within any single surface so the wood ages and colors evenly rather than blotching.
Avoid Treated, Reclaimed, and Composite Stock
Never use pressure-treated, painted, reclaimed, or composite boards inside an infrared sauna. Treated lumber carries chemicals that off-gas under heat, reclaimed wood may hide old finishes or contaminants, and composites are not made for repeated heat cycling.
This is the rule that catches well-meaning upcyclers: the heat that makes a sauna pleasant is exactly what drives residues out of the wrong wood and into the air you breathe in a sealed box. Buy new, kiln-dried, untreated sauna-grade stock from a lumberyard or a sauna supplier, and keep the reclaimed-barnwood instinct for the room outside the cabin. The same caution applies to the framing behind the lining — that structural wood stays hidden and dry behind the vapor barrier, as covered in insulating a DIY infrared sauna.
The One Finishing Rule for Every Sauna Wood
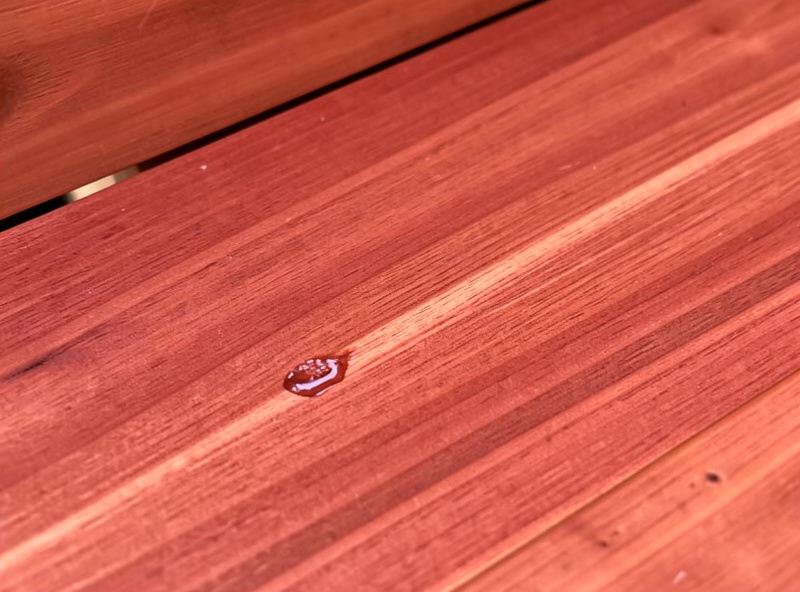
Leave it bare. No oil, no varnish, no sealant on any interior sauna surface, regardless of species — coatings off-gas under repeated heat and can leave a film or smell you cannot remove. This is the rule that overrides every furniture-finishing instinct you have.
The wood is meant to breathe and to absorb and release a little moisture each session; sealing it traps that moisture and defeats the point. Maintenance is a wipe-down with water and a light sand if a spot ever roughens — nothing more. I cover the why and the long-term care in oiling and treating sauna wood, and the build context in the framing stage at building a sauna room from scratch. For the bench surface specifically, the same bare-wood logic applies in building sauna benches, and the full money picture is in the DIY cost breakdown. If you would rather skip wood selection entirely, the main build guide walks through the kit-assist route where panels and wood arrive matched.