Infrared sauna cold-climate performance comes down to three penalties you can measure: a longer preheat, a lower ceiling temperature, and a higher energy bill per session. In my Swedish winter install, a cabin that hits set temp in 22 minutes in October needs 38 to 45 minutes in January, and the peak felt heat drops by several degrees no matter what the wall display claims.
I run a low-EMF two-person far-infrared cabin on its own 16A circuit, and over several winters of session-logging I have watched the same unit behave like two different machines depending on the month. This guide is the engineering side of that — what actually changes when the room outside the cabin sits at -10°C, how I size and schedule around it, and where the money and heat leak away. It is the owner-installer view, not the buying-list view.
What “Cold-Climate Performance” Actually Means
Cold-climate performance is the gap between a sauna’s rated behavior and its real behavior when the surrounding air is near or below freezing. Manufacturers spec preheat times and peak temperatures in a 20°C showroom. Drop the ambient to 2°C and every one of those numbers moves against you, because an infrared cabin is a thin-walled box that heats by radiant panels and then relies on the enclosed air and wood mass to hold that heat.
There are three measurable penalties, and they are separate problems with separate fixes. The preheat penalty is extra minutes to reach set temp. The peak-temperature loss is a lower ceiling than the controller promises. The energy penalty is the extra kWh burned to overcome both. I treat them separately because chasing one — say, throwing wattage at preheat — can quietly make another worse, like driving your winter electricity cost up for a gain you barely feel.
The Preheat Penalty: Numbers From My Winter Log
The preheat penalty is the most obvious cold-weather symptom: the same cabin that warms up before you have finished changing in summer keeps you waiting in winter. In my log, preheat roughly doubles between a mild autumn evening and a hard January morning, and the relationship tracks the temperature difference the panels have to climb, not just the outdoor number on the phone.
Here is what my own session log shows for the 2-person far-infrared cabin, set temp 60°C, measured from cold start to the controller reaching setpoint. These are my readings on my meter, in my room — treat them as a shape to expect, not a spec for your unit.
| Room ambient at start | Preheat to 60°C set | Approx. kWh for preheat | Felt-heat ceiling |
|---|---|---|---|
| 20°C (summer) | 21–24 min | 0.7 kWh | Reaches set temp comfortably |
| 10°C (autumn) | 28–32 min | 0.9 kWh | Set temp, slightly slower feel |
| 2°C (cold indoor/garage) | 38–45 min | 1.2 kWh | 3–4°C below set at the bench |
| -8°C (unheated outbuilding) | 50–60+ min | 1.5–1.8 kWh | 5–7°C below set at the bench |
The pattern is simple physics: the panels dump most of their output into warming the wood mass and the cold air before the space stabilizes, so a colder start means more of the early energy goes into the box instead of into you. I cover the exact January curve and how I read it in my dedicated write-up on why the sauna takes longer to preheat in winter and the numbers I see.
Peak-Temperature Loss and Why Set Temp Lies in Winter
Peak-temperature loss is the quieter penalty and the one that frustrates people most, because the wall display still reads 60°C while the bench feels cooler. The controller sensor sits near the ceiling or on a panel; the felt heat at your skin is a mix of direct radiant load and the temperature of every surface around you. In a cold room those surfaces — the far wall, the glass door, the bench slats — sit colder and pull radiant heat off your body, so the same air temperature feels several degrees cooler.
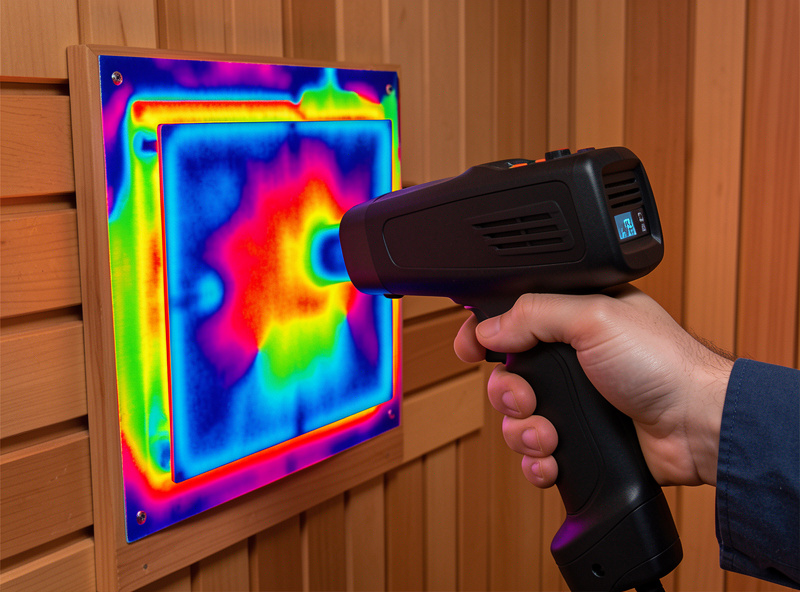
In my cabin the felt-heat gap runs 3 to 4°C when the room starts at 2°C and widens past 6°C in an unheated outbuilding. The glass door is the worst offender — it is the single coldest interior surface and it faces you on the bench. I map this every winter with a thermal camera and an IR thermometer, and the cold spots are always the door, the lower corners, and the wall behind the bench where a panel’s radiant footprint runs out. Understanding how carbon and ceramic panels differ in radiant footprint matters more in winter than summer, because a panel that only warms its direct line-of-sight leaves those cold surfaces working against you.
Reading the Cabin With a Thermal Camera and a Meter
The reason I can put numbers on any of this is that I stopped trusting the wall display and started measuring. Two cheap tools do almost all the work: an IR/thermal thermometer for spot-checking surface temperatures, and a small thermal camera for seeing the whole cold-spot map at once. In winter both tell you things the controller never will.
My routine is boring and repeatable. Before a cold-start session I shoot the glass door, the far wall, the bench, and the floor with the IR thermometer and note them next to the room ambient. Ten minutes into preheat I shoot the same points again and watch which surfaces lag. The floor and the door are always last to move, and in a garage the slab may still be near-freezing when the air is comfortable — that mismatch is exactly why the bench feels cool. The thermal camera makes the same story visible in one frame: the panels light up hot, and the corners and door stay blue long after the air is warm. On the electrical side I keep a TriField meter on the panels through the winter too, because low ambient and heavy continuous load are when I want to confirm the EMF picture has not shifted — the same discipline I use in my low-EMF cabin write-up. Measurement is the whole game: without it, cold-climate tuning is guesswork, and every fix below is something I could only confirm because I watched the number move.
Insulation, Air Sealing, and the Envelope Around the Cabin
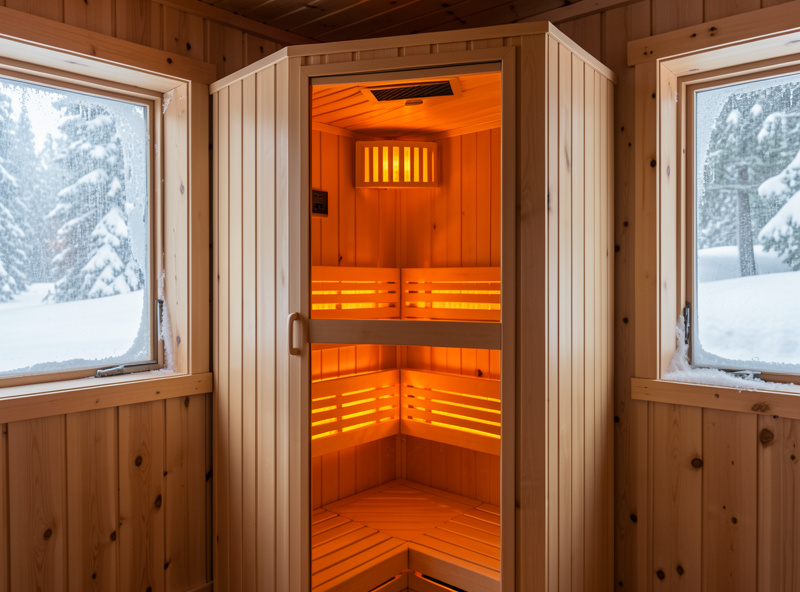
The cheapest cold-weather gains are not in the sauna at all — they are in the envelope around it. An infrared cabin loses heat three ways: conduction through the walls and glass, radiant loss to cold surrounding surfaces, and air leakage around the door and cable pass-throughs. Air leakage is the one most owners never check and the one that ruins a preheat, because a cold draft under the door means the panels are heating a moving target.
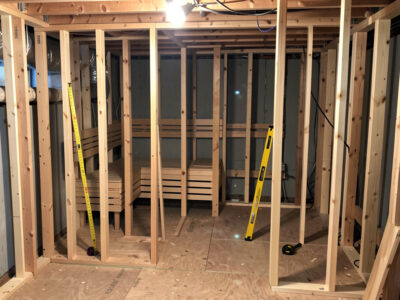
In my setup the single biggest improvement came from treating the room, not the box: getting the surrounding space to a stable 15°C instead of letting it swing, and sealing the door gap. When I insulated the DIY panel walls and improved the door seal, the 2°C-start preheat dropped by close to eight minutes. If you are building or retrofitting, my notes on insulating a DIY infrared sauna and on ventilation that does not bleed all your heat are the two levers that matter most here — ventilation because you still need air exchange, and the trick is passive, low-volume exchange that does not act like an open window.
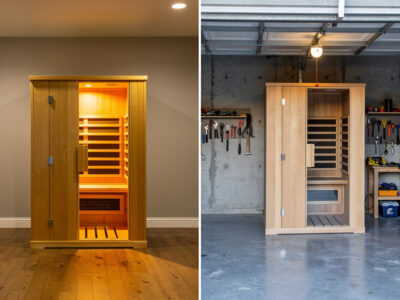
Garage installs are their own category because the slab is a massive cold sink. A concrete floor at 4°C will keep pulling heat out of the base of the cabin all session. I break down what actually holds heat in an unheated garage in the garage infrared sauna in freezing weather guide, and the short version is: get the cabin off the cold slab and insulate underneath before you touch anything else.
Heater Wattage and Sizing for Sub-Freezing Rooms
Wattage sizing is where cold-climate buyers get it wrong in both directions. Under-size and the cabin never overcomes a freezing room; over-size and you have bought a heater that trips your circuit or costs more to run than the session is worth. The honest rule I use: for a genuinely cold install, size the heater as if the cabin were one bracket larger than its rated occupancy, then confirm the circuit can carry it continuously.
My 2-person cabin draws around 1,600–1,700W and lives on a dedicated 16A circuit. In a warm room that is generous; in a -8°C outbuilding it is working near its limit and the preheat stretches past an hour. Total heater wattage matters, but so does panel placement — a cabin with a rear and side panels warms a cold body faster than one with the same wattage all behind you. I get into continuous-load math, circuit headroom, and why the wattage on the sticker is often gamed in the full breakdown of heater wattage for cold climates, and it pairs with my earlier general piece on heater wattage and placement.
One caveat on the electrical side: dedicated-circuit sizing, GFCI, and continuous-load rules are jurisdiction-specific. The figures I quote are for my Swedish install; confirm your own with a local electrician before you commit a circuit.
Indoor vs Garage vs Outdoor: Where the Cabin Lives Changes Everything
Where you put the cabin sets the ceiling on everything else. An indoor cabin in a heated room barely notices winter; a garage cabin fights a cold slab; an outdoor cabin fights the slab, the wind, and the sky all at once. The table below is how I rank the three placements on the penalties that actually matter in a Nordic winter.
| Placement | Winter preheat penalty | Peak-heat loss | Main fix | Energy penalty |
|---|---|---|---|---|
| Indoor, heated room | Minimal (a few minutes) | Negligible | None needed | Low |
| Garage, unheated | Moderate (15–20 min extra) | 3–4°C at bench | Insulate off the slab, seal door | Medium |
| Outdoor cabin | Severe (25–40 min extra) | 5–7°C at bench | Windbreak, insulated floor, oversize heater | High |
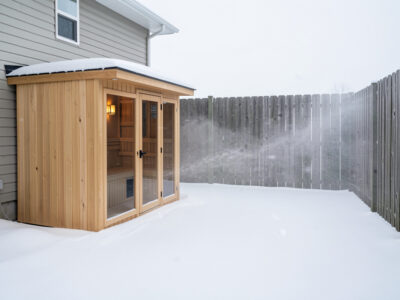
Indoor is the easy mode and I still recommend it for anyone who has the space, which is why my where-to-install guide and the indoor vs garage comparison both lean toward a heated interior room. But outdoor and garage installs are what most cold-climate owners actually have, so the rest of this cluster spends its time there. If you are weighing an outdoor cabin, start with whether an outdoor infrared sauna gets hot enough in snow before you buy.
Wind, Placement, and the Windbreak Effect
Wind is the penalty nobody prices in. A still -5°C night and a windy -5°C night are completely different loads on an outdoor cabin, because moving air strips the thin warm boundary layer off the exterior walls faster than the panels can replace the heat through them. In my testing, a cabin placed on an exposed corner took noticeably longer to hold temperature than the same cabin tucked against a building wall, even at identical air temperatures.
The fix is placement and a windbreak, and it is close to free. Putting the cabin’s coldest face — usually the glass door — away from the prevailing wind, and using a wall, fence, or dense hedge as a break, recovers a real chunk of the wind penalty. I lay out the placement geometry and what actually blocks wind without trapping moisture in the windbreaks and sauna placement guide. This is the single highest-return, lowest-cost move for an exposed outdoor install.
Wood and Materials Through Freeze-Thaw
Cold-climate durability is a materials question as much as a heat question. An outdoor cabin in a Nordic winter goes through dozens of freeze-thaw cycles a season, and water that soaks into wood, freezes, and expands is what splits panels, warps doors, and lifts finishes. The heater does not care about winter; the cabinet does.
Hemlock and cedar handle this reasonably well when they stay sealed and can dry between sessions, but the failure mode is almost always trapped moisture — a door that no longer closes flush, a floor slat that stays damp, a finish that has cracked and now wicks water in. My daily cabin is Canadian hemlock and lives indoors, so I lean on what I have learned from outdoor wood and from readers’ failures rather than claiming a decade of my own outdoor cabin. The material and sealing detail is in what survives a Nordic winter outdoors, and it pairs with my general infrared sauna wood types reference.
Scheduling and the Real kWh Cost of Winter Sessions
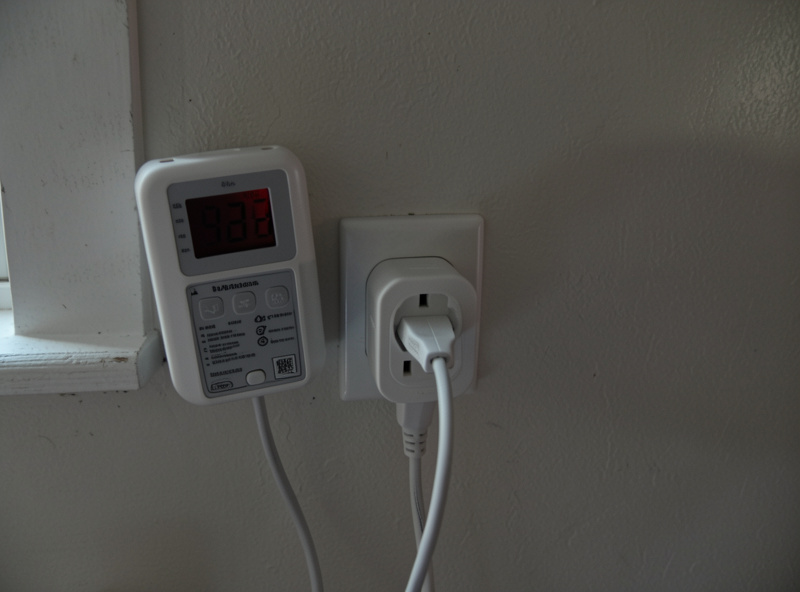
The last penalty is time and money, and this is where a smart plug earns its keep. A 45-minute winter preheat means either you wait, cold, for three-quarters of an hour, or you schedule the cabin to start itself before you get up. I run mine off the same smart-home hub that handles the rest of the house, and a scheduled 06:15 start means a January morning session is ready when I am — no standing in a cold room watching the controller climb.
The energy math is real but not scary once you measure it. My winter sessions run roughly 1.5 to 2.2 kWh all-in including the longer preheat, against about 1.0 to 1.3 kWh in summer. Over a winter that adds up, which is exactly why I put a plug-in energy meter on the cabin and stopped guessing. I walk through the scheduling setup in scheduling pre-heat for winter mornings with a smart plug, and the running-cost method in my infrared sauna electricity cost breakdown.
The same rule engine that pre-heats the sauna runs the grow lights and everything else that draws current in a Swedish winter — one schedule for the dark months. A cheap plug-in energy meter and a smart plug together cost less than a single service call and pay for themselves in information alone. If you want to price the gear, an energy meter for tracking kWh per session and a schedulable smart plug rated for the load are the two I would buy first. As an Amazon Associate I earn from qualifying purchases.
My Cold-Weather Setup Checklist
If I were setting up a cold-climate infrared sauna from scratch today, this is the order I would work in, because each step removes load from the next:
First, get the cabin off the cold slab and insulate underneath — the floor is the biggest sink in a garage or outdoor install. Second, seal the door and cable gaps so the panels are not fighting a draft. Third, stabilize the surrounding room to 15°C if you possibly can; a warm-ish room turns a severe penalty into a minor one. Fourth, size the heater one bracket up and confirm the dedicated circuit carries it. Fifth, place it out of the wind with the glass door away from the prevailing weather. Sixth, schedule the preheat so you never wait in the cold. Do those six and a Nordic winter stops being an argument against an infrared sauna and becomes the season it earns its electricity bill.
None of this touches the health side, and deliberately so. What the heat does for recovery or circulation is studied and reported elsewhere; what I can tell you with a meter in hand is how the equipment, the install, and the electricity bill behave when it is dark and freezing outside — and that is the part buyers learn about only after they have bought wrong.
Related Guides in This Cluster
- Why My Sauna Takes Longer to Preheat in Winter and the Numbers I See
- Garage Infrared Sauna in Freezing Weather: What Actually Holds Heat
- Does an Outdoor Infrared Sauna Get Hot Enough in Snow?
- Wind, Windbreaks, and Sauna Placement for Faster Cold-Weather Heat
- Heater Wattage for Cold Climates: Sizing for Sub-Freezing Preheat
- Freeze-Thaw and Sauna Wood: What Survives a Nordic Winter Outdoors
- Scheduling Pre-Heat for Winter Mornings With a Smart Plug
Frequently Asked Questions
How much longer does an infrared sauna take to preheat in winter?
In my log a 2-person far-infrared cabin that reaches 60C set temp in about 22 minutes at a 20C start needs 38 to 45 minutes from a 2C start, and 50 to 60-plus minutes from an unheated -8C outbuilding. Preheat roughly doubles between a mild room and a hard freeze.
Does a cold room lower the peak temperature an infrared sauna reaches?
Effectively yes at the bench. The controller may still read set temp, but cold surrounding surfaces pull radiant heat off your body, so felt heat runs 3 to 4C below set from a 2C start and 6-plus C below from an unheated outbuilding. The glass door is the coldest surface and the worst offender.
What is the single best fix for cold-climate sauna performance?
Stabilizing the surrounding room and getting the cabin off a cold slab. In my setup insulating the floor and sealing the door gap cut the cold-start preheat by close to eight minutes, more than any change to the heater itself.
How much more electricity does a winter sauna session use?
My winter sessions run roughly 1.5 to 2.2 kWh all-in including the longer preheat, versus about 1.0 to 1.3 kWh in summer, measured on a plug-in energy meter. The extra cost comes almost entirely from the longer preheat, not the session itself.
Should I size the heater bigger for a cold garage or outdoor install?
Yes. For a genuinely cold install I size the heater as if the cabin were one occupancy bracket larger, then confirm the dedicated circuit carries that continuous load. Panel placement matters too, a cabin with rear and side panels warms a cold body faster than the same wattage all behind you.
Does wind really affect an outdoor infrared sauna that much?
Yes. Moving air strips the warm boundary layer off the exterior walls, so a windy -5C night is a far heavier load than a still -5C night at the same temperature. Placing the cabin behind a wall or hedge with the glass door away from the wind recovers a real part of that penalty for almost no cost.