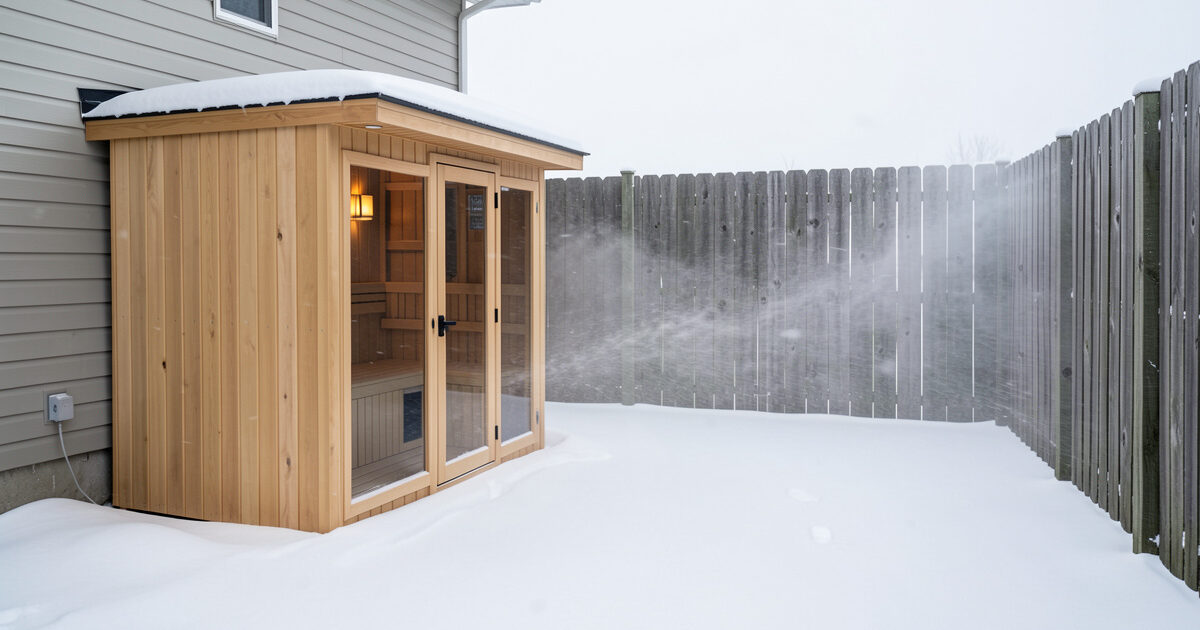
The fastest, cheapest way to make an outdoor infrared sauna heat faster in winter is to put it out of the wind. Moving air strips heat off the cabin walls faster than the panels can replace it, and in my testing a windy -5°C night added 15 to 25 minutes to preheat versus a calm one at the same temperature. A wall, fence, or hedge as a windbreak recovers most of that for almost no money.
Owners obsess over heater wattage and forget the free variable sitting right next to it: where the cabin stands. I run my own far-infrared cabin indoors, but I have spent a lot of winter evenings with a thermometer around exposed outdoor installs, and placement is the lever that consistently moves the numbers most. This is the geometry I use.
Why Wind Costs You More Than the Cold Number
Wind matters because heat leaves the cabin through a thin, still layer of warm air clinging to the exterior walls — the boundary layer. In calm conditions that layer acts like a bit of extra insulation. Wind scrubs it away, exposing the wall to the full cold air stream and dramatically raising the rate of conductive loss. The panels then have to push more heat through the walls just to stand still, so the whole space warms slower and settles cooler.
That is why two identical -5°C nights behave nothing alike: the calm one preheats close to normal, the windy one drags on and never quite reaches the same bench temperature. On my meter, wind is the single largest swing factor for an exposed cabin — bigger than a few degrees of air temperature. It is also the one people never price in when they pick a spot, which is why so many backyard cabins underperform in exactly the weather they were bought for.
Point the Cold Face Away From the Weather
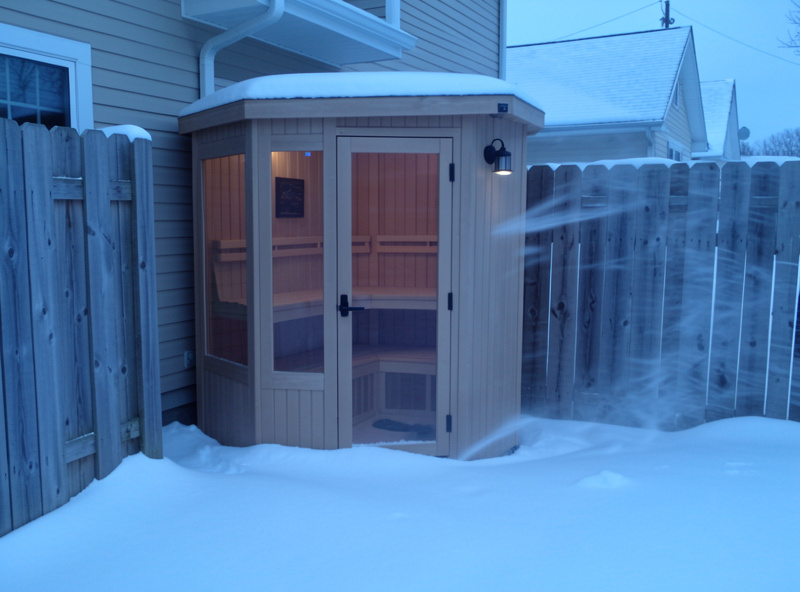
The glass door is the coldest interior surface of the cabin and the one you sit facing. In wind, it is also the weakest point in the envelope. So the first placement rule is simple: turn the glass door away from the prevailing winter wind. In most of Sweden that means orienting the door to the lee side — away from the wind that brings the winter weather — so the door and its seal sit in the calmest air the site offers.
Doing this costs nothing at build time and it means the coldest, leakiest face of the cabin is never the one taking the wind head-on. Get the orientation wrong and you are heating a cold glass door in a draft for the whole session; get it right and the door sits in still air and holds temperature far better. It pairs with getting the cabin off a frozen pad, which I cover in the outdoor sauna in snow guide.
What Actually Works as a Windbreak
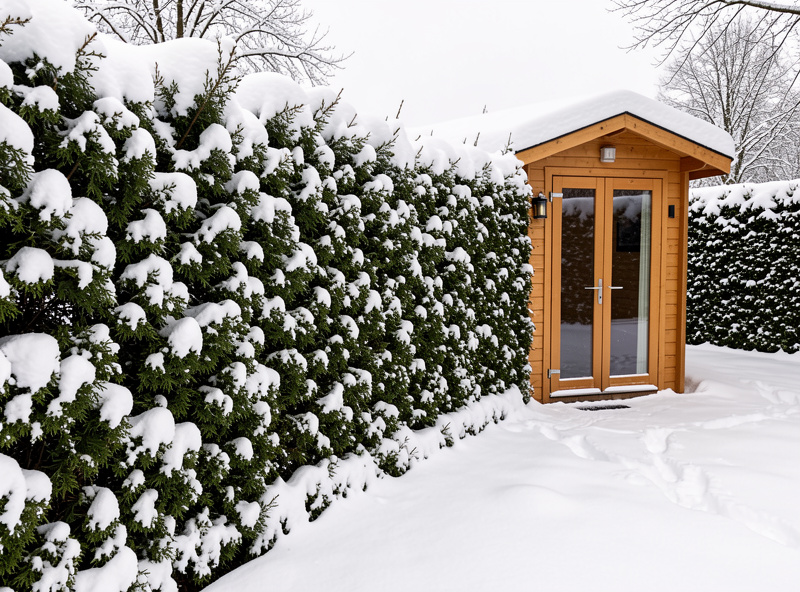
A good windbreak does not have to be solid — in fact a slightly permeable break like a hedge or slatted fence often works better than a solid wall, because a solid barrier creates turbulence and eddies on its lee side that can dump wind right back onto the cabin. A break that filters the wind rather than stopping it dead gives a longer, calmer wind shadow behind it. The practical options, in the order I would reach for them:
An existing building wall is the best free windbreak you have — tuck the cabin close to the house or a garage on the windward side and let the structure do the work. A solid fence works well if the cabin sits a little back from it rather than hard against it. A dense evergreen hedge is excellent and filters wind naturally, though it takes seasons to grow in. And a purpose-built slatted screen is the fastest DIY option — a permeable panel a metre or two upwind of the door face. The goal in every case is to sit the cabin in a calm pocket, not to build a bunker around it.
How Close, and How Tall, the Windbreak Should Be
A windbreak has a working range, and it is easy to get the spacing wrong. As a rule of thumb, a break gives its best shelter for a horizontal distance of several times its own height on the lee side, and the calmest zone sits fairly close behind it — not right against it, where turbulence can curl back down. So a two-metre fence shelters a cabin placed a couple of metres behind it far better than the same cabin shoved hard up against the boards, and a taller break protects a longer stretch of calm.
Height beats length for a single cabin: you are protecting one small footprint, so a break that is tall enough to put the whole cabin in its wind shadow matters more than one that runs the length of the garden but barely clears the roofline. If you are using the house wall, you already have all the height you need — just keep the cabin in its lee and a sensible step off the wall for airflow. This is the detail that separates a windbreak that works from one that looks like it should.
Don’t Trade Wind for Trapped Moisture
There is one trap in all of this: sheltering the cabin so tightly that it can never dry out. A cabin jammed into a damp corner with no airflow at all will hold moisture against the wood, and in a freeze-thaw climate trapped damp is what splits panels and rots sills. The move is a calm pocket with some air exchange, not a sealed dead-air box — shelter from the wind, but leave the cabin able to breathe and dry between sessions. That balance is the same reason I care about low-loss ventilation on the intake side, and it feeds directly into which woods survive the cycle, covered in freeze-thaw and sauna wood.
How Much Wind Actually Costs on My Meter
To put rough numbers on it, here is what I have seen around exposed cabins versus sheltered ones at a similar air temperature near -5 to -8°C. A calm, sheltered cabin reaches a 60°C setpoint in roughly 45 to 55 minutes; expose the same cabin to a steady wind and that stretches to 60 to 75-plus minutes, with the bench settling several degrees cooler because the walls never stop bleeding heat. The felt-heat gap — how much cooler the bench feels than the display reads — widens from around 4°C sheltered to 7°C or more in the wind.
Those are not precise lab figures and your site will differ, but the direction is consistent every time I check it: wind is worth more minutes than a few degrees of air temperature. That is why I treat “is this spot sheltered” as a more important question than “how cold does it get here.” A site that is cold but calm is an easier install than one that is milder but exposed on an open corner. The full penalty picture, including the floor and envelope losses that stack on top of the wind, is in my cold-climate performance field guide.
A Simple Way to Test Your Site Before You Build
Before you pour a pad or commit a spot, spend a couple of windy winter evenings actually standing where the cabin will go. Wind behaves strangely around buildings — it funnels between structures, spills over fences, and swirls in corners — so the calmest-looking spot on a still day can be a wind tunnel in a storm. A cheap handheld anemometer, or even just a ribbon on a stick, will tell you more than any assumption. Check the spot in the wind direction that brings your winter weather, not the pleasant summer breeze.
I also look at where snow drifts on the site, because drifting marks exactly where the wind slows and dumps its load — a natural map of the calm and turbulent zones. Put the cabin, and especially its door, in the calm zone the drifts reveal, and keep it out of the funnels between buildings. Ten minutes of this observation saves you from siting a cabin somewhere that fights you every cold night for years. Once the spot is chosen, the base matters as much as the shelter, which is why I send people to outdoor sauna foundation, power and permits next.
Placement Is the Highest-Return, Lowest-Cost Decision
If I had to rank the winter upgrades for an outdoor cabin by value, placement sits at the top with insulating the floor — both beat spending money on a bigger heater. A wall or a screen and the right door orientation cost little or nothing and recover a chunk of the wind penalty that no amount of extra wattage addresses, because wattage warms the box while placement stops the box from losing heat in the first place. Nail placement first, then size the heater for what is left.
For the numbers behind all of this, start with my cold-climate performance field guide, then check heater wattage for cold climates once the cabin is sheltered, and scheduling the preheat so you are never waiting in the wind for it. If you want a purpose-built screen fast, a slatted outdoor windbreak screen is the quickest way to build a calm pocket. As an Amazon Associate I earn from qualifying purchases. And to see whether the cabin will even reach temperature in the cold once it is sheltered, read does an outdoor infrared sauna get hot enough in snow.