When the cabin I run won’t come up to temperature, the fix is almost never the dramatic one. In my session log, the overwhelming majority of “my infrared sauna isn’t heating” cases trace back to one of four things: a tripped or undersized circuit (a 2-person cabin wants its own dedicated 16A line), a single dead emitter masquerading as a whole-cabin failure, a controller that lost its connection to the panels, or a thermostat reading the air instead of the wood. Work those four in order and you solve most no-heat faults before you ever reach for a multimeter.
This guide is the troubleshooting map I wish someone had handed me the first winter I owned an infrared cabin. It is deliberately an electrical-and-electronic diagnosis guide, not a wood-care or mold post — when the heat is gone, the problem lives in the power path, the emitters, or the controller, and that is where we are going to look. I have pulled panels, metered them, chased cold spots with a thermal camera, and rewired the dedicated circuit that feeds my unit, so everything below is the sequence I actually follow, written so you can follow it without guessing.
Start Here: Is It No Heat, or Just Not Enough Heat?
Before diagnosing anything, separate two completely different complaints. “No heat at all” means the cabin stays at room temperature and the panels never warm — that is an electrical or controller fault. “Not enough heat” means the panels work but the cabin feels weak or slow to ramp — that is usually a comfort, ventilation, or expectation problem, not a fault. On my meter a healthy far-infrared carbon/ceramic panel pulls its rated draw within a minute or two and the surface climbs steadily; if nothing draws current and nothing warms, you are in true no-heat territory.
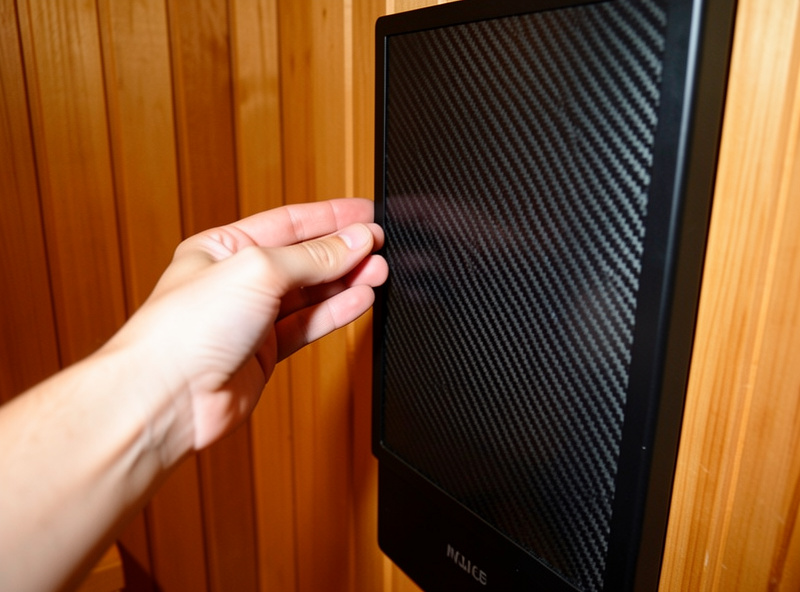
The fastest first test costs nothing: set the controller to maximum, give it ten minutes, and put the back of your hand near (not on) each panel in turn. If every panel is cold, suspect power or controller. If one zone is cold while the rest warm, you have a localized emitter or wiring fault and the whole-cabin causes drop away. This single observation splits the entire troubleshooting tree and saves you from testing things that were never broken.
The Four-Stage No-Heat Diagnosis (In the Order I Run It)
Diagnose from the wall inward. Power first, then the controller, then the emitters, then the sensor. Running it in this order means each stage either clears or convicts the one before it, so you never replace a heater that was starved of power or chase a “dead panel” that was really a tripped breaker. The table below is the symptom-to-suspect map I keep in my head; the sections after it walk each stage.
| Symptom | Most Likely Cause | First Thing to Check |
|---|---|---|
| Whole cabin dead, control panel dark | No power reaching the unit | Breaker, GFCI, and the wall outlet |
| Control panel lights up, no panels warm | Controller-to-heater link or relay | Controller output and wiring harness |
| One panel or zone cold, rest warm | Dead emitter or loose connector | Continuity of that element |
| Heats briefly then quits, shows a code | Over-heat trip or sensor fault | Error code plus thermostat probe |
| Breaker or GFCI trips on start | Ground fault or overloaded circuit | Dedicated circuit and GFCI |
| Burning smell, then shutdown | Failing connection or component | Stop immediately, inspect wiring |
Stage 1 — Power: the breaker, the GFCI, and the outlet
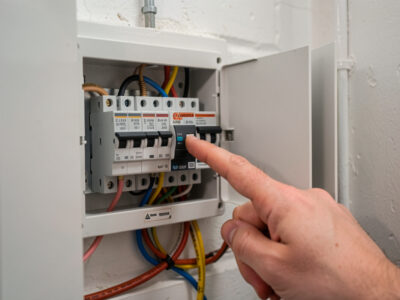
Roughly half the no-heat calls I have helped friends with never made it past this stage. A 2-person far-infrared cabin like mine wants a dedicated circuit; mine runs on its own 16A line with a GFCI, and when something upstream trips, the whole cabin goes dark and silent. The National Electrical Code treats a sauna heater as a continuous load and sizes its branch circuit at 125% of running current, which is exactly why a cabin sharing a line with a kettle or a dryer nuisance-trips the moment both pull together. Check the breaker physically — a tripped breaker can sit in a deceptive middle position that still looks “on.” Reset the GFCI. Then confirm the outlet itself is live with a plug-in tester or a lamp. If the cabin shares a circuit with other loads and trips under draw, the circuit is the fault, not the sauna. I walk through the trip-versus-fault distinction in depth in the sauna tripping breaker or GFCI guide, and the supply side itself in wiring an outlet for an infrared sauna.
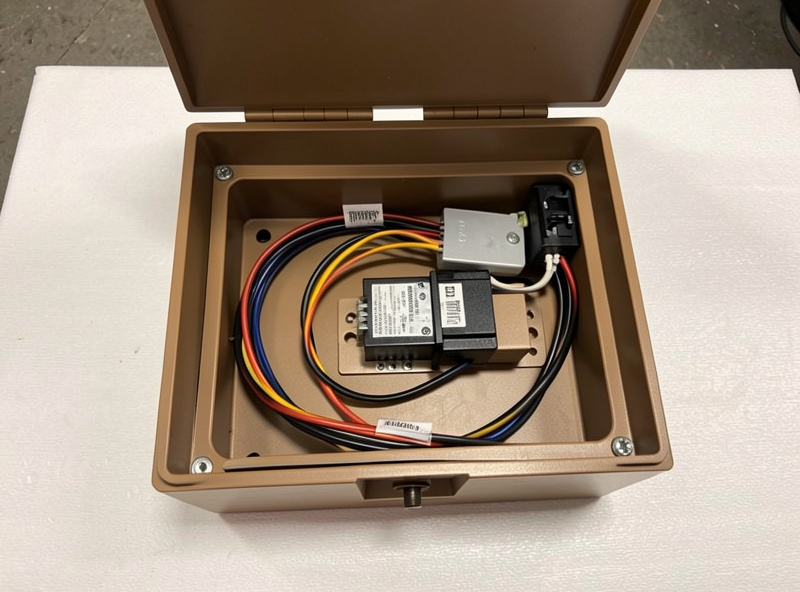
If the control panel will not turn on at all even with confirmed power at the outlet, the fault has moved inside the unit — a blown inline fuse, a failed power supply, or a broken low-voltage feed to the display. That is its own diagnosis, and I lay out the power, junction-box, and wiring checks in the control panel won’t turn on walkthrough.
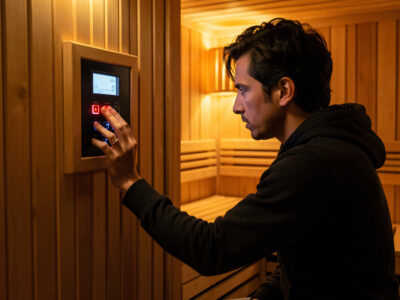
Stage 2 — Controller: it lights up but nothing heats
A live, glowing control panel that produces no warmth is one of the most misread faults. People assume the heaters died; far more often the controller is not closing the relay that sends mains power to the panels, or the harness between controller and heaters has worked loose. The display runs on a small low-voltage feed that is completely separate from the high-current line that actually drives the emitters — so the screen can be perfectly happy while no power reaches a single panel.
If the unit is throwing a code at this point, the controller is usually telling you exactly what it sees. Translate it before you tear anything apart — I decode the common ones in infrared sauna error codes explained. And if the controller itself is the failed part, matching a replacement is its own minefield of voltage, relay rating, and sensor compatibility, which is why I wrote replacing an infrared sauna controller.
Stage 3 — Emitters: tracing a dead panel
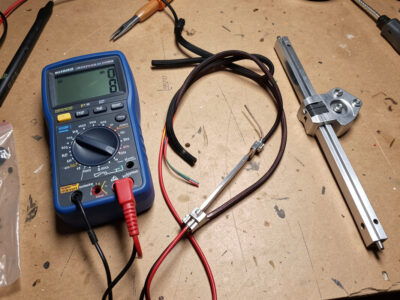
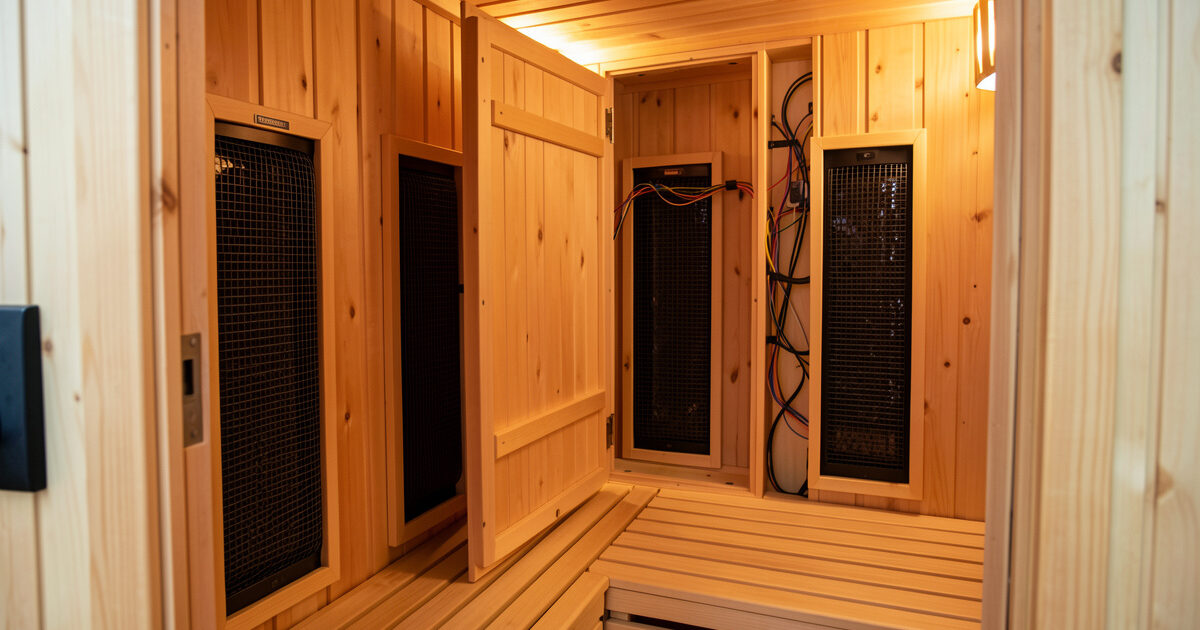
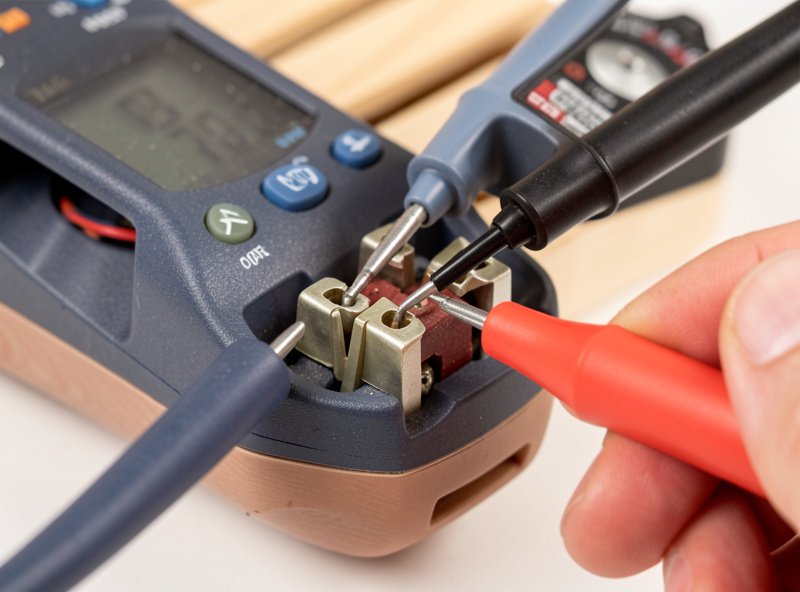
When one zone stays cold while the rest of the cabin warms, you have a localized fault: a dead heating element, a loose connector behind that panel, or a damaged lead. A carbon-fiber panel and a ceramic rod fail in different ways and feel different on a thermal camera, but the diagnosis is the same — confirm the panel is getting power, then test the element itself for continuity. A good element shows a sensible resistance end to end; an open element reads infinite. I walk the whole trace in how I trace a dead emitter, and the meter technique step by step in testing a heater element with a multimeter.
Cold spots are not always failures, though. A panel that is simply badly placed produces a cool zone that feels like a fault but is just physics — I mapped that distinction with a thermal camera in why cold spots happen. Knowing the difference between carbon and ceramic behavior, covered in carbon vs ceramic heaters, tells you what “normal warm-up” should even look like before you call a panel dead.
Stage 4 — Sensor and over-heat: heats, then quits
If the cabin heats for a few minutes and then shuts down — often with an over-heat code — the thermostat or its probe is the prime suspect. The controller protects itself: if the sensor reports a temperature that is implausibly high (a probe touching a panel, a shorted lead) or implausibly low (an open probe), it trips out rather than risk a runaway. A misplaced probe reading panel surface temperature instead of cabin air will trip an over-heat long before the room is actually hot. This is where understanding what cabin temperature should actually read stops you from “fixing” a sauna that was behaving correctly.
The Tools That Turn Guessing Into Diagnosis
You can clear Stage 1 with nothing but your eyes and a plug-in tester. Past that, three tools do almost all the work. A multimeter set to continuity and resistance tells you instantly whether an element or a probe is open. A clamp on the supply line tells you whether the cabin is actually drawing current. And an IR thermometer or small thermal camera — the same one I use to map a 3D-print bed — shows you exactly which panel is cold without touching anything. A plug-in kill-a-watt meter is the tie-breaker: if the cabin reads its expected draw in watts, the heaters are working and your problem is comfort or expectation, not a fault.
The one tool I will not let people skip is the multimeter, because continuity testing converts a vague “I think a panel is dead” into a yes-or-no answer in thirty seconds. A basic digital multimeter is all it takes, and if you have never used one on a heater element, the continuity step-by-step is the place to start — the same skill is what you use to vet a secondhand unit in testing used sauna heaters before you buy. As an Amazon Associate I earn from qualifying purchases.
When to Stop and Call an Electrician
There is a hard line in this hobby and I hold it. Anything behind the panels at mains voltage — a hardwired junction box, a controller fed by 240V, suspected damage to the supply wiring — is electrician territory, full stop. A burning smell is an immediate stop-and-shut-down event, not a “let me poke around” one; the Electrical Safety Foundation International lists a burning odor and a warm, discolored outlet among the clearest signs of a failing electrical connection, and I treat it exactly that way — a connection breaking down under load. I cover when to walk away in burning smell from an infrared sauna. Continuity testing a cold, unplugged element is safe and within reach of any careful owner. Opening a live mains junction is not, and no troubleshooting win is worth the risk.
Jurisdiction matters too. The electrical and ventilation rules that govern a permanently installed cabin are region-dependent, and what is a legal DIY outlet swap in one place needs a licensed electrician and an inspection in another. I keep the code side separate in permits and electrical codes and the broader build in the installation requirements guide — confirm your local rules before you touch the supply side.
Heater Type Changes What “Broken” Looks Like
One reason owners misdiagnose no-heat faults is that they expect every heater to behave like the one in the showroom. They do not. A ceramic rod ramps fast and runs hot at the surface; a carbon-fiber panel runs cooler to the touch over a larger radiant footprint and takes longer to feel warm; a full-spectrum unit adds a near-infrared halogen emitter that is blindingly obvious when it is working and obviously dark when it is not. Across the heaters I have lived with, a carbon panel that feels “barely warm” at the surface can be functioning perfectly, while a ceramic rod that should be too hot to hold and isn’t is genuinely suspect. The engineering background in heater types and EMF and the hardware behind the bands is what calibrates your sense of normal.
The EMF angle matters during a repair too. When you have a panel open, that is the moment to meter it — a failing connection or a hacked-in replacement controller can change the field signature, and I always re-check with the TriField method after any work, exactly as I do when vetting a used cabin in checking EMF on a used unit. A repair that fixes the heat but spikes the field is not a finished repair.
The Cost Question Nobody Runs Until Something Breaks
A dead controller or a failed emitter forces a decision most owners never planned for: repair or replace. The math depends on what the cabin cost to run in the first place and what the part costs against a new unit. I keep real kWh-per-session numbers from my kill-a-watt in the electricity cost guide, and the full owner-installer picture — including the parts that fail — in the smart controls guide, where a controller swap is often the cheaper, smarter path than scrapping a sound cabin over a board that costs less than a single restaurant dinner. Diagnose first, price second, and you rarely overspend.
A No-Heat Call From My Own Cabin
The clearest lesson I have on this came from my own unit, two winters in. I climbed in for a normal evening session, set temp as usual, and ten minutes later the cabin was still cool and the back panel felt dead while the side panels were warming. My first instinct was the one I am telling you to resist: I assumed the back emitter had failed. Before pulling anything, I ran the order anyway. Power was fine — the display was lit, the other panels were drawing. Controller was passing power, because three of four zones worked. So it really was localized, which sent me to Stage 3.
I let the cabin cool, unplugged it, pulled the back panel, and put the meter on the element. It read continuity — the element was alive. The actual fault was a spade connector that had backed off its tab behind the panel, almost certainly from a season of thermal expansion and contraction loosening it. Thirty seconds with a pair of pliers to re-seat and crimp it, a re-check on the meter, and the back panel ramped normally again. Then, because the panel was already open, I put the TriField back on it and confirmed the field signature had not changed. Total cost: nothing but an hour and the willingness to test before replacing. Had I trusted my first instinct, I would have ordered a heater I did not need and the loose connector would still have been there to fail again.
Stop the Next Failure Before It Starts
Most of the faults above are preventable, and the prevention is cheap. Loose connectors come from heat cycling, so once a year I open the panels on a cold, unplugged cabin and check that every spade and screw terminal is tight — that single habit has caught two backing-off connectors before they became a dead panel. Nuisance breaker trips usually come from sharing a circuit, so a dedicated line sized to the cabin’s draw removes the most common cause at the root. Over-heat trips often come from a probe that has drifted out of position, so I confirm the sensor sits in cabin air, not against a panel, whenever I have the unit open.
Ventilation matters more than people expect — a cabin that cannot shed a little moisture cooks its own electronics over time, and the controller is usually the first casualty. And the smart-plug that pre-heats my cabin on a schedule does double duty as a diagnostic: because the same rule engine logs when the circuit draws power, a session that “should” have started but pulled no current tells me something tripped before I even open the door. One rule engine for everything that draws current is the polymath habit that pays off the day a heater stops.
Frequently Asked Questions
Why is my infrared sauna not heating up at all?
Whole-cabin no-heat almost always means power or controller. Check the breaker, GFCI, and outlet first, then confirm the controller is actually sending power to the panels. If the panel lights up but nothing warms, the controller relay or wiring harness is the usual culprit, not the heaters.
Only one panel in my sauna is cold. What does that mean?
One cold zone while the rest warm points to a localized fault: a dead heating element, a loose connector behind that panel, or a damaged lead. Confirm that panel is getting power, then test the element for continuity. An open element reads infinite resistance and needs replacing.
Can I troubleshoot an infrared sauna myself or do I need an electrician?
Power resets, controller checks, and continuity testing a cold, unplugged element are safe for a careful owner. Anything at mains voltage behind the panels, a hardwired junction box, or a burning smell is electrician territory. Never open a live junction to chase a fault.
My sauna heats for a few minutes then shuts off. Why?
Heating then quitting, often with an over-heat code, usually means a thermostat or probe fault. A probe touching a panel or a shorted lead makes the controller read an implausibly high temperature and trip out to protect itself. Check the sensor placement and the error code first.
Is a carbon panel that feels barely warm actually broken?
Often not. Carbon-fiber panels run cooler at the surface over a larger radiant footprint and take longer to feel warm than a hot ceramic rod. Use a plug-in energy meter: if the cabin draws its rated wattage, the heaters are working and the issue is comfort or expectation, not a fault.
Should I repair or replace a sauna with a failed controller?
Usually repair. A replacement controller is often a small fraction of a new cabin that costs thousands, and a sound enclosure with good panels is worth keeping. Diagnose the fault precisely first, match the controller voltage and relay rating carefully, then price the part against a full replacement.
Related Guides
This hub is the map; each spoke below is the detailed route for one fault. Work them in the order your symptom points to:
- Infrared Sauna Error Codes Explained: E1, ES, OHT and What to Check
- One Sauna Panel Stopped Heating: How I Trace a Dead Emitter
- Sauna Keeps Tripping the Breaker or GFCI: Nuisance Trip or Real Fault?
- Sauna Control Panel Won’t Turn On: Power, Box, and Wiring Checks
- Testing a Sauna Heater Element With a Multimeter: Continuity Step by Step
- Replacing an Infrared Sauna Controller: What to Match and What to Avoid
- Burning Smell From an Infrared Sauna: When to Stop and Call an Electrician