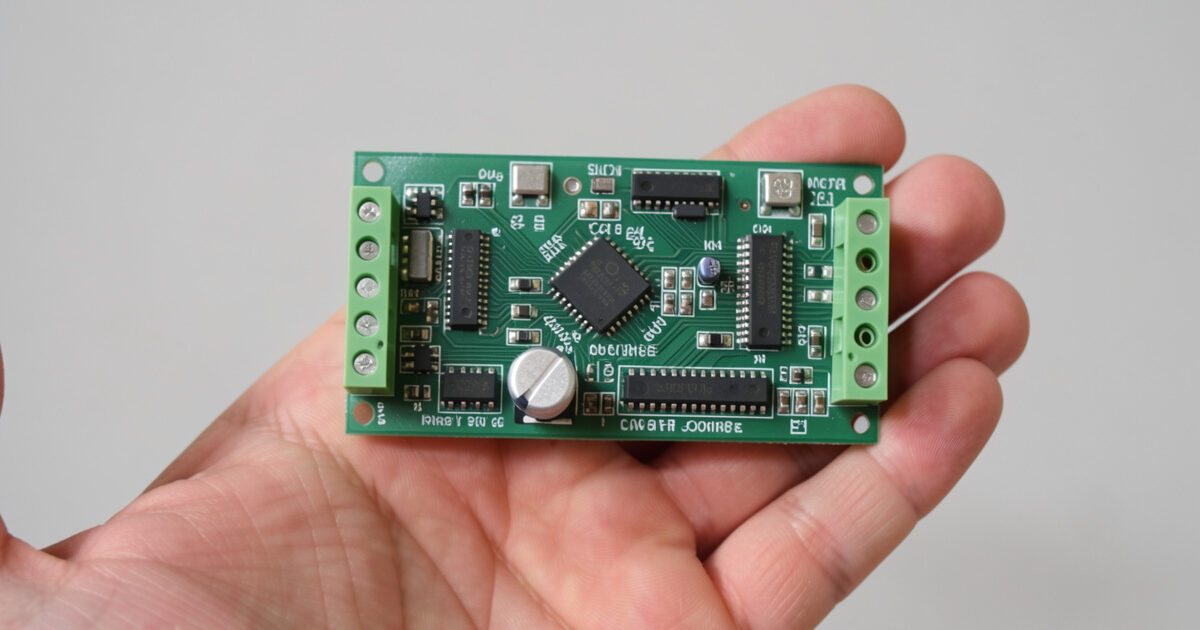
Replacing an infrared sauna controller is one of the cheapest repairs you can make to a cabin that still has good panels and a sound enclosure — but only if you match the new controller to the cabin’s electrical reality. The single rule that prevents almost every bad outcome is this: the controller’s relay or output rating must meet or exceed the total load of every heater it switches, at the cabin’s actual voltage. Get that wrong and a “working” replacement becomes a fire risk. Get it right and a board that costs a small fraction of a new cabin brings the whole unit back to life. The cabin I run draws about 1.7 kW — roughly 7–8 A at 230 V — and the replacement board has to switch that load every session without running hot, which is the whole reason the relay rating sits at the center of this guide.
This guide assumes you have already diagnosed the controller as the failed part — that you have worked the no-heat troubleshooting map, confirmed power is reaching the unit, and verified the heaters themselves test good with the continuity method. Swapping a controller before confirming the heaters are healthy is how people spend money on a part that was never the problem.
First, Be Sure It Really Is the Controller
The controller is the last suspect, not the first, because so many faults look like a dead board but are not. A dark display is usually power, a fuse, or the low-voltage supply, walked through in the control panel won’t turn on guide. A lit panel with no heat can be a loose harness rather than a failed relay. A code can be a sensor or cable fault, not the board. Only when the display, the fuse, the low-voltage supply, the cabling, and the heaters all test good does the controller earn the blame. Replacing it should be a conclusion you reached, not a guess you are buying your way out of.
The Specs You Must Match
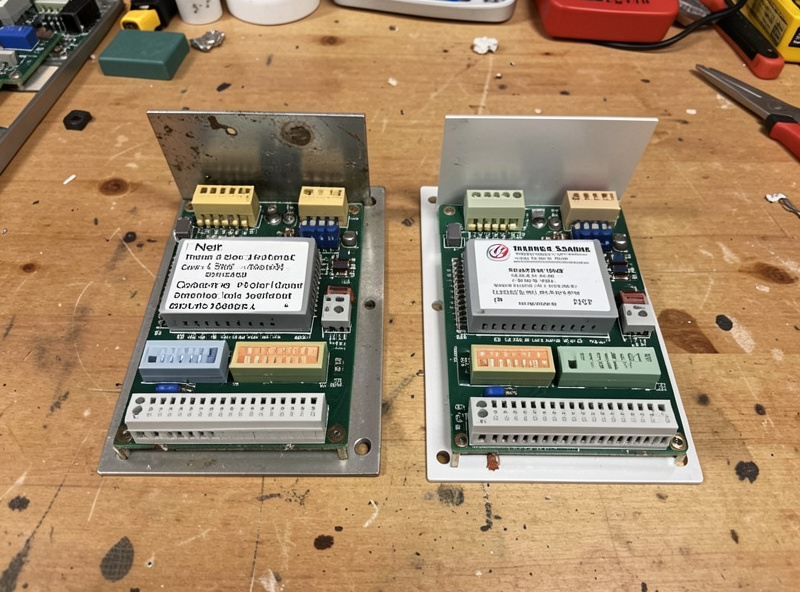
A sauna controller is not a generic part. It switches real power to the heaters and reads a temperature probe, and both of those have to line up with your cabin. The table below is the checklist I run before ordering anything — every row has to match or the replacement is wrong, sometimes dangerously so.
| Spec | What to Match | What to Avoid |
|---|---|---|
| Voltage | The cabin’s actual supply voltage | A board rated for a different mains voltage |
| Load / relay rating | Meets or exceeds total heater wattage and current | A relay rated below the combined heater load |
| Probe / sensor type | Same thermistor type the board expects | Mixing an incompatible probe and board |
| Zones / channels | Enough outputs for every heater group | Fewer channels than the cabin has heater banks |
| Physical form | Fits the cabin’s display cutout and board mount | A board that won’t physically fit or seal |
| Connector style | Matching plugs, or a known re-termination plan | Assuming connectors will “probably fit” |
Of these, the load rating is the one that is not negotiable. Add up the wattage of every heater the controller switches, convert to current at your supply voltage, and make sure the controller’s relay or solid-state output is comfortably above that figure. A controller whose relay is undersized will run hot, weld its contacts, or fail — and an output that fails closed can leave heaters energized when they should be off, which is exactly the scenario the cabin’s protection is there to catch. There is no upside to running an output near its limit; headroom is safety. The National Electrical Code treats a sauna heater as a continuous load and sizes its branch circuit at 125% of the running current — the same 80% working-margin logic belongs on the controller’s relay, so a board rated right at the heater’s draw has no margin left for the heat a switching contact makes.
The “Universal Controller” Trap
Search for a replacement and you will find generic “universal” sauna controllers that promise to fit anything. Some are genuinely fine; many are a trap. The problem is rarely whether they will power on — it is whether their relay rating, probe expectation, and channel count actually match your cabin. A universal board with an undersized relay will appear to work on a bench test and then fail under the full heater load it was never rated for. And a universal board expecting a different probe type will read temperature wrong, which either trips false over-heat codes or, worse, fails to cut out when it should.
If you go the universal route, treat the spec sheet as the gatekeeper, not the price. Match the load rating and probe type first; everything else is secondary. The brand-matched OEM controller for your cabin is the safest choice precisely because the manufacturer already did this matching — you are paying for the certainty that the relay, probe, and channels are correct. When the OEM part is available and the price gap is modest, I take it.
The Sensor Is Half the Job
People focus on the board and forget the probe. The controller and its temperature sensor are a matched pair — the board interprets the probe’s resistance as a temperature, and if the probe type does not match what the board expects, the readings are wrong even though nothing is “broken.” Many controller replacements come with a new probe for exactly this reason, and fitting the supplied probe rather than reusing the old one removes a whole category of post-swap headaches. If you must reuse the existing probe, confirm it is the type the new board expects, and test it with the meter method before trusting it.
How I Actually Do the Swap
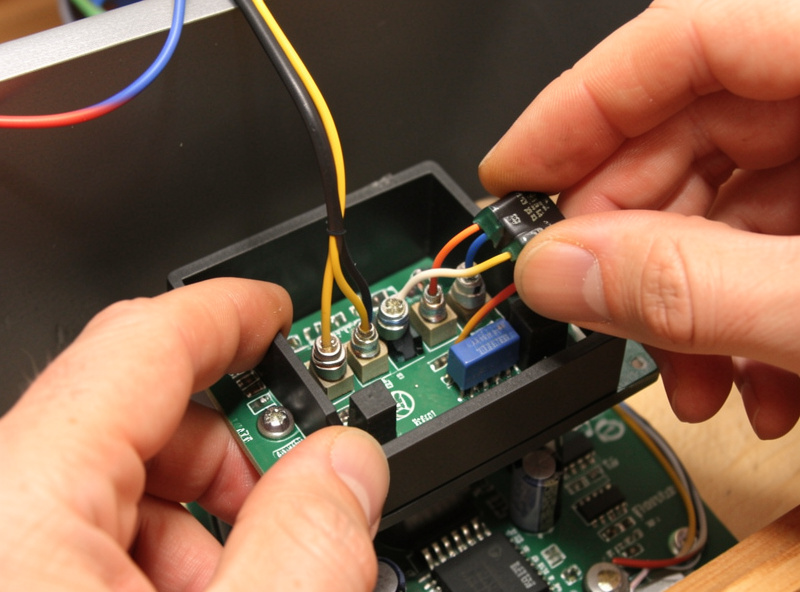
The mechanical job, on a plug-in cabin where the connections are low-current harnesses, is methodical rather than hard. I start by photographing everything before I disconnect a single wire — every connector, every terminal, the routing of every lead. That photo is the map back, and it has saved me more than once when two similar plugs could have gone either way. Then, on a cold and unplugged cabin, I label each heater lead as I remove it so the channel mapping survives the swap.
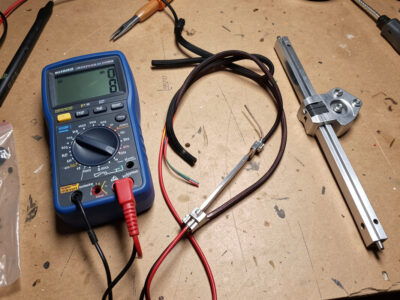
Before I start, I lay out what I will need: the matched controller and its probe, a small set of screwdrivers, a crimp tool with a few spare heat-rated connectors in case any terminal is tired, and the multimeter for the verification pass afterward. Having the spares on the bench means a single tired terminal does not stall the whole job halfway through, on a cold cabin with the panels open. From there it is unbolt the old board, mount the new one, and transfer the connections one at a time, checking each against the photo. The heater outputs go to their matching channels, the probe goes to its dedicated input, and the low-voltage display cable seats firmly at both ends. I do not rush the terminals — a loose heater-output connection is the exact fault that backs off under heat cycling and brings you right back to a dead panel a season later. Crimp and seat everything properly the first time. Only when every connection is checked twice does the cabin go back on power for its first test run.
Three Mistakes I See Most
The first and most dangerous is buying on price and ignoring the relay rating — a cheap board with an undersized output that runs hot under the real heater load. The second is reusing an old probe with a new board that expects a different type, which produces temperature readings that are confidently wrong, and on a heater that is the kind of wrong that matters. The third is the quiet one: mismatched channel count, where a cabin with three heater banks gets a two-channel controller and one bank simply never fires. That last one passes a quick power-on test and only reveals itself as a persistent cold zone, sending the owner back down the dead-panel path chasing a fault that is really a wiring-plan mistake.
All three share a root cause — treating the controller as a commodity instead of a matched component. The fix for all three is the same: match the spec sheet, row by row, before you order. The five minutes that takes is cheaper than the part you would otherwise return.
A Swap That Saved a Cabin
The clearest case I have seen was a friend’s two-person cabin that had gone completely dead — no display, no heat. The diagnosis ran the full chain: outlet live, fuse good, low-voltage supply producing nothing. The supply was integrated into the main board, so the board was the part. The temptation was to write off the whole cabin, which was several years old, over a single failure. Instead we matched a replacement controller to the cabin’s voltage, totted up the heater wattage to confirm the relay rating had headroom, fitted the supplied probe rather than reusing the old one, and re-commissioned it. The cabin came back fully, for the price of one board against the cost of a whole new unit. That is the entire argument for diagnosing precisely before replacing: the expensive-looking failure was a cheap, swappable part.
Where the Owner Stops
This is the spoke where the electrician line matters most, because a controller sits between the mains supply and the heaters. If your cabin is plug-in and the controller swap is a matter of matching connectors on low-current harnesses, a careful owner can manage it on a cold, unplugged cabin. But if the controller is fed by a hardwired mains supply, or the swap involves the incoming 240V connection, that is electrician work — the supply-side reasoning is in wiring an outlet for an infrared sauna and the jurisdiction rules in permits and electrical codes. There is no shame in doing the diagnosis yourself and handing the final mains connection to a professional; that is exactly how I draw the line on my own cabin.
Repair the Board, or Replace It?
Occasionally the controller’s fault is a single obvious component — a blown fuse on the board, a failed relay you can source, a corroded connector. If you are comfortable with electronics and the failed part is identifiable and replaceable, a board-level repair can be even cheaper than a new controller. But I set a firm limit on this: I will replace a fuse or re-seat a connector on a board, but I do not chase intermittent, hard-to-pin faults around a controller that switches mains power. A board that fails unpredictably is not worth nursing when a matched replacement removes the uncertainty entirely. The cost of a new controller is low enough that the hours spent debugging a flaky board rarely pay off, and the stakes — a part that energizes heaters — argue for certainty over thrift.
So my decision rule is simple. Single, obvious, replaceable component on the board and you enjoy the work? Repair it. Anything vague, intermittent, or involving the power-switching stage? Replace the whole controller with a properly matched part and move on. The cabin does not care which path you took; it cares that the brain switching power to its heaters is reliable.
After the Swap: Re-Commission Like It’s New
A replaced controller is effectively a new install of the cabin’s brain, so treat the first run as a commissioning, not a casual session. Power up, confirm the display reads sensibly and the probe reports a believable room temperature, then run the cabin and verify every heater bank actually warms — a wrong channel mapping shows up here as a cold zone. Watch the first full heat cycle for a clean ramp and a correct cut-out at set temperature. And because you have had the cabin open and changed the part that switches power to every heater, this is the moment to put the TriField back on it — a replacement board and re-routed wiring can shift the field signature, and a repair that fixes the heat but raises EMF is not finished.
Done right, a controller swap is the highest-value repair in this whole cluster: it rescues a sound cabin from the scrap pile for the cost of one part. The economics are worth running deliberately against a new unit using the cost guide, and if you want the controller upgrade to also add scheduling and app control, the smart controls guide covers what to look for. Match the specs, respect the mains line, re-commission carefully, and a failed controller becomes a footnote rather than the end of the cabin.