To test a used sauna heater, run the cabin at its highest set temperature and confirm every panel reaches a steady surface temperature in the same window — healthy carbon panels cluster around 140–160°F within 10–12 minutes. A panel reading 30°F or more below its neighbors is a failing or dead zone, and it’s the cheapest thing in the world to catch before you pay.
The heaters are the part you’re really buying on a used cabin, so testing them is non-negotiable. The good news is it’s fast and needs almost no gear. I’ve run this exact test on every second-hand unit I’ve looked at, across the carbon, ceramic, and full-spectrum heaters I’ve lived with at home. This guide is the full procedure; for the whole purchase decision it belongs to, start at the buying a used infrared sauna hub.
What You Can Test Without Tools — and With
You can do a meaningful heater test with nothing but your bare hand: every panel should radiate noticeably within about ten minutes of a hot session. A flat-cold panel at that point is dead. The bare-hand test catches obvious failures, but it can’t tell you that one zone is running weak rather than fully out — and a weak zone is exactly the fault a seller hopes you’ll miss.
That’s where a cheap infrared thermometer earns its place. It turns “feels warm-ish” into an actual number per panel, so you can spot a zone running 30°F cooler than the rest. I bring a handheld IR thermometer to every used inspection; it’s a small spend against a four-figure cabin. As an Amazon Associate I earn from qualifying purchases. Across the heaters I’ve lived with, the thermometer is what consistently separates “all good” from “one zone’s on its way out.”
Step 1: Cold Start and Watch the Ramp
Start with a genuinely cold cabin if you can — it tells you more than one that’s already been warmed up before you arrived (a seller pre-heating the unit can mask a slow zone). Plug in, set the controller to maximum, and start the session. Note the time. From cold, a 2-person carbon cabin should have every panel clearly warming within the first few minutes and approaching its working surface temperature by the 10–12 minute mark.
The ramp itself is diagnostic. A panel that lags well behind the others on the way up — slow to warm, never quite catching them — is a zone losing output even if it eventually gets warm. Watch for one section of the cabin that stays the “cool wall” the whole session. That asymmetry is the tell. I got fooled once before I started insisting on a cold start: the seller had run the cabin warm “to show it works,” everything felt hot to the hand, and only after I bought it did a back corner turn out to ramp slowly from cold and lag the rest. Now the cabin starts cold or I do not read the heaters at all.
Step 2: The Per-Panel Temperature Sweep
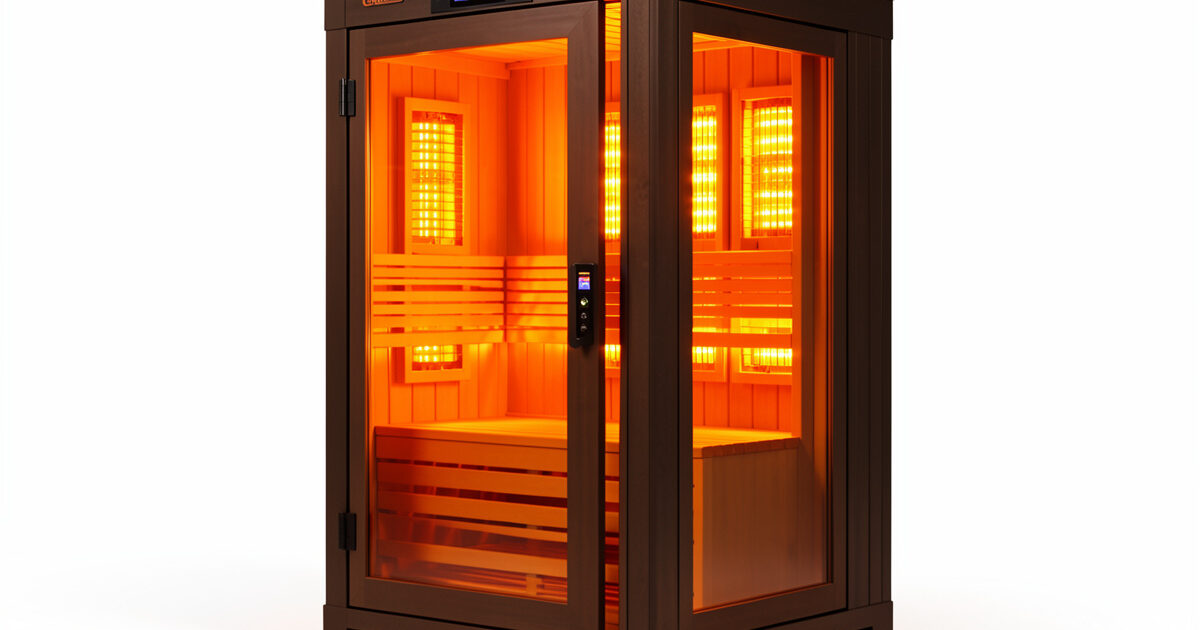
At about 12 minutes, sweep each heater panel with the IR thermometer and write the numbers down. Set the thermometer emissivity near 0.95 for matte wood and panel faces — the value IR-thermometer datasheets recommend for non-reflective surfaces — or a shiny heater grille will read low and fake a cold zone. You’re not chasing an exact target so much as consistency: on a healthy cabin the panels read within roughly 20°F of each other. The pattern that matters is an outlier — one panel 30–50°F below the pack means that zone’s element or its connection is failing.
Hit every panel: the big back panels, the side and calf panels, and the often-forgotten floor or under-bench heater if the unit has one. Ceramic-rod heaters concentrate their heat and read hotter in a smaller spot, so aim at the element zone; carbon panels spread heat over a wider face and read more evenly. Knowing which heater type you’re looking at helps you read the numbers — my carbon vs ceramic guide covers how each behaves, and the heater hardware guide goes deeper on the elements themselves.
Step 3: Read the Controller’s Behavior
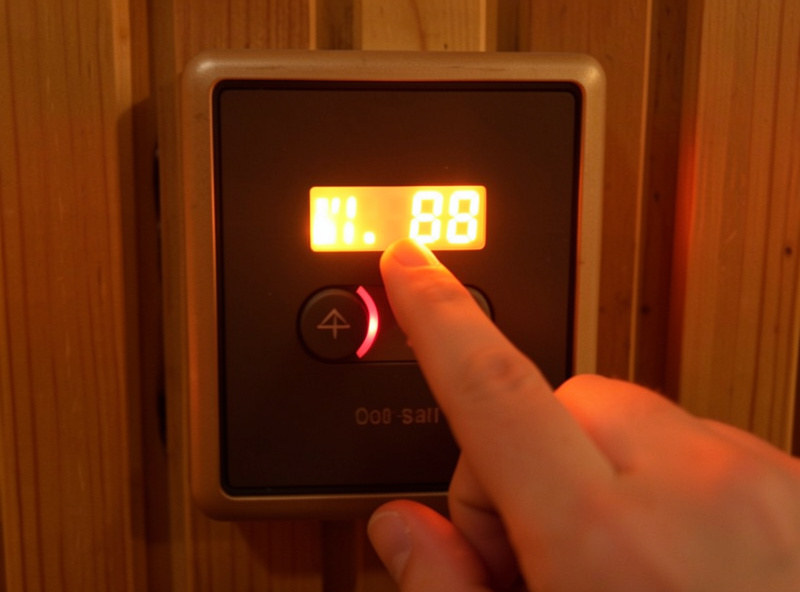
While the cabin runs, the controller is being tested too — and on budget cabins it’s the most failure-prone component, more than the heaters. A healthy controller holds its set temperature, shows a sensible rising cabin temperature, and doesn’t reset, freeze, or flicker. A unit that needs a power-cycle to respond, or whose display drops out mid-session, has a controller problem that may be unfixable if the brand no longer sells the part.
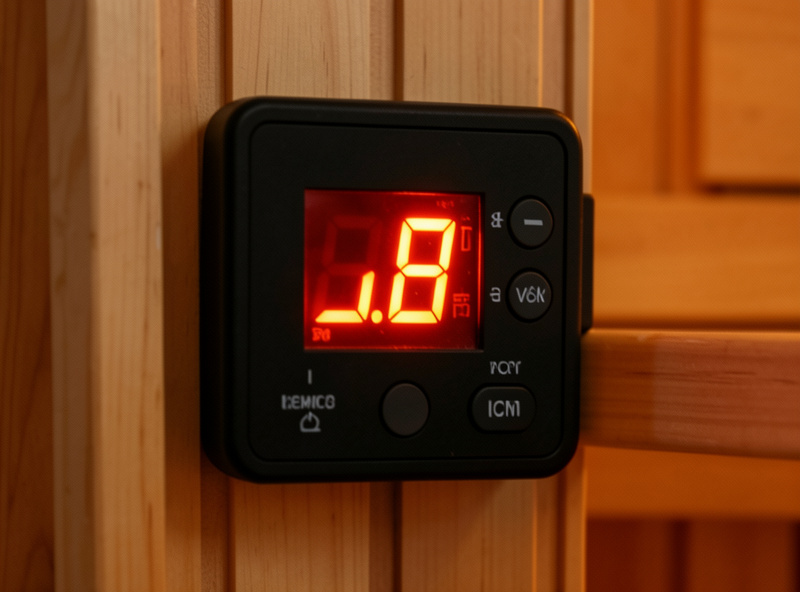
Watch whether the displayed cabin temperature actually climbs toward the set point. If it sets to 140°F but the cabin reading stalls 30°F short and never closes the gap, either a heater zone is underperforming or the sensor is off — both are real findings. An aftermarket controller that doesn’t match the cabin branding isn’t an automatic no, but it tells you something failed once before.
Step 4: The Connector and Smell Check
Heater testing isn’t complete without the safety pass. With the cabin hot, look behind the lower back panel at the wiring connectors feeding the heaters. They should be cool relative to the panels, clean, and odorless. A connector running hotter than the heater it feeds, any scorch mark, or a burnt-electrical smell is a hard stop — overheating at a termination is precisely the high-resistance failure mode NEC 110.14 is written to prevent — that’s a safety issue, not a price negotiation.
This matters specifically for heater testing because a high-resistance connection can make a panel run weak and make the connector run hot — same root cause, two symptoms. If you found a lagging zone in Step 2, the connector behind it is the first place to look. The home-side wiring is covered in my outlet wiring guide; on site, electrical heat damage ends the inspection.
What the Readings Mean
| Observation at ~12 min | Likely meaning | What to do |
|---|---|---|
| All panels warm, within ~20°F | Heaters healthy | Proceed to price |
| One panel 30°F+ cooler | Weak or dead zone | Price as fault, or walk |
| One panel flat cold | Dead element or open connector | Confirm part availability first |
| Cabin temp stalls below set point | Underperforming zone or bad sensor | Investigate before buying |
| Connector hot / burnt smell | Safety fault | Walk away |
| Controller freezes / resets | Controller failing | Check replacement availability |
One dead zone doesn’t always kill the deal — if the brand still sells the panel and the price reflects the repair, it can still be a fine buy. The thing that turns a repairable fault into a write-off is parts availability, which loops back to how old is too old for a used sauna. Test first, then decide whether the fault is a discount or a deal-breaker.
Frequently Asked Questions
How do I know if a used sauna heater is bad?
Run the cabin hot for 10 to 12 minutes and check every panel. A healthy carbon panel reaches roughly 140 to 160 degrees Fahrenheit and reads within about 20 degrees of the others. A panel sitting 30 degrees or more cooler, or one that stays flat cold, is a failing or dead heater zone.
Can I test sauna heaters without any tools?
Partly. A bare hand will catch a fully dead panel, since every heater should clearly radiate within about ten minutes. But a hand cannot reliably catch a zone running weak rather than fully out. An inexpensive infrared thermometer reads each panel surface so you can spot a 30 degree outlier.
How long should I run the cabin to test the heaters?
At least 10 to 12 minutes from a cold start. Carbon panels need that long to reach their working surface temperature, and a slow-warming zone only reveals itself across the ramp. Starting cold rather than pre-warmed gives you the most honest picture of each heater.
Is one dead heater zone a reason to walk away?
Not always. If the brand still sells the replacement panel and the price reflects the repair, a single dead zone can still be a good buy. It becomes a write-off when the part is unavailable, which is more about brand and age than the fault itself.
Does a hot wiring connector matter when testing heaters?
Yes, and it is a safety issue rather than a price point. A connector running hotter than the panel it feeds, a scorch mark, or a burnt smell behind the lower panels is a hard stop. A high-resistance connection can also make a panel run weak, so a hot connector behind a lagging zone explains both symptoms.