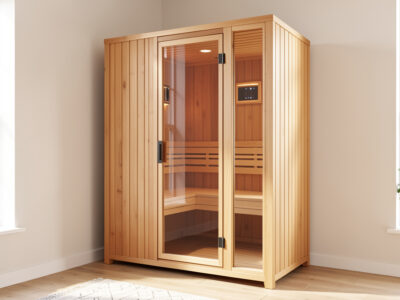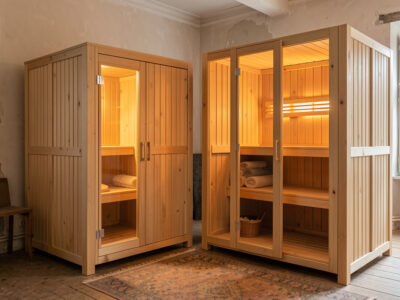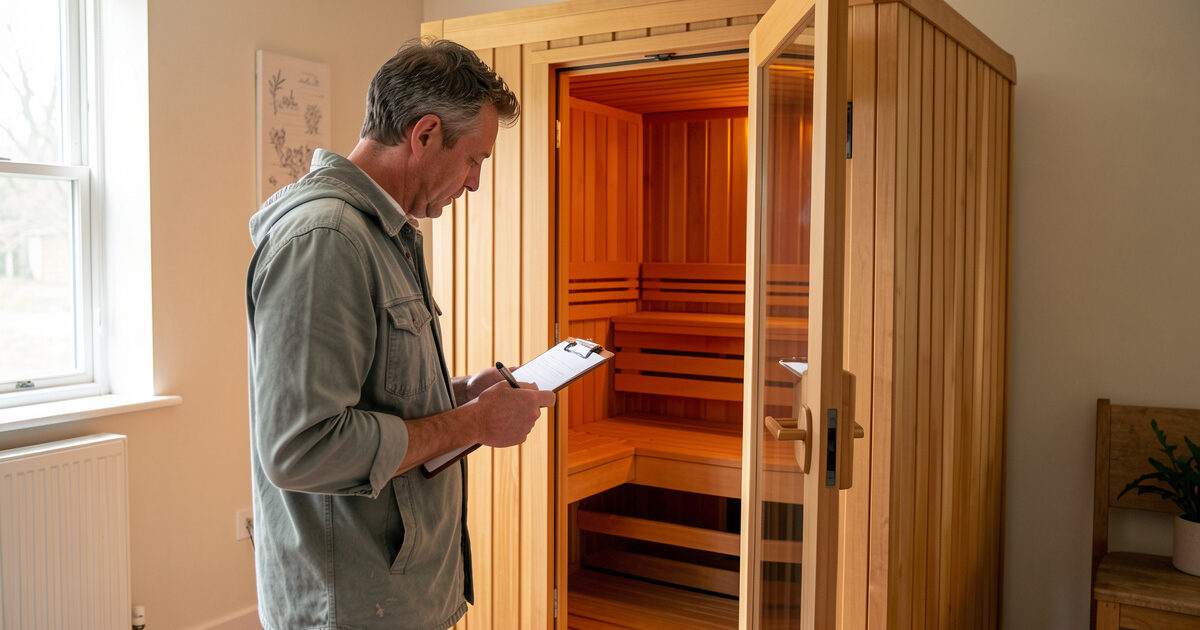
The used infrared sauna inspection that protects your money takes about 20 minutes and needs nothing fancier than a phone, a bare hand, and ideally a cheap IR thermometer. The single rule that matters most: never buy a cabin you weren’t allowed to power up and run while you stood there. Everything below is the checklist I actually walk when I go look at a second-hand unit.
I run a low-EMF 2-person far-infrared cabin at home and have inspected enough used ones to know the order things go wrong. This page is built to be printed and carried — work it top to bottom, and don’t let a friendly seller rush you past the boring electrical bits, because those are the ones that matter. For the wider buying decision this checklist sits under, see the buying a used infrared sauna hub.
Before You Drive Out: The Phone Checks
Half of a good inspection happens before you leave the house. Get the brand, model, and ideally the serial number from the seller and spend ten minutes confirming the manufacturer still exists and still sells parts. A cabin from a live brand with an online parts page is worth far more than an identical-looking import whose maker vanished — because the day a controller dies, one is repairable and the other is firewood.
Ask the seller three questions by message and keep the answers: roughly how many sessions has it had, can you run it during the visit, and is it currently assembled. “I already took it apart” is a yellow flag — it means you can’t test the heaters live, so price it as untested. Confirm the unit’s voltage too. Most 1- and 2-person cabins run on standard 120V, but some larger and full-spectrum units need 240V, and you want to know that before it’s in your truck. The installation requirements guide covers what your room actually needs.
The On-Arrival Power-Up Test
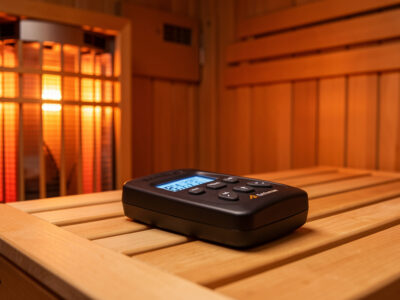
First thing on arrival, before any chat about price: ask to plug it in and turn it on. A healthy controller wakes immediately, the display is legible, and the buttons respond on the first press. Set it to a high target temperature and start a session right away, because the heaters need 10–12 minutes to show you whether they’re all alive — and you want that clock running while you inspect everything else.
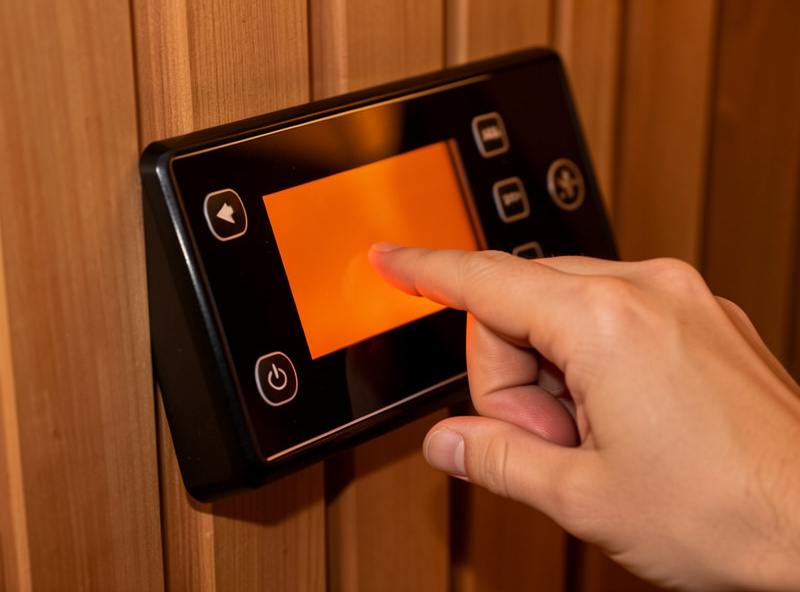
While it warms, watch the controller. A display that flickers, a touch panel that needs a second or third tap, or a unit that drops out and needs re-powering is telling you the most failure-prone component is already failing. Aftermarket controllers — a panel that clearly doesn’t match the cabin’s branding — aren’t automatically bad, but they tell you something already broke once. Note it and price it.
The Heater Walk: Every Panel, Every Zone
Ten to twelve minutes in, do the heater walk. With the cabin still running, put a bare hand near each panel in turn — every one should be clearly radiating. This is the most important physical check, because the heaters are the expensive part you’re really buying. A panel that’s still cold while its neighbors are hot is a dead or failing zone.
An IR thermometer turns this from a guess into a number. Sweep each panel surface and note the readings; healthy carbon panels on a consumer cabin cluster in the 140–160°F range and read within roughly 20°F of each other. One panel sitting 30°F or more below the rest is a fault. A basic IR thermometer is cheap insurance for a four-figure purchase. As an Amazon Associate I earn from qualifying purchases. The complete heater procedure, including what the controller’s behavior tells you, is in how to test used sauna heaters.
The Wiring and Safety Check
This is the check people skip and shouldn’t. With the cabin hot, look behind the lower back panel where the wiring connectors live. Nothing back there should smell hot, look scorched, or have a melted connector — a connector running hotter than the heater panel it feeds is a genuine safety problem, not a bargaining chip. If you see a burn mark or smell anything acrid, the inspection is over.
Check that the power cord and plug are original and undamaged, with no tape repairs or replaced ends. On a used unit I also like to see that it’s going onto its own circuit at home; sharing a breaker with other big loads is asking for nuisance trips, and a damp-room cabin is exactly the case NEC 210.8 GFCI rules are written for. The outlet wiring guide and breaker requirements cover the home side. The on-site rule is simpler: any sign of electrical heat or damage means walk away, full stop.
The Cabin, Glass, and Wood
Now the structural and cosmetic pass, which matters far less but informs your price. Press on the bench and walls for soft spots, splits, or flex — minor surface cracking in the wood is normal aging and harmless. Open and close the door several times: it should seal flush, and the glass shouldn’t have chips at the corners where stress cracks start. A door that’s sagged out of alignment leaks heat, lengthens your preheat, and quietly raises the per-session electricity cost.
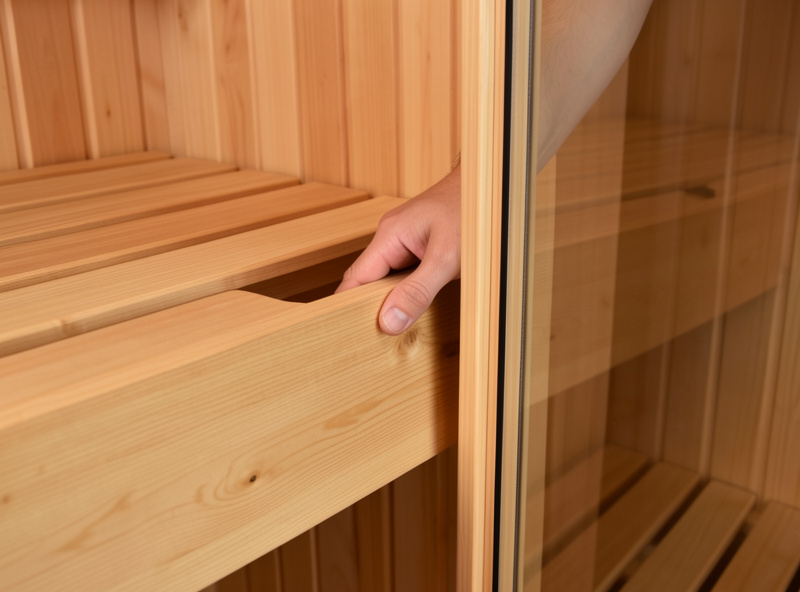
Look inside for water staining or mold, especially low on the walls and under the bench — the porous interior wood is hard to fully remediate once mold sets in — the EPA’s mold cleanup guidance notes porous materials often have to be discarded rather than cleaned — so this is closer to a deal-breaker than a cosmetic note. I missed this exactly once: a cabin that looked clean had a dark bloom under the bench lip I never lifted, and once it is into the hemlock you do not get it back out. Now I pull the bench and put a phone light under it before anything else. Faded exterior, light scratches, and a slightly weathered bench are all fine and are excellent leverage on price. Tell the difference between “ugly but sound” (negotiate) and “compromised” (walk).
The EMF Check (If You Care About It)
If low-EMF was part of why you wanted this cabin, bring a meter, because a used unit’s field is not guaranteed to match the spec sheet it shipped with. Wiring can shift over years, and a swapped controller changes the picture entirely. With the cabin running, read the magnetic field at the bench seat — where your back actually rests — not at the heater face.
I use a TriField TF2 for this. On the genuine low-EMF carbon cabins I’ve owned the back-of-bench magnetic field sits in the low single-digit milligauss range; a unit reading much higher there is worth knowing about before you buy, purely as a hardware fact. This isn’t a health claim — it’s knowing what you’re actually getting. The full method is in checking EMF on a used infrared sauna and the meter technique in measuring sauna EMF with a TriField.
The Print-and-Carry Checklist
| Check | Pass | Walk away if |
|---|---|---|
| Brand parts available | Maker live, parts page exists | No-name, no online footprint |
| Controller power-up | Wakes instantly, buttons respond | Flickers, needs jiggling or re-power |
| All heater zones warm | Every panel radiating by 12 min | A panel still cold or 30°F+ cooler |
| Wiring connectors | Cool, clean, no smell | Scorched, melted, burnt smell |
| Power cord and plug | Original, undamaged | Taped or spliced repairs |
| Door and glass | Seals flush, no corner chips | Sagged, cracked glass |
| Interior wood | Sound, minor cracks OK | Mold or water staining |
| EMF at bench (optional) | Matches your expectation on meter | Far above expected for the brand |
Frequently Asked Questions
What is the single most important used sauna check?
Running the cabin live before you pay. Plug it in, set a high temperature, and confirm every heater panel warms within 10 to 12 minutes. A seller who has already disassembled the unit so it cannot be tested has removed your most important check, so price it as untested.
Do I need any tools to inspect a used infrared sauna?
You can do most of it with a phone and a bare hand, but an inexpensive infrared thermometer makes the heater check objective by reading each panel surface temperature. If low-EMF matters to you, bring an EMF meter such as a TriField TF2 to read the field at the bench seat.
How long should a full used sauna inspection take?
About 20 minutes. The heaters need 10 to 12 minutes running to reveal a dead zone, and you use that time to check the controller, wiring connectors, door seal, wood, and EMF. Do not let a seller rush you past the wiring and heater walk.
Is cracked or faded sauna wood a deal-breaker?
Usually not. Minor surface cracking and a faded exterior are normal aging and make good price leverage rather than reasons to walk. Mold or water staining inside the cabin is the wood problem that is closer to a deal-breaker, because the porous interior is hard to fully remediate.
What wiring sign means I should walk away immediately?
Any scorch mark, melted connector, or burnt smell around the wiring behind the lower panels. A connector running hotter than the heater it feeds is a genuine safety issue, not something to negotiate over. If you see or smell electrical heat damage, end the inspection.